Peach Ice

peach iceWhen I was young, my Grandparents owned a peach orchard.  That meant that when summer came around, we had peaches.  Good, ripe, delicious peaches.  Peaches and Cream.  Peaches over ice cream.  Even just biting into a sweet peach and having the juice drip down your chin.  It was wonderful.

The season each year would end too quickly.  She would can a lot of peaches for the winter, and it was good to have them.  We always appreciated it.  But what made the best treat for us, even better than ice cream, candy, and cookies, was Grandma’s Peach Ice.

It’s a frozen treat, with the almost-fresh taste of the peaches, but cold, slushy, and amazing.  We always wanted it, and Grandma would horde it a little and dole out potions throughout the winter.  We always wanted more.  I find that I am doing the same thing with my kids.  They would eat an entire batch in one sitting if I let them!  But I know better now.  A little at a time, over the winter months, and they will always appreciate it.  Just like Grandma used to do.


This is best with good, ripe, sweet peaches.   And of course that orchard is long gone, so we find the best peaches we can.  The better the peaches taste, the better the Peach Ice will taste; but you knew that already.

peach ice

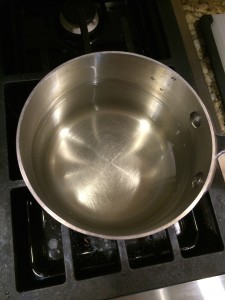
Start by making a simple syrup, by simmering the sugar and water together, stirring occasionally, until all the sugar is dissolved.  Set aside and cool completely.  And yeah, the photo looks like a pan with water in it.  That’s what the syrup should look like when dissolved.  Really.

peach ice.

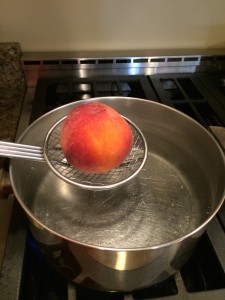
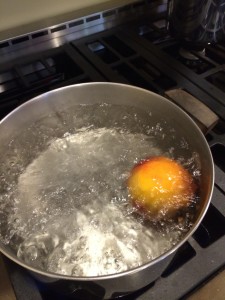
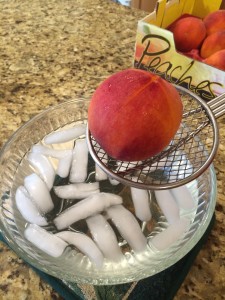
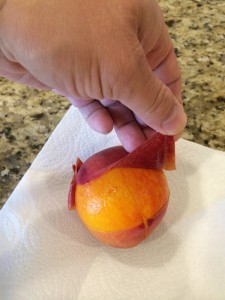
Meanwhile, you need to remove the fuzzy peel of the peaches.  It’s good on a plain peach, but not so much in the ice.  David Lebovitz suggests cutting an X on one end of each peach, then putting them in boiling water for twenty seconds.  From there, put the into ice water just enough to shock them, maybe another 20 seconds, then onto a towel to cool.  Once cool, the peel comes off very easily.  It worked quite well, and you should totally check out his site, as he has some amazing recipes, and an incredibly good ice cream book.

peach ice peach ice

(boil then shock and peel)

peach ice peach ice

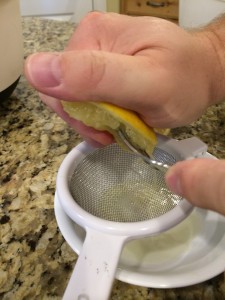
Remove the pits, and add the juice of one lemon.
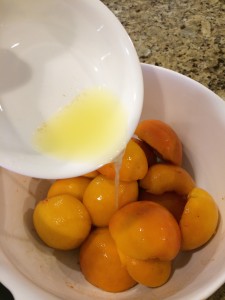
peach ice

peach ice

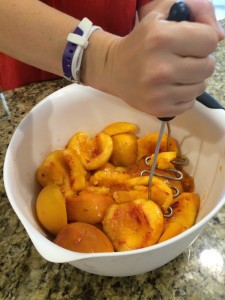
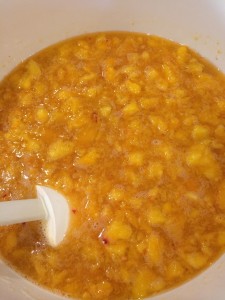
Now crush the peaches.  I like to use a potato masher, but use whatever you have.

peach ice peach ice

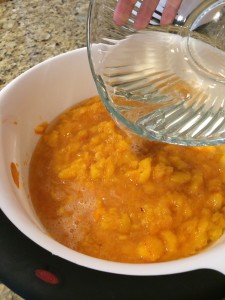
Mix in the simple syrup, and put it in the freezer.

peach icepeach ice

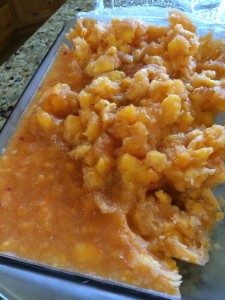
Scrape the ice every hour or so while it freezes to introduce air.  You don’t have to do this step, but it makes it a lot easier to scoop later if you do.  (and if you don’t, just let it thaw a little on the counter before you try and scoop it)

peach ice

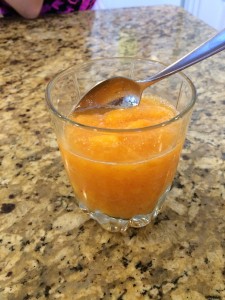
Once it is completely frozen, scoop some into a cup or bowl and add just a little bit of one of those lemon-lime soft drinks.  I like Sprite, but 7-Up, Fanta, Sierra Mist, etc, should all work.  And you just want a very little bit, then mix it into a slush.  If it doesn’t slush, add a little more.  if you past the slush state, you can add more Peach Ice, or drink it instead of eat it.

Experience the sheer Awesomosity of Peach Ice!

peach icepeach ice

And yeah, my wife reminds me that Awesomosity is not a real word.  And again, it should be, if for nothing else than to describe Peach Ice.


Peach Ice
Author: 
Recipe type: Dessert
Cuisine: American
Prep time: 
Cook time: 
Total time: 
 
Best, most amazing, icy, cool, slushy peach awesomosity ever eaten!
Ingredients
  • 4 cups water
  • 1½ cup sugar

  • 1 lemon, juiced

  • 6 cups crushed fresh peaches, peel removed
Instructions
  1. boil water and sugar into a simple syrup. Set aside to cool.
  2. peel and crush peaches. Add lemon juice.
  3. stir in cooled simple syrup
  4. Put into freezer. As it freezes, occasionally scrape and mix to add air. Freeze completely.
  5. To serve: scoop, crush, etc, some into a glass and add a very small amount of Sprite to make into a slush.

 

World’s Best Pancakes

pancakesI love pancakes. In fact, I adore pancakes.  If it took no time to make them (and no calories), I would eat pancakes twice a week.  Unfortunately work and children conspire to take up my pancake time, and I settle for lesser food in the mornings.  (And I gladly make that choice, but I think it is ok to occasionally lament the good things we give up for better things).

This is another food that I would make ok at home but head to a restaurant for better on the weekends.  I even went through a phase when we used a powdered mix to save time and effort.  I learned that some things are worth the effort, or left alone until the time can be set aside to do them right.  Save yourselves from box mixes and instant foods!
So one day I finally had sufficiently bad pancakes to push me the the Internet in pursuit of the perfect recipe.  And there are a lot of them; some good, some terrible.  I tried twelve different pancake recipes, all claiming to be the best.  And some were really good.  We finally found one that headed toward great, but not quite there.  We tweaked, and we adjusted.  We tested and we adapted.  What we ended up with was different than all the others, with a little borrowed from a lot of different ideals.
We call them the World’s Best Pancakes.  It is a little bit hyperbole, but not much.  I think you’ll like what we came up with.

Notes.
We are at 4200 ft altitude.  You may need slightly less flour, and maybe a pinch less baking soda if you are at sea level.  Please post a comment on any success or failure at different elevations.
Also, this makes a LOT of pancakes.  Most people have extras at the end.  They freeze well and heat up nicely in a toaster or oven, or you can half or third the recipe.
One other thing, the syrup makes a big difference.  Either use a high end syrup, or at least get one made from sugar (like Log Cabin) and not made from corn syrup.  Or try these with strawberries and caramel sauce.

pancakes

World's Best Pancakes
Author: 
Recipe type: Breakfast
Cuisine: American
Prep time: 
Cook time: 
Total time: 
Serves: 40 - 3" pancakes
 
These pancakes are so good, they will ruin your appetite for all other pancakes.
Ingredients
  • 3¾ cups all purpose flour
  • 3 tablespoons white sugar
  • 3 teaspoons baking powder
  • 1½ teaspoons baking soda
  • ¾ teaspoon salt
  • 3½ cups milk
  • 2 tablespoons lemon juice
  • 1 ½ tablespoon vinegar
  • 3 eggs
  • ⅓ cup butter, melted
Instructions
  1. In a medium glass bowl (4 cups or larger) make the sour milk, starting with the lemon juice and vinegar, and adding the milk until a you have a total of 3½ cups. Let sit at least five minutes while you mix the dry ingredients.
  2. In a large bowl, whisk together flour, sugar, baking powder, baking soda, and salt.
  3. In the glass bowl with the sour milk, and the eggs and beat or whisk together. Once combined, slowly beat in melted butter. Keep the wet and dry mixtures separate until just before cooking.
  4. Heat your electric griddle to between 325 and 350. You know it's ready when you can flick water drops onto the surface and they bead up, sizzle, and dance for a moment before evaporating.
  5. Pour wet mixture into dry mixture, and whisk together. Do not over stir; mix just enough to bring together, a few small lumps are ok.
  6. Pour in ⅓ to ½ cup per pancake and brown on both sides, as if you are cooking pancakes. Which you are.
  7. Serve hot.


Coleslaw

coleslawOn the pulled pork entry that I wrote yesterday, I promised to post the coleslaw recipe.  It works really well with the pulled pork: the little bit of crunch of the cabbage and the slaw sauce blends with the smokiness and seasoning of the pulled pork to make something epic.  It is awesome!  Even if you are not a huge coleslaw fan, you owe it to yourself to try these together!

Why? Because you have done something extraordinary in the past day or so and deserve something wonderful.  Or you are about to do something really nice for one of your neighbors.  Or you are an amazing person at heart.  With slaw this good, you can become someone worth the awesomosity! (Ok, that may not be a real word, but it should be!)

I like a good coleslaw with pulled pork, so when I started making my own bbq pork it naturally became a challenge to make a slaw that would be worthy of it.  Of course, to that point, the best slaw I had ever had was at Tony Romas, or Kentucky Fried Chicken.  Ok, so they weren’t perfect, but that had that something that would work with smoked and fried meats.

My first attempt at coleslaw was a vinegar based one, and it was proof positive that we all have failures in the road to success.  And it was nasty.  I obviously had no clue how to make coleslaw.  So I went on a research binge on the Internet.  What makes a good slaw? Why? And I ended up with four recipes that were all considered great by different groups.

So we made all four.  We quartered the recipes and then quartered a cabbage and made four different coleslaw.  It was a fair amount of work, but I really wanted a great slaw on my pulled pork.

They were all good.  We tasted them side by side, had friends try them, and I even took them to work and got various opinions.  We ended up taking bits from several of them and blending them to get the recipe presented here (with several recipes overlapping, but the one from Heather Likes Food more dominant than the others).  And we added more black pepper.  It’s amazing how coleslaw really likes black pepper and still doesn’t turn out peppery.

We have since served this to many people, with about half claiming they don’t like coleslaw.  I tell them to try it anyway, and many of them end up having more.  It really is that good, to convince coleslaw naysayers to give it another try.

So give it a try.  You really do deserve this.


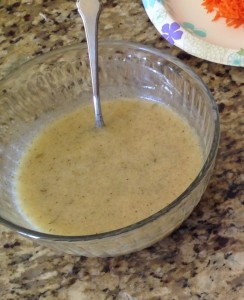
Start by making the sauce.  Mix until combined the vinegar, oil, pepper, salt, mayonnaise, sugar, and tarragon.  Set aside.

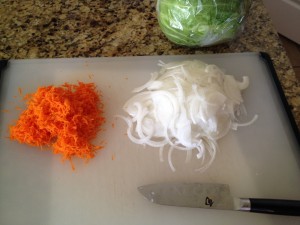
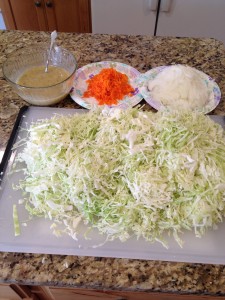
coleslawPrepare the vegetables.  I like to finely grate the carrots, and very thinly slice the onions into quarter crescents.  I then slice the cabbage until it is in small strips, about three quarter inch long and one eighth to three sixteenth inch wide.  Don’t worry about it, though, as the sizes are very forgiving.  You just want to aim for what will make a good sized bite in the final product.

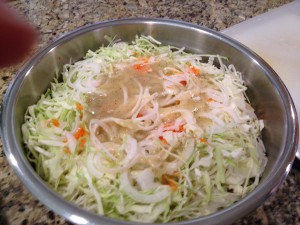
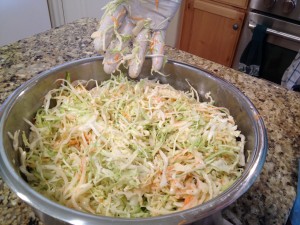
coleslaw coleslawOnce all the prep work is finished, layer the different vegetables and sauce in a large bowl.  I find that layering in about three batches makes it easier to mix together, but feel free to just dump it all into a large bowl if that’s your style.

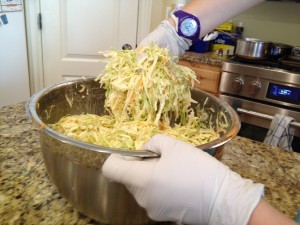
coleslawNow put on the gloves, and mix it all until everything is coated in sauce and you don’t have any clumps of any one kind of vegetable.

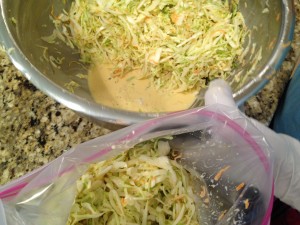
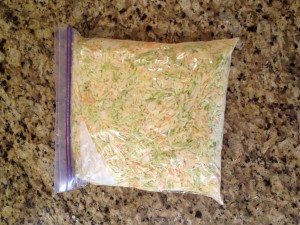
coleslawWhen it is mixed, put it into a gallon sized ziplock bag and into the fridge.

coleslaw coleslaw coleslawYou can eat it in a couple of hours, but it is better the next day, and really great after two days.

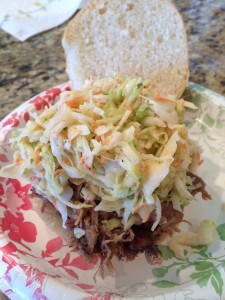
It works really well on the Pulled Pork, as a side to many different foods, or just hanging over the sink with a fork and the bag.  Not that I would do that.  That would be silly.  🙂


Coleslaw
Author: 
Recipe type: Side
Cuisine: American
Prep time: 
Total time: 
 
Adapted from http://www.heatherlikesfood.com/the-best-coleslaw-ever/
Ingredients
  • 1 Tablespoon apple cider vinegar
  • 2 Tablespoons canola oil
  • 1 teaspoon black pepper
  • ½ teaspoon salt
  • 1¼ Cup mayonnaise
  • ½ Cup sugar
  • ½ teaspoon dried tarragon

  • ¼ Cup sweet onion, grated or chopped fine
  • 1 carrot, grated
  • 1 head green cabbage, shredded
Instructions
  1. Combine carrots, onion, and cabbage in a large bowl.
  2. Combine vinegar, mayo, oil, sugar, tarragon, pepper, and salt and mix until smooth.
  3. Pour dressing over cabbage mixture and mix well.
  4. Store in the fridge in a non-reactive container, plastic bowl, etc. I personally use a gallon zip-lock bag.
  5. This can be made a few hours before serving, but is better the next day, and considerable better on the second day.