 Back in the early days of my hobby of cooking, we lived in Atlanta. We had just moved there, and were starting to try new restaurants, food, and anything we could find that was “southern”. There are a lot of amazing foods in Atlanta, and the people are awesome. They are friendly, helpful and willing to share ideas and recipes (as long as they are not the family secret recipes. 🙂
Anyway, at church they announced a Cornbread and Chili Cookoff. Can we participate? sure. How hard can those be? They are basic dishes that everyone has a version of, so it shouldn’t be too difficult. So we teamed up with out friends (Chad and Becky), and we started researching Chili recipes. There were a lot of them. And I mean a LOT. But we wanted it to be out own, so we started mixing and matching bits from different ones. And we came up with what Chad called “Jeremiah 4:19 Chili” (read the verse if you want in on the joke, because it was HOT). We made some mistakes along the way, and we didn’t get the spices perfect, but it was a good chili, just way too hot. This recipe is not that chili.
This recipe is a Family Friendly Chili, one you can feed the kids, friends, neighbors, etc, without just catering to those manly men who line up to prove their strength and worth. You guys know who you are, claiming it doesn’t hurt, then sneaking around the table to the bread in an attempt to slow the pain ripping at your throat. Again, this is not that chili. Everyone can enjoy.
We aimed for a meaty chili with just a hint of heat. Go ahead and try it, I think you’ll like it. And then you can change it and make it your own, because that’s what chili is all about: sharing, enjoying, and bragging whose is the best. It’s what family secrets are made of. 🙂
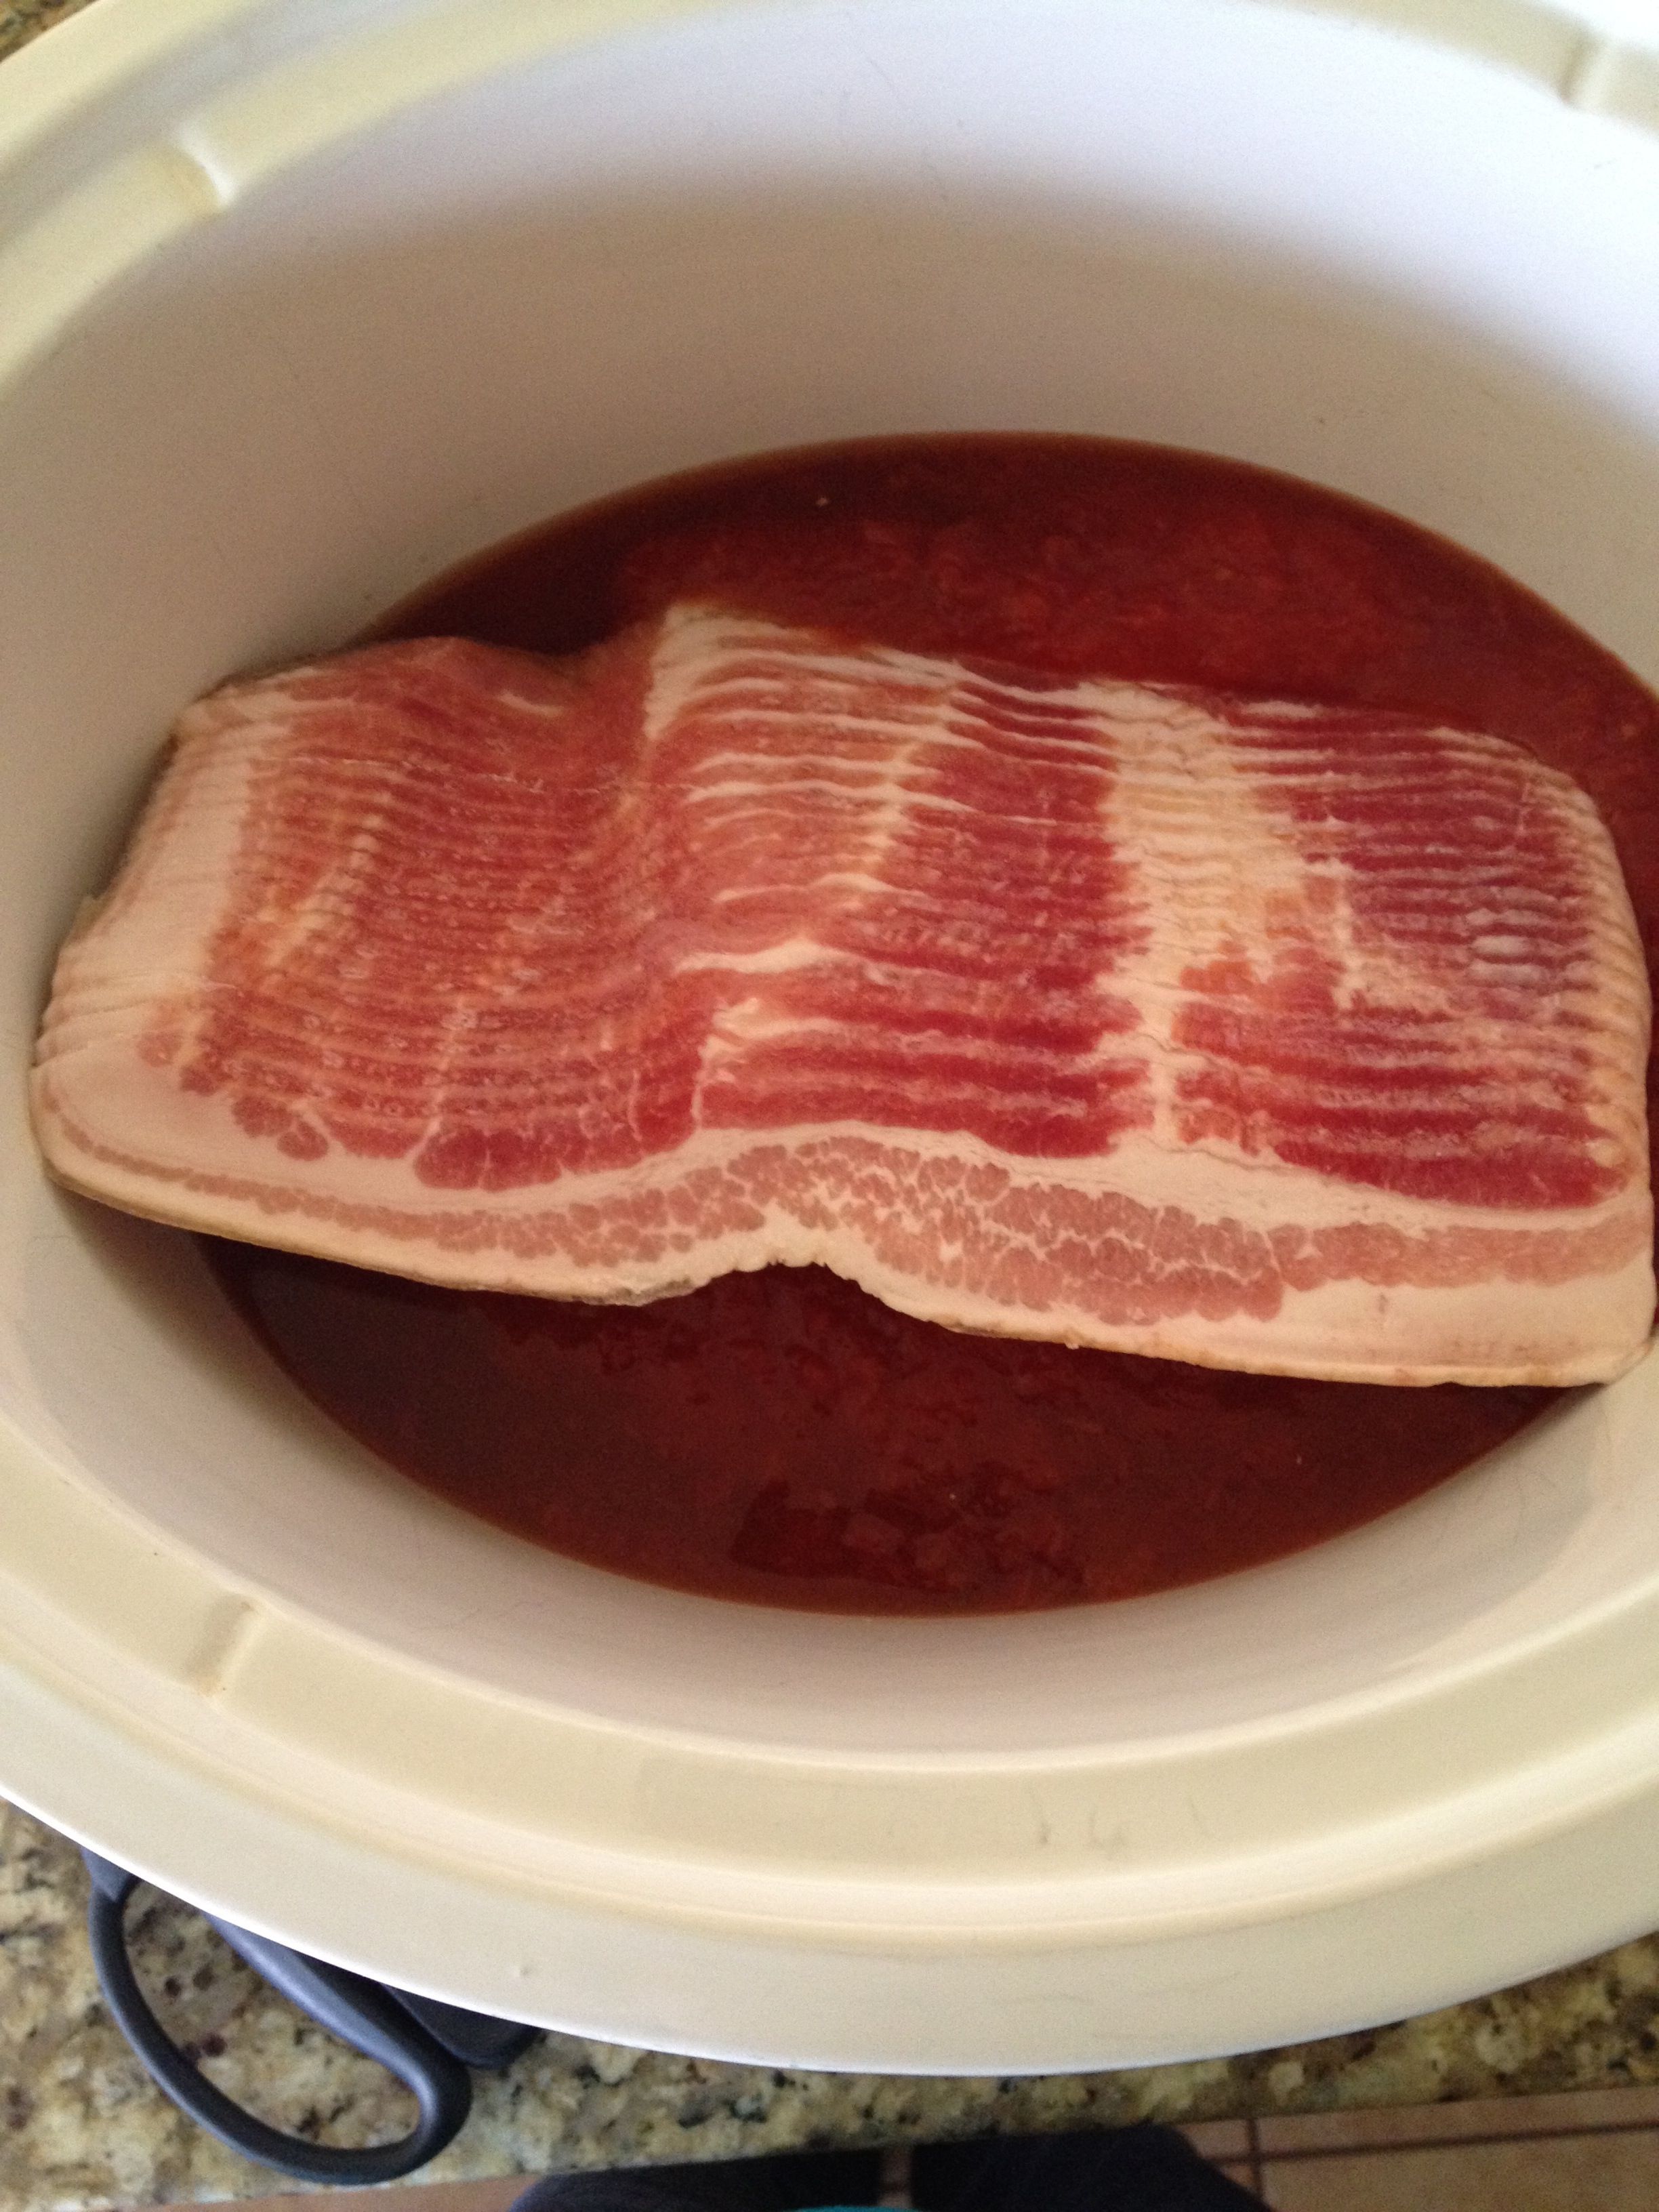
Add tomatoes, bacon, and hamburger to the crockpot, and cook it until it is done, but not mush. From frozen, on high, this took us abut 3-4 hours. Or you can do low overnight.

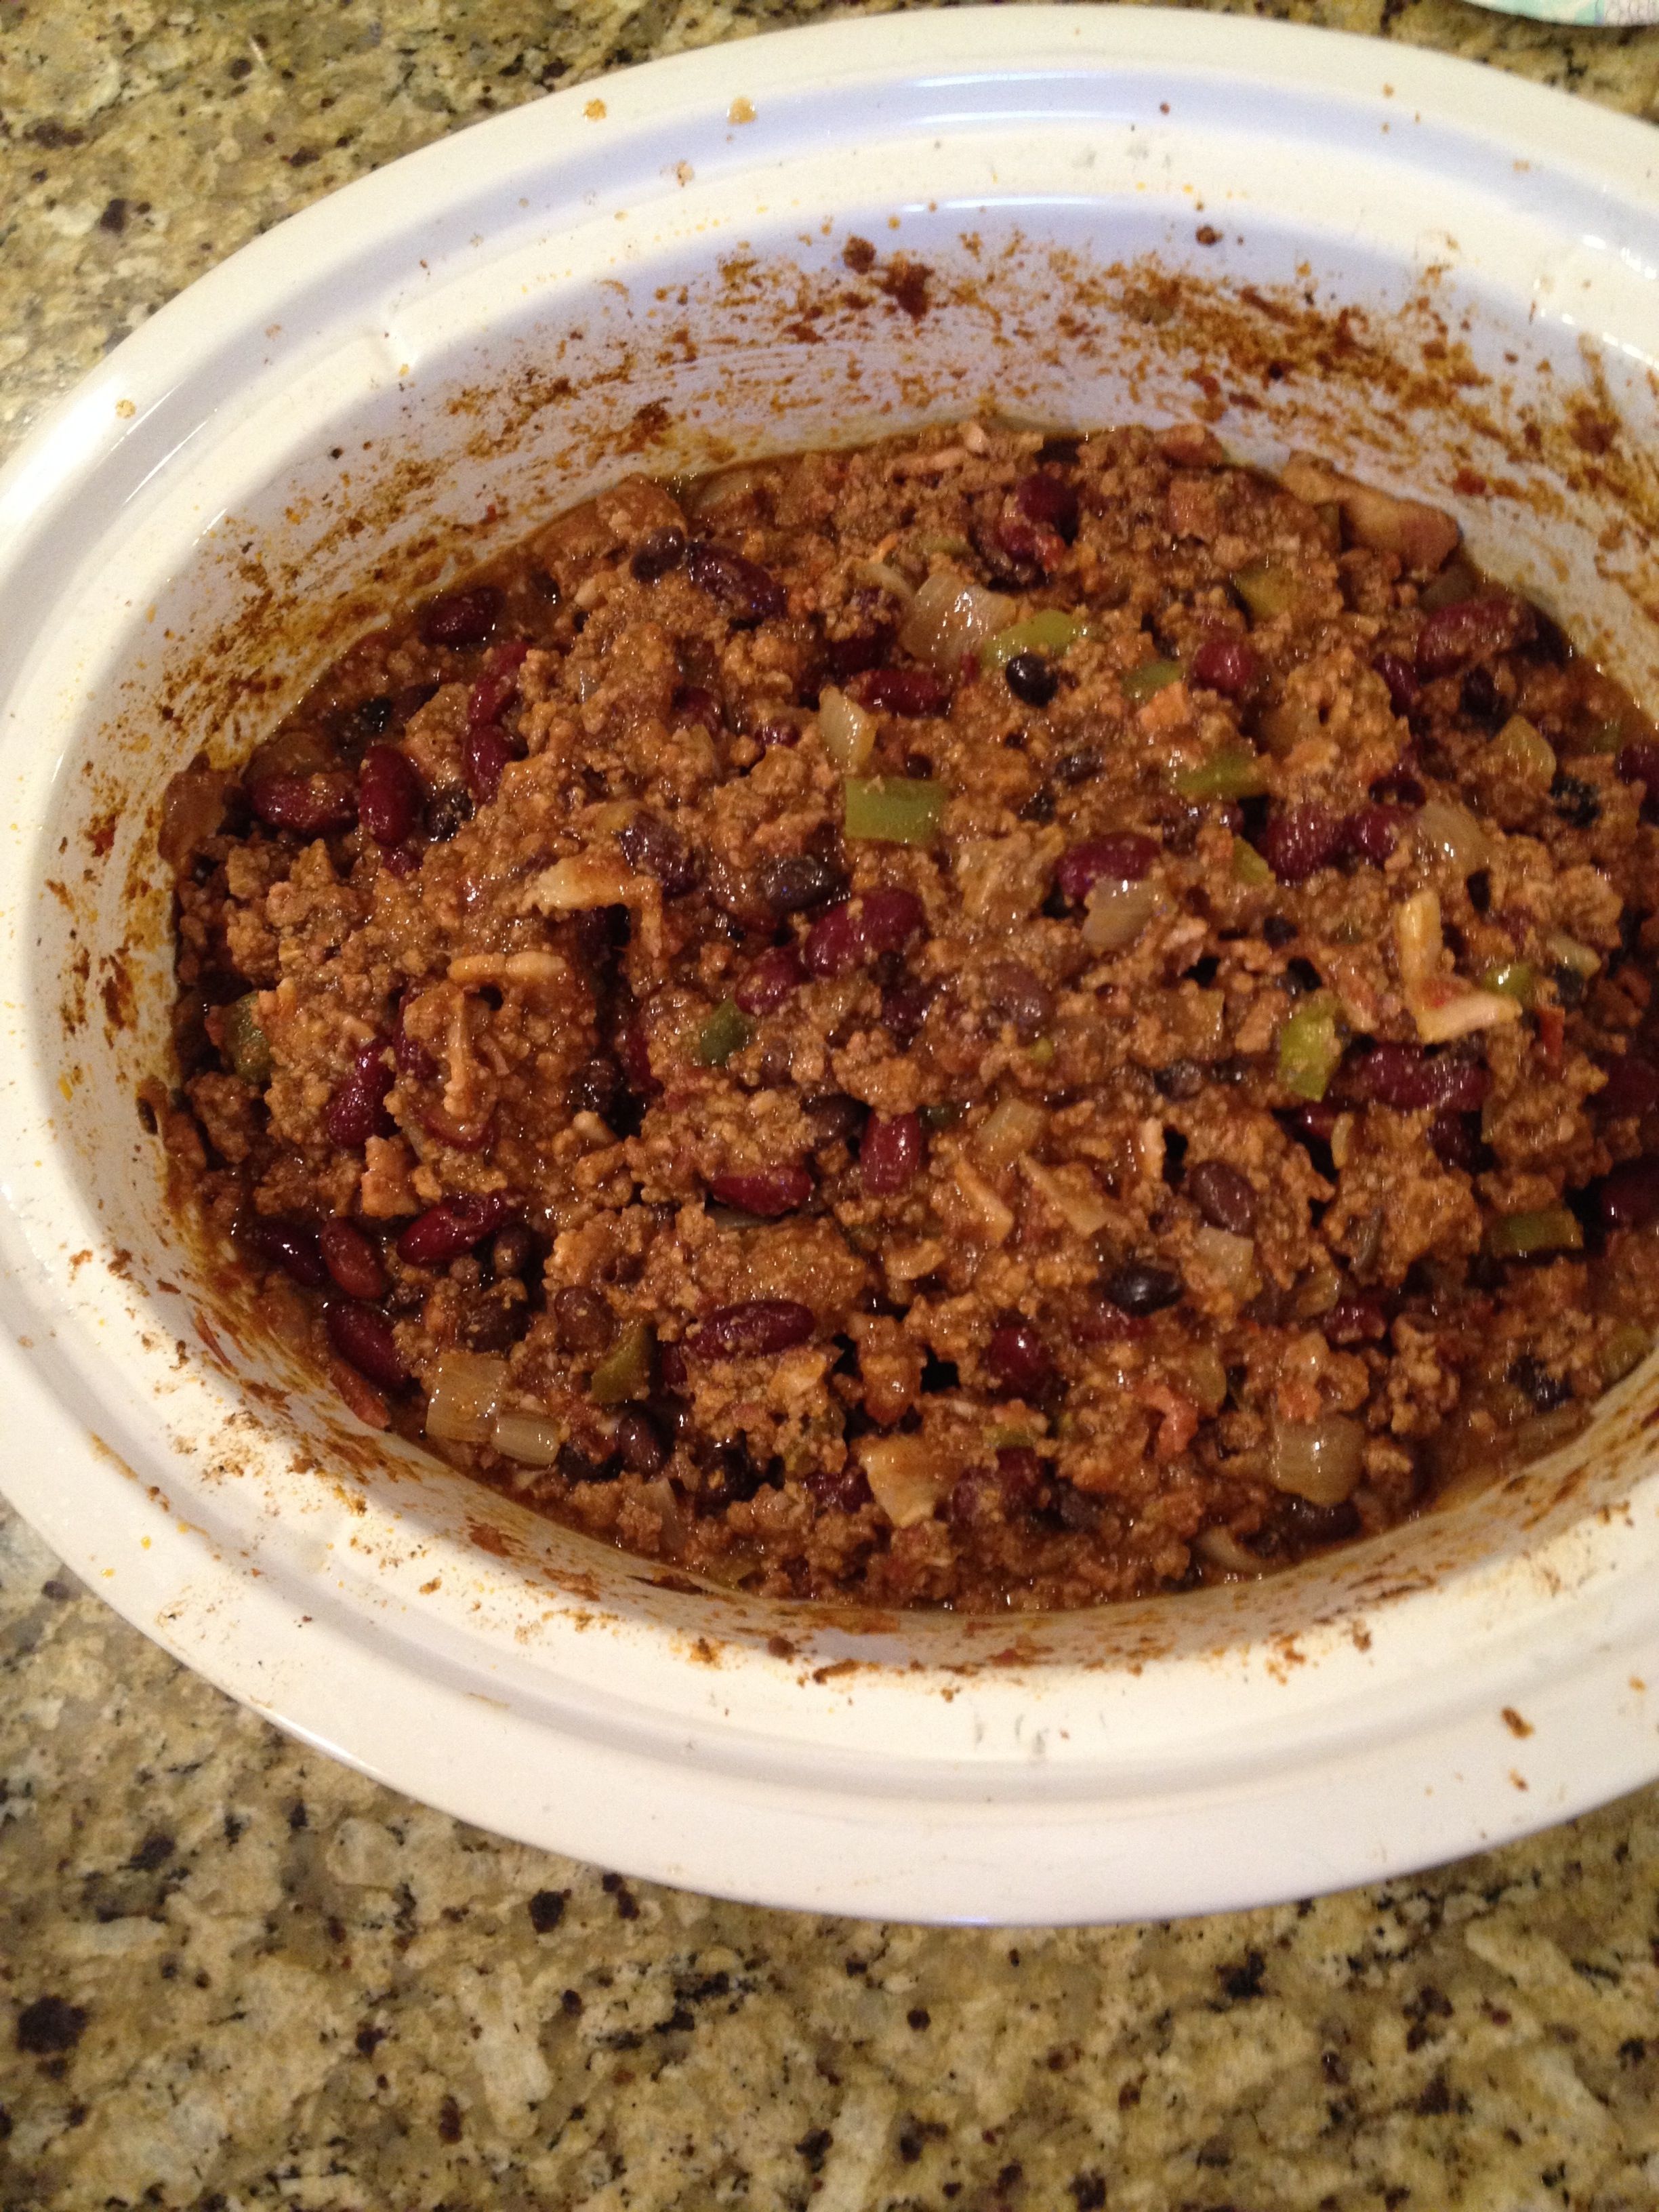
Chop the onions and green pepper, and saute them until soft or translucent. Add to the meat in the crockpot, along with the beans, garlic, and jalapenos. I drain them first, but if you want a little more spice leave the jalapenos juice, and for a less thick chili don’t drain the beans. Last, add all the rest of the ingredients and stir them in.
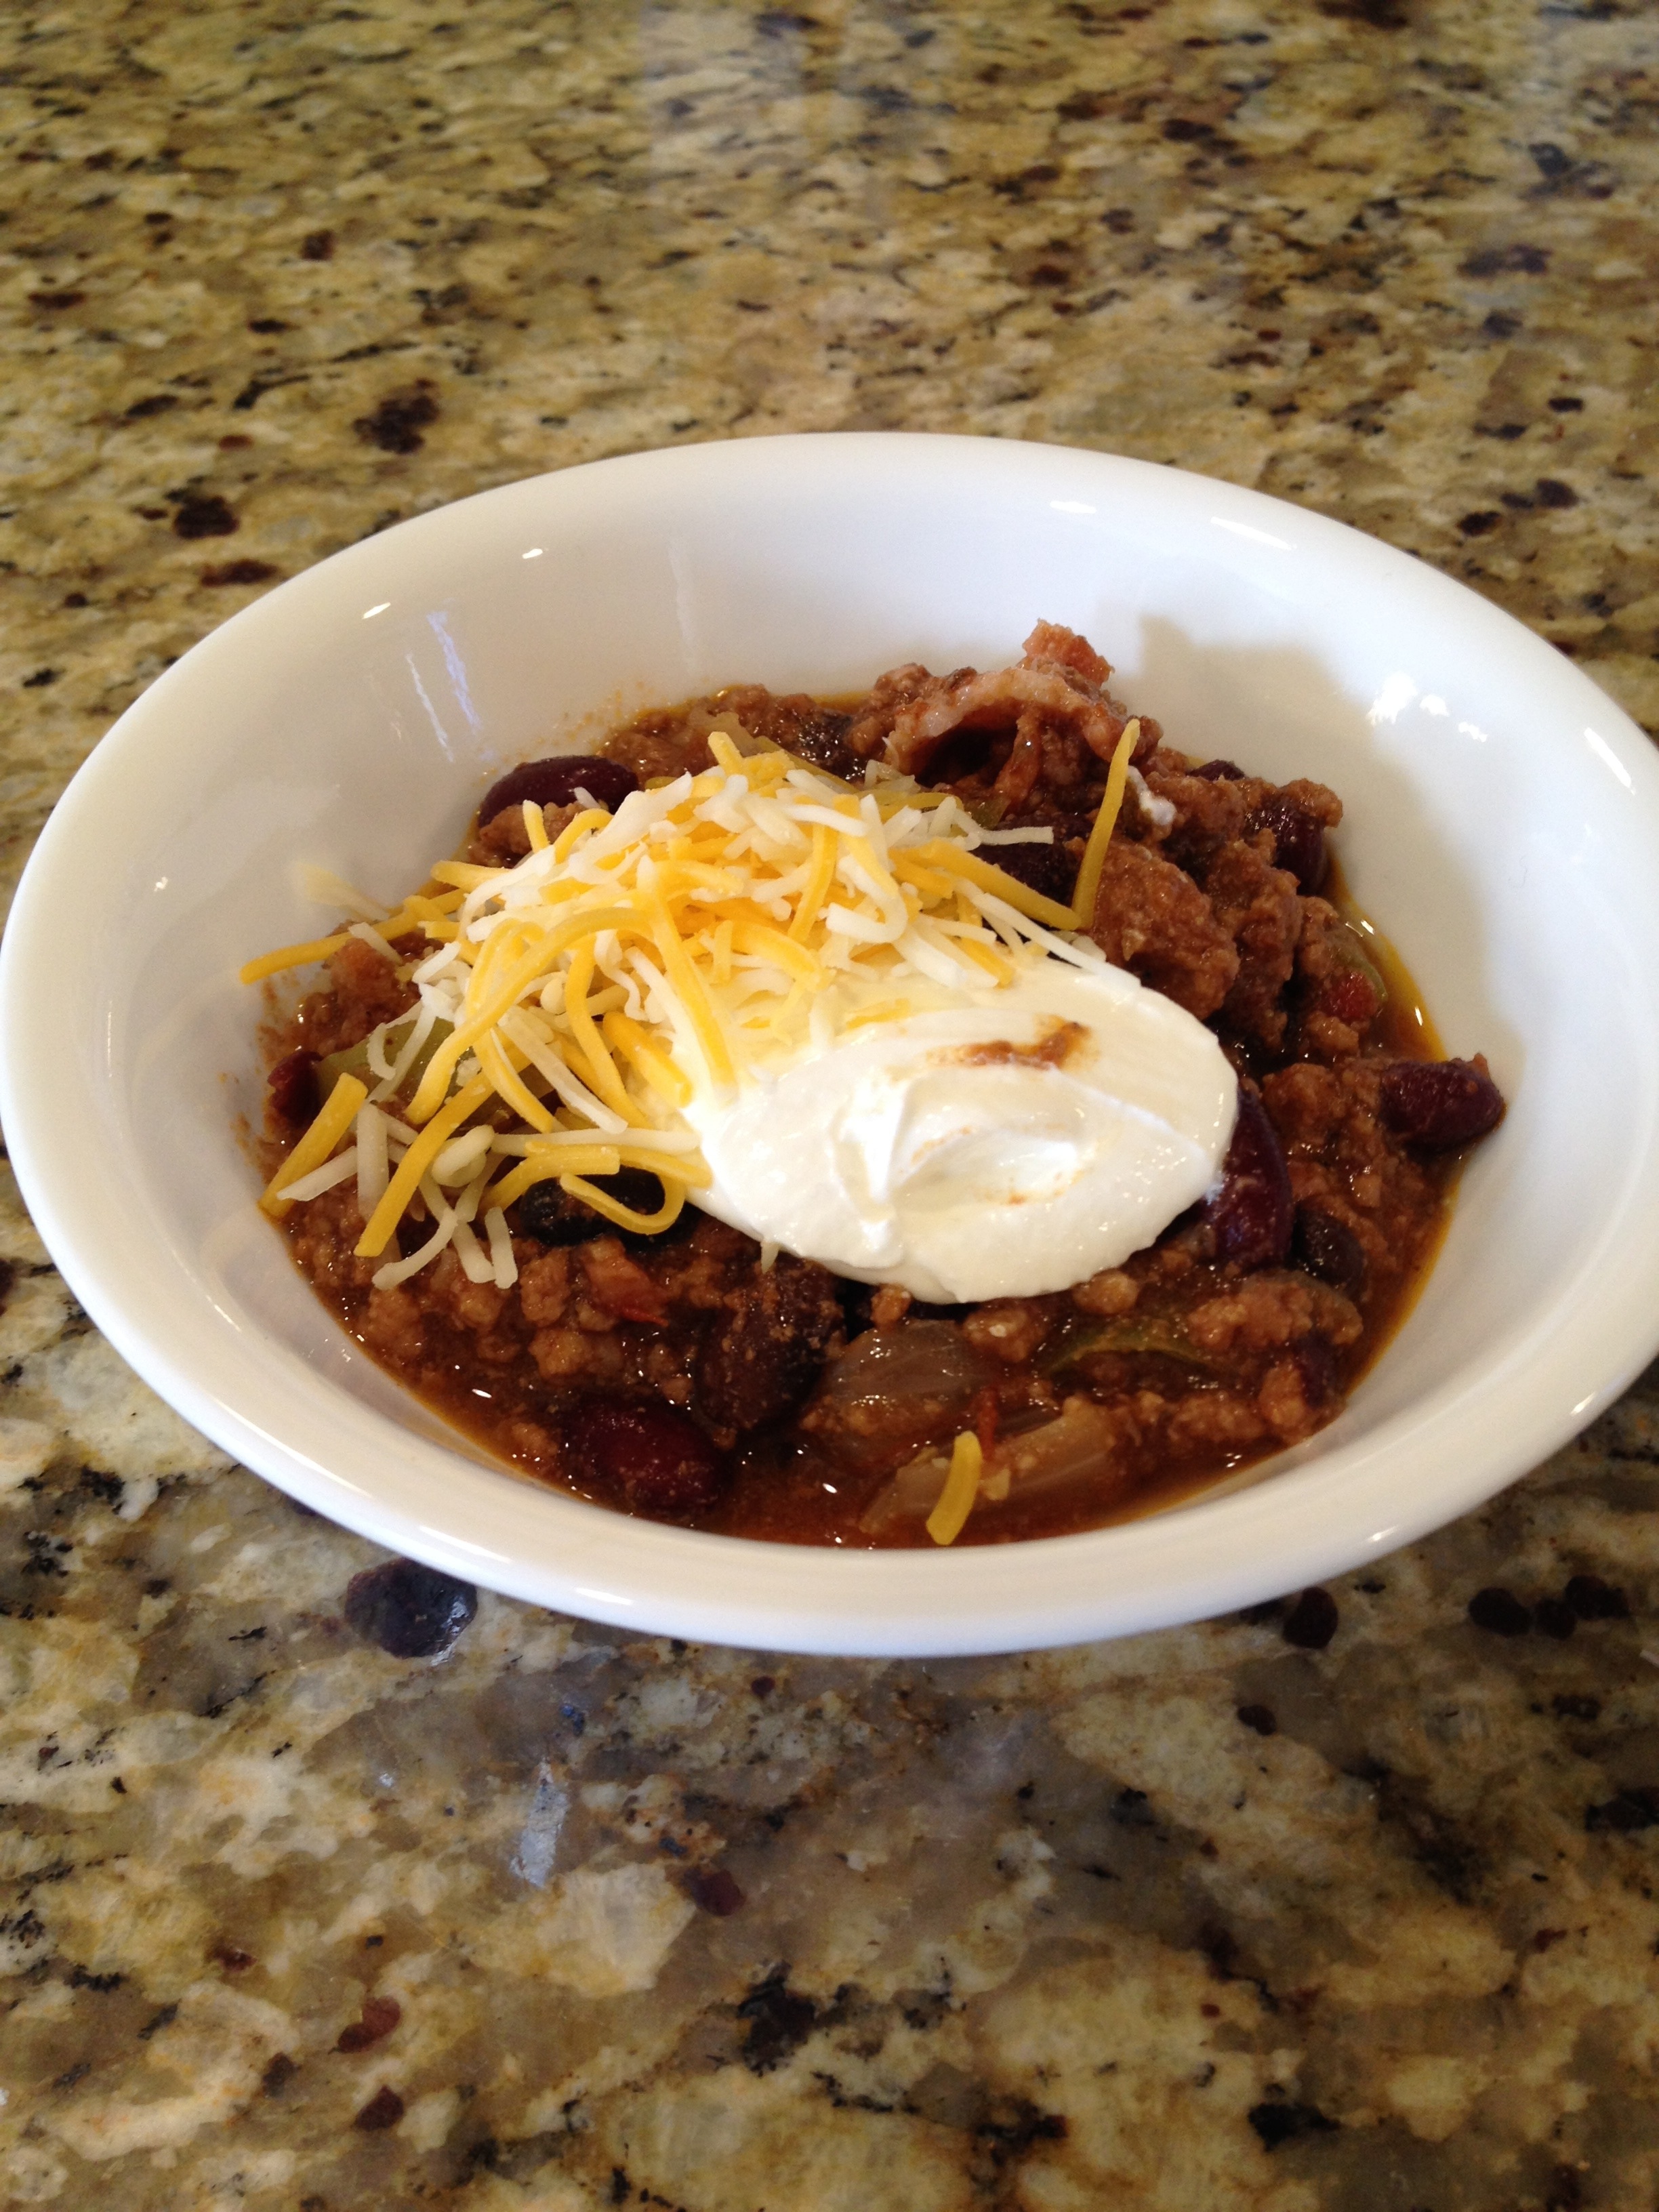
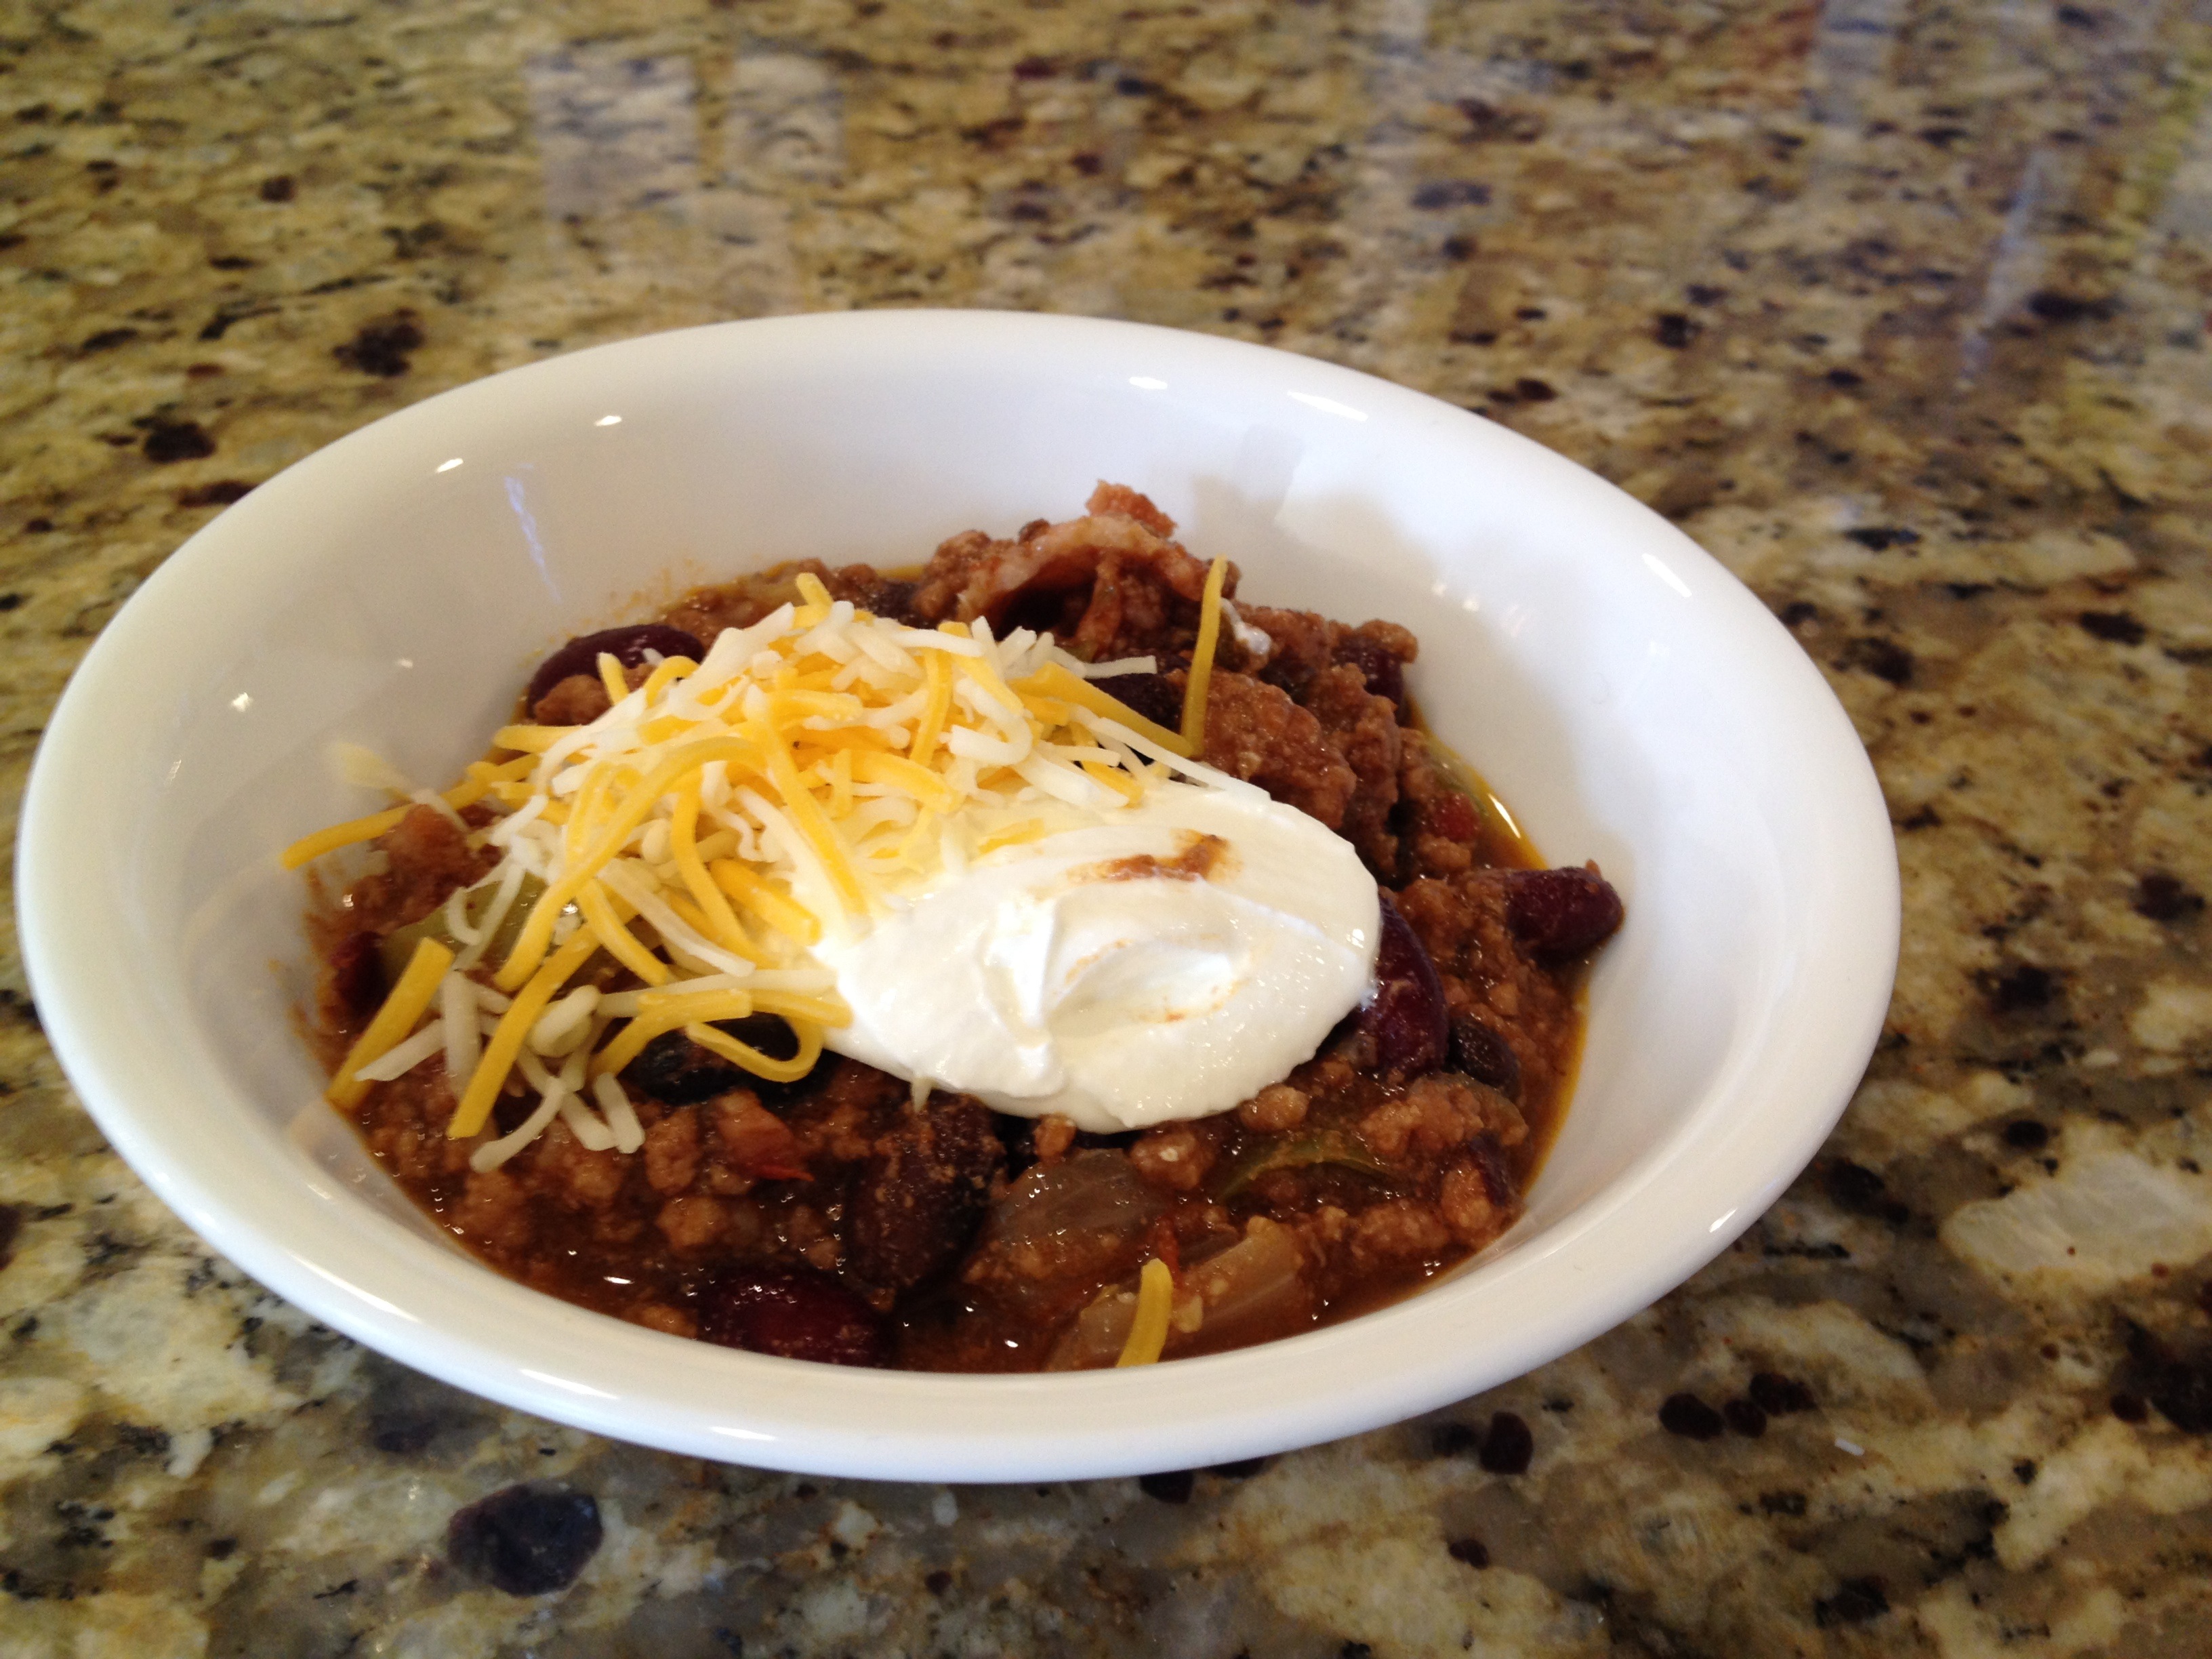
 Simmer for a few hours. Then mix the corn starch and cold water until there are no lumps, and stir it into the hot chili. Then serve some hot, with sour cream and cheese, and enjoy!
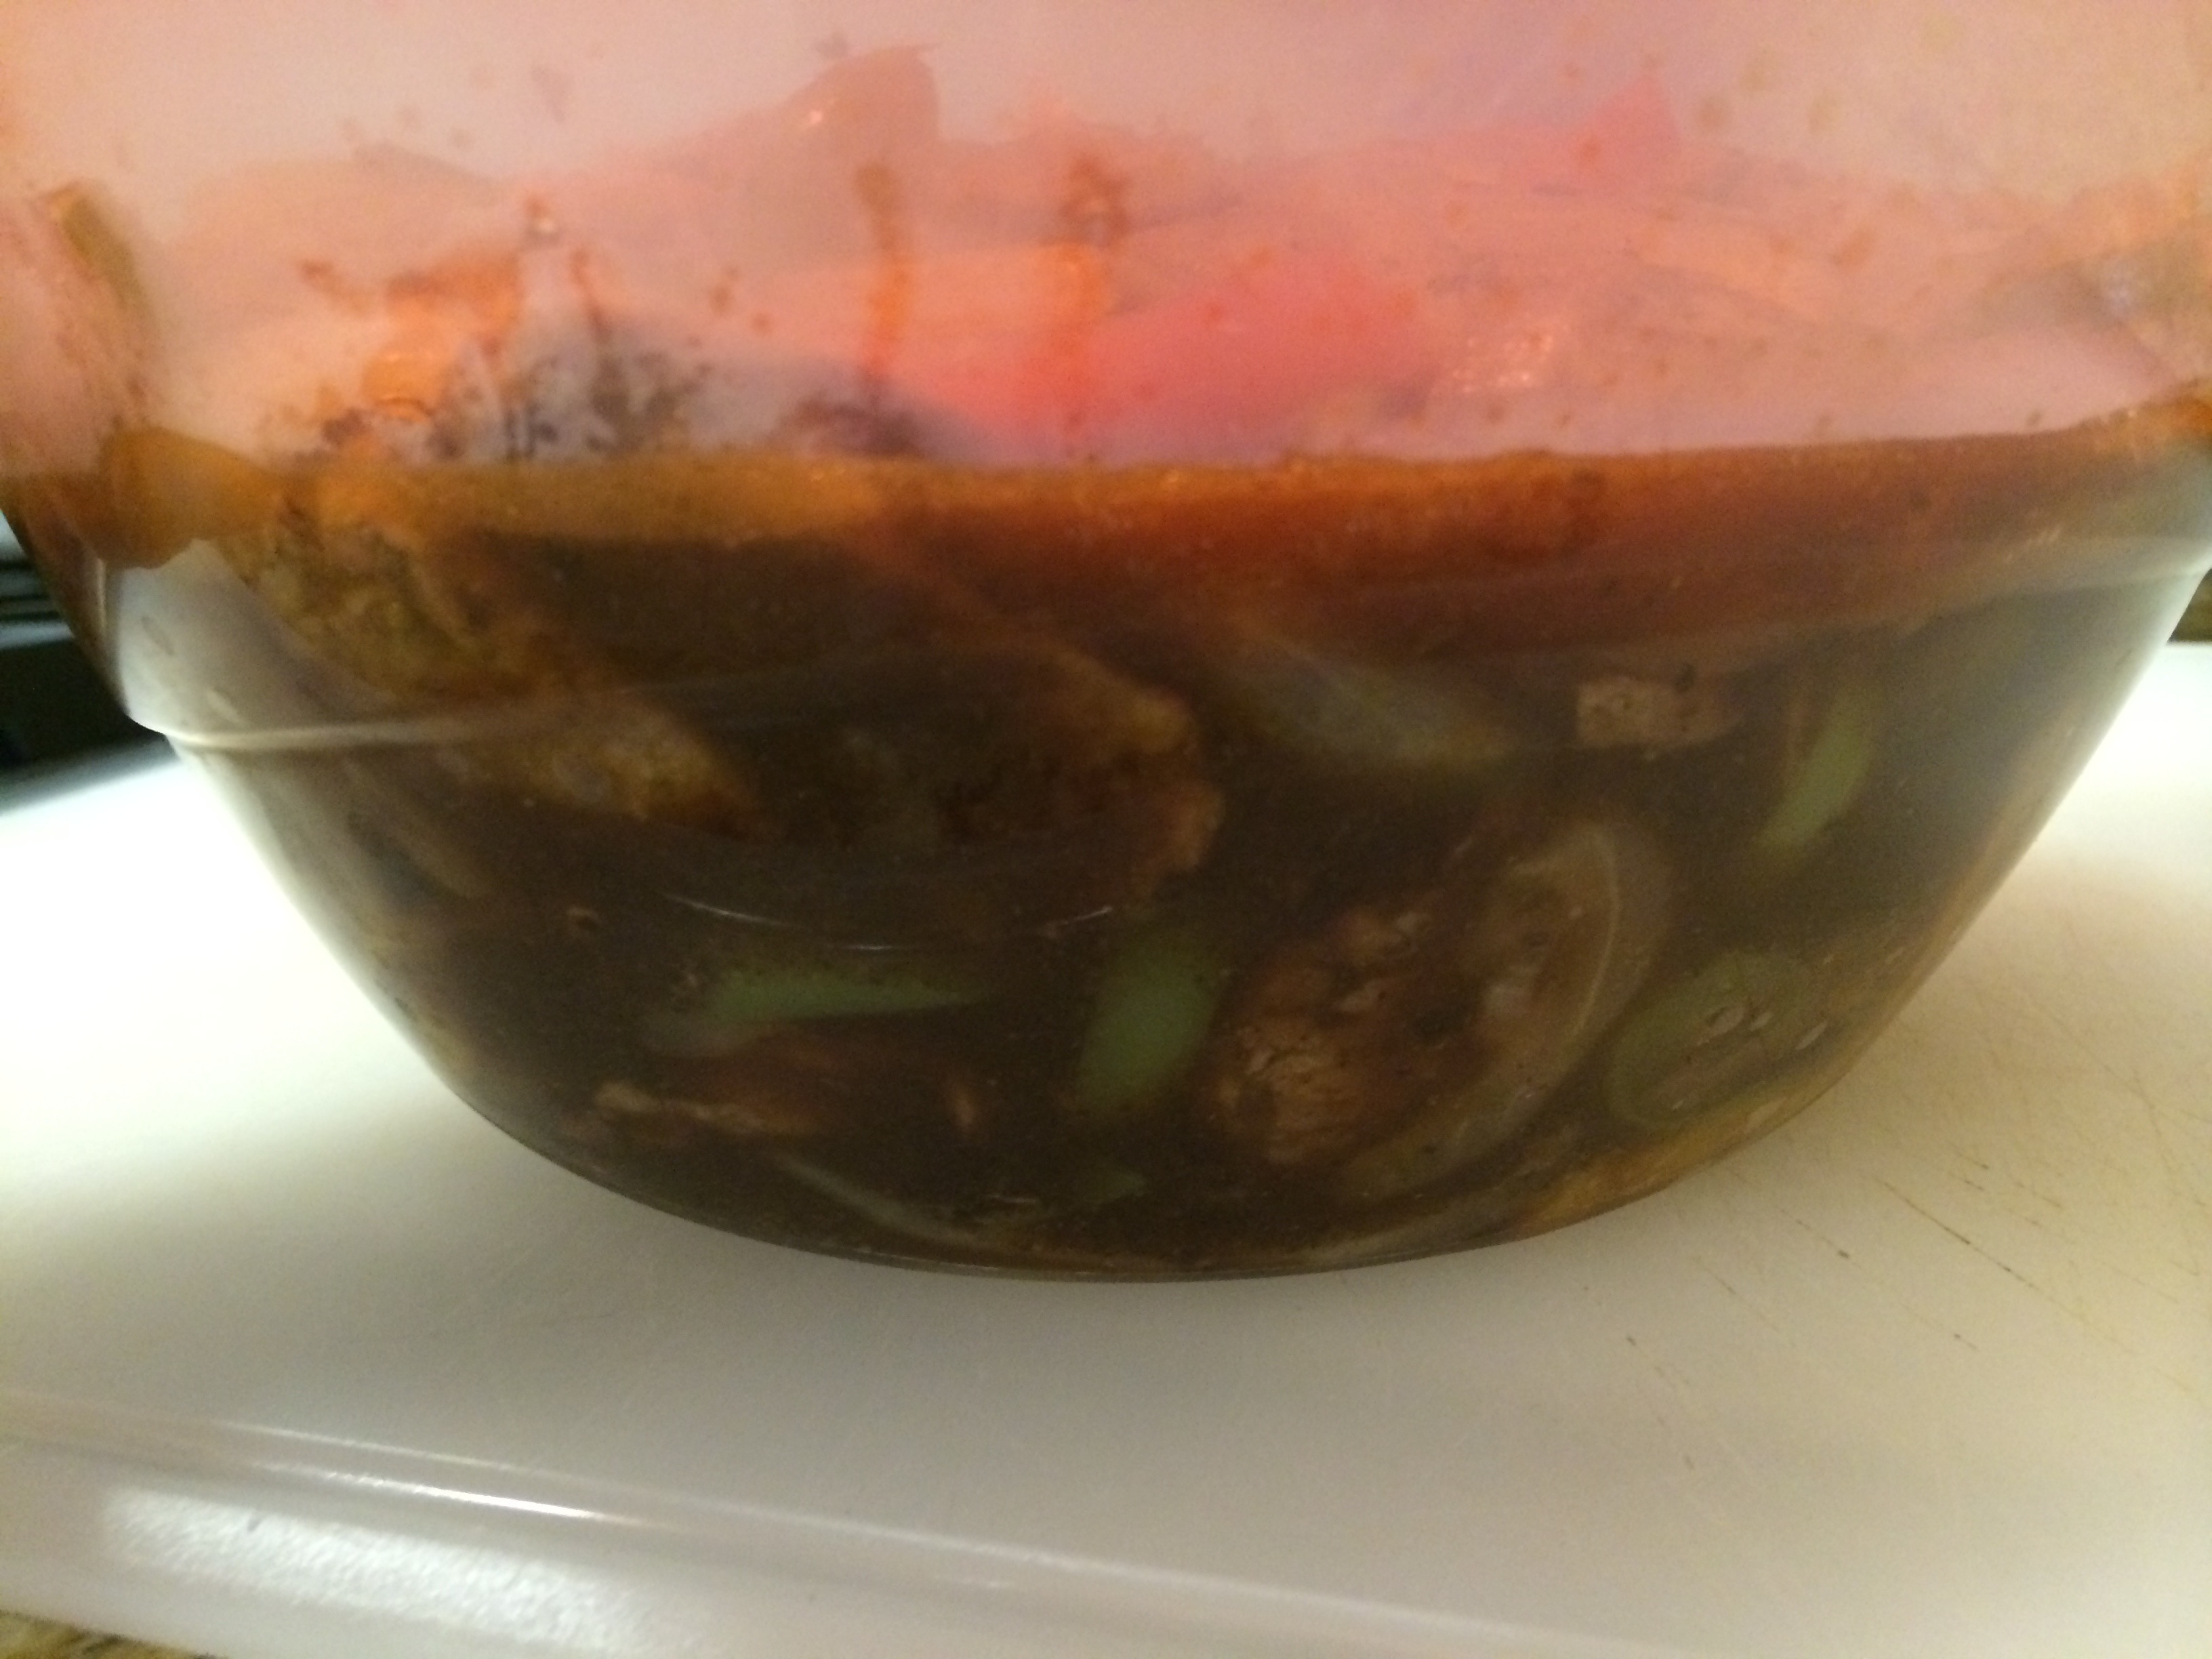
Or refrigerate overnight and reheat. That will allow the flavors to blend even more. Then serve with sour cream and shredded cheese. And enjoy.
 And, of course, modify it as you wish.
Edit: yeah, I lost in a local chili cook-off. Well, I came in fourth. I talked to the judge after, and he was judging almost solely on chili powder flavor. To him, a chili is all about that specific flavor, and mine wasn’t. Feel free to spice this as you like; after all, food, like art, should be catered to it’s audience.
NOTE: I have been informed by some of my friends that this is a “really spicy chili”. Other friends answer that with “No way, it’s just enough heat to be a chili”. I don’t think it is particularly spicy, and several of my kids enjoy it. However, if you are not a fan of spice, and don’t want the jalapenos, you can leave them out or replace them with mild green chilis. Or you can make it as listed and add a dollop of sour cream and some cheese to your bowl to mild it out a little. Your mileage may vary, and everyone’s tastes are different. As always, alter any of my recipes to your own taste, pallet, profile, etc.
- 3 lbs hamburger
- ½ lb bacon
- 1 - 28 oz can crushed tomatoes
- 3 - 15 oz cans beans (2 red kidney beans and 1 black beans)
- 1 - 4 oz can diced jalapenos
- 3 cloves garlic
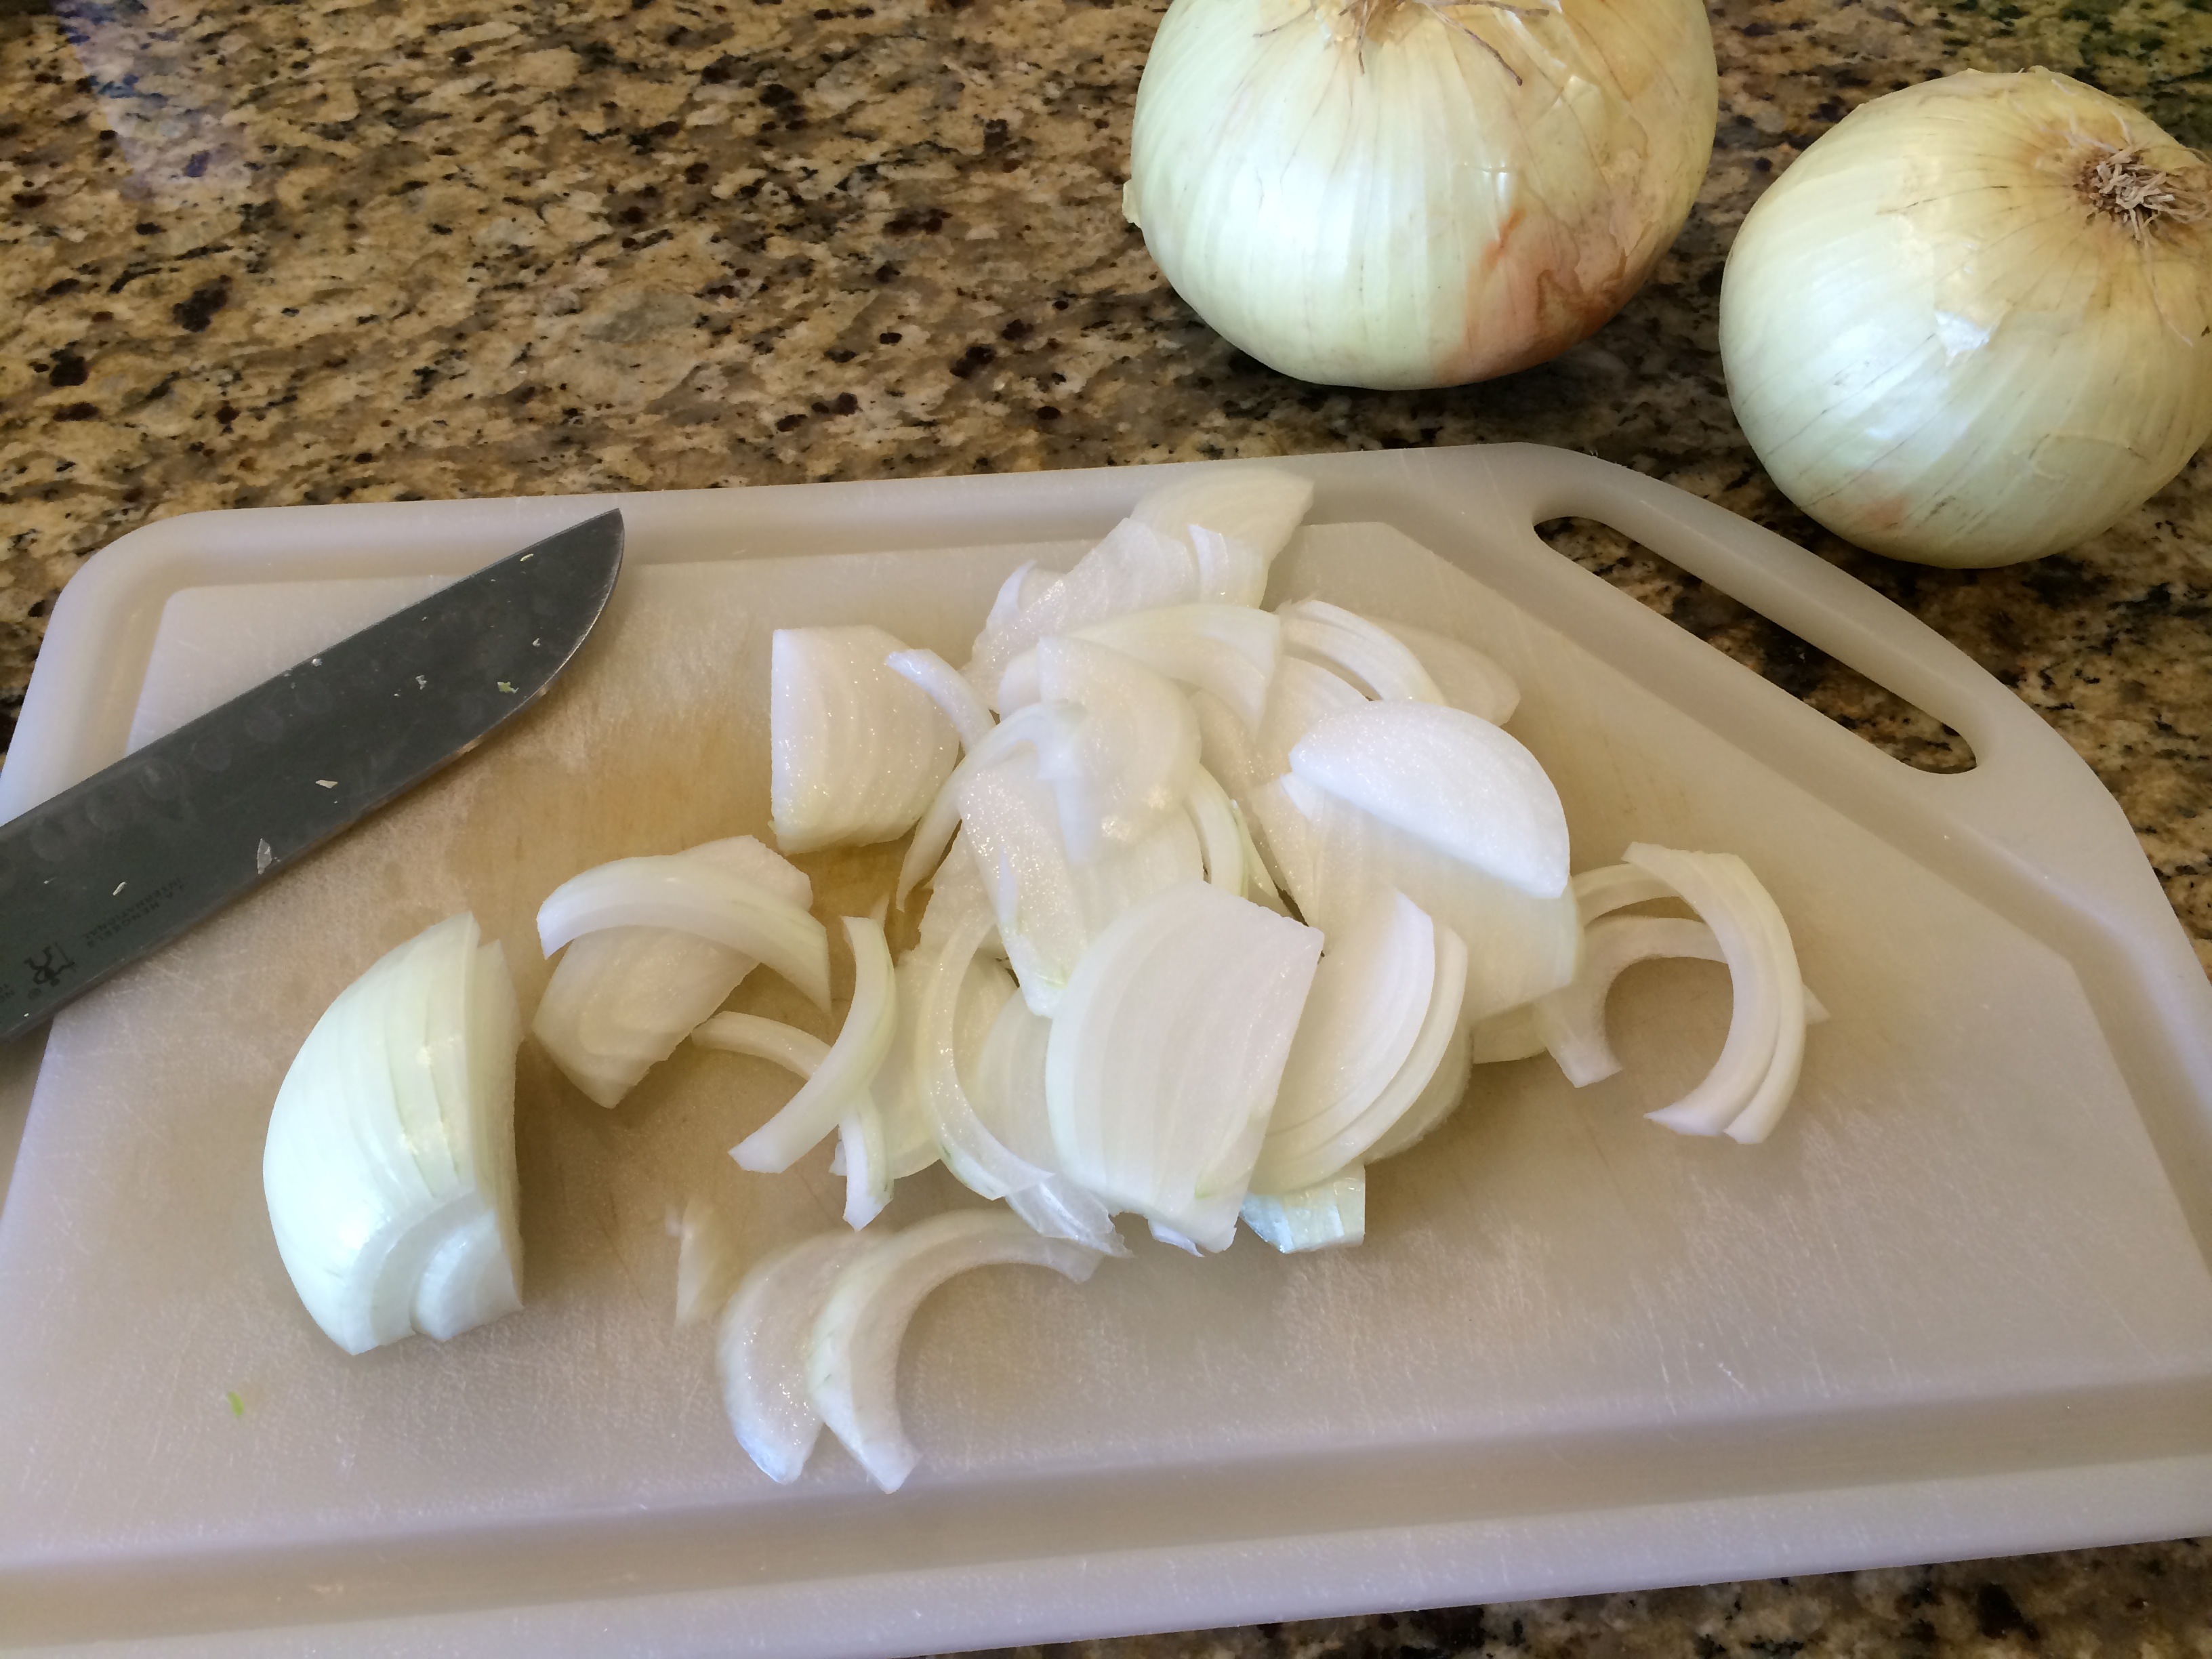
- 1 large onion
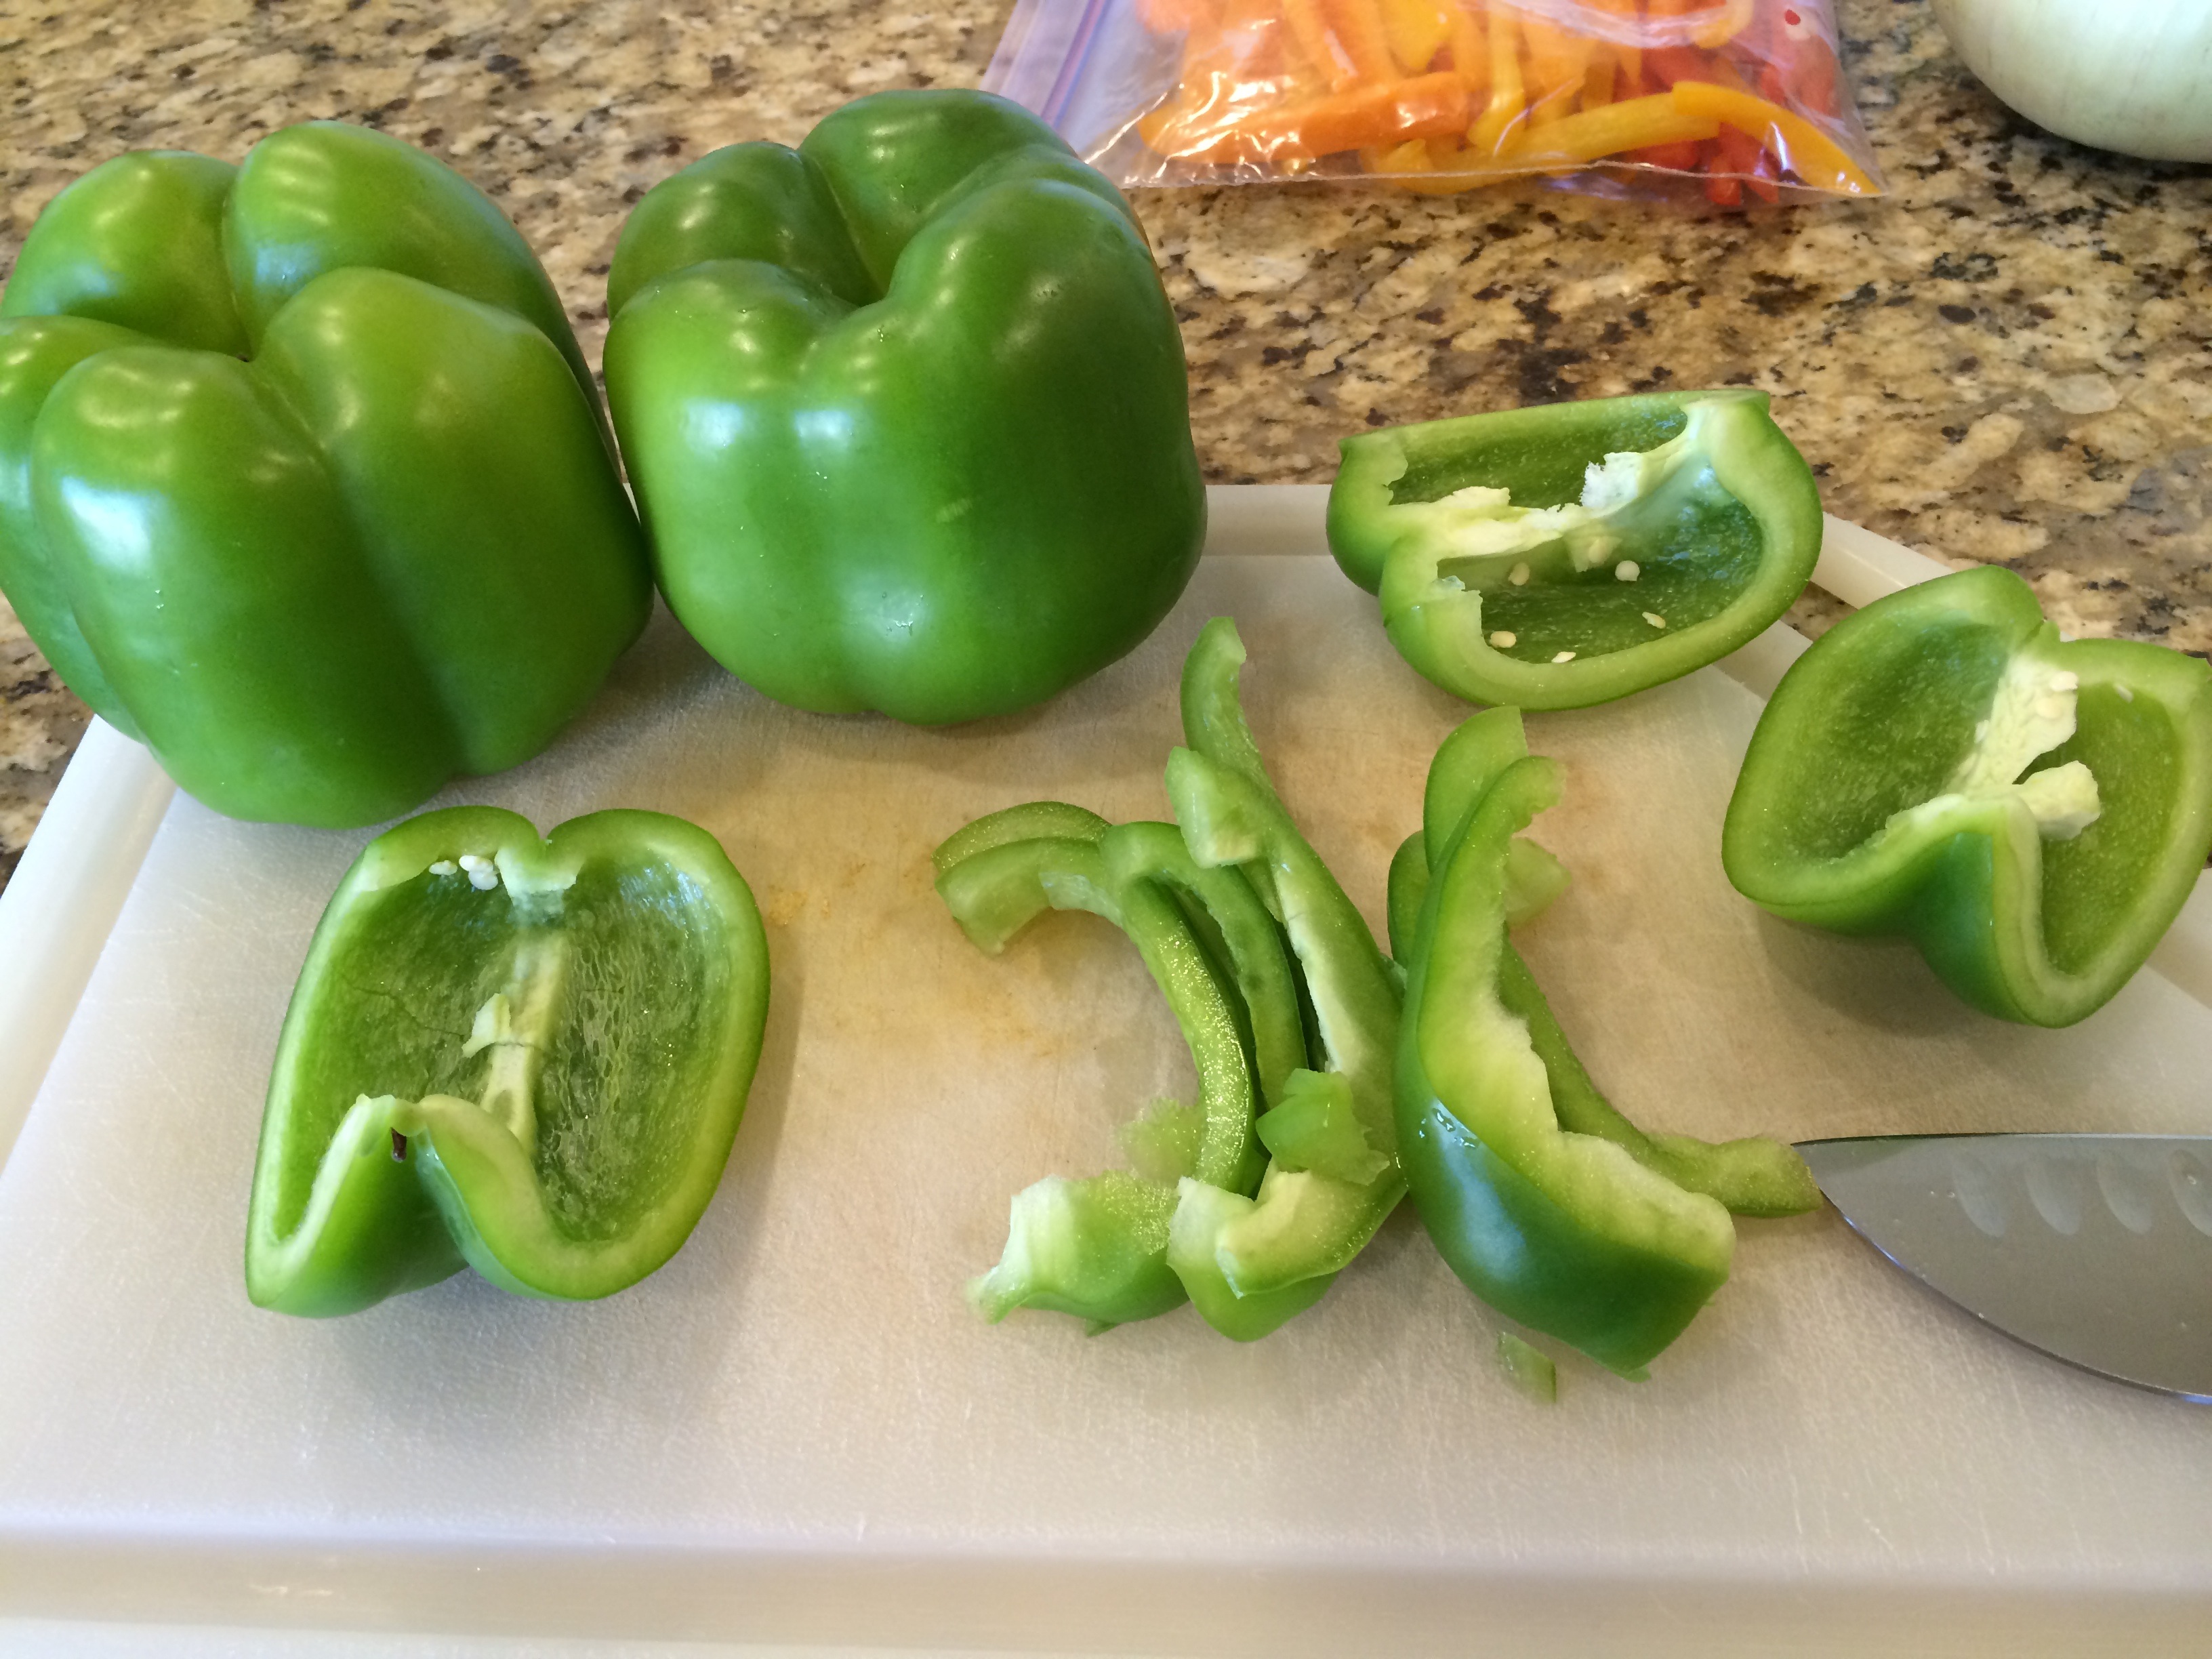
- 1 green pepper
- 1 Tablespoon sugar
- 1 Tablespoon Apple Cider Vinegar
- ½ Tablespoon Worcestershire sauce
- 2 teaspoons salt
- 1 teaspoon black pepper
- 1 Tablespoon Chili Powder
- ¾ teaspoon Oregano
- ½ teaspoon Cumin
- ⅜ teaspoon paprika (or smoked paprika)
- 3/16 teaspoon thyme
- 2 Tablespoons Corn Starch
- 2 Tablespoon cold water
- Chop up the bacon. Put bacon, hamburger and crushed tomatoes into a crock pot and cook until done falling apart, mixing together, but not all mush). Frozen hamburger can be on high for about 3-4 hours or low overnight)
- Once the meat is done, stir in the beans, jalapenos, and garlic. I drain the beans and jalapenos, but if you want a less thick chili don't drain the beans, and if you want a slightly spicier chili, don't drain the jalapenos.
- Chop the onions and green pepper and saute in a skillet until they are soft. Stir in to the chili.
- Add the rest of the ingredients (minus the corn starch and cold water) to the chili, and stir them in. If you can wait, let it simmer in the crockpot on high for an hour or two. Once the simmer part is done, mix the corn starch and cold water together until there are no lumps, and stir it into the hot chili.
- Serve with sour cream and cheese.
- If you want it even better, put it in the fridge overnight, and reheat it before serving. The flavors will blend and you will have a better chili.