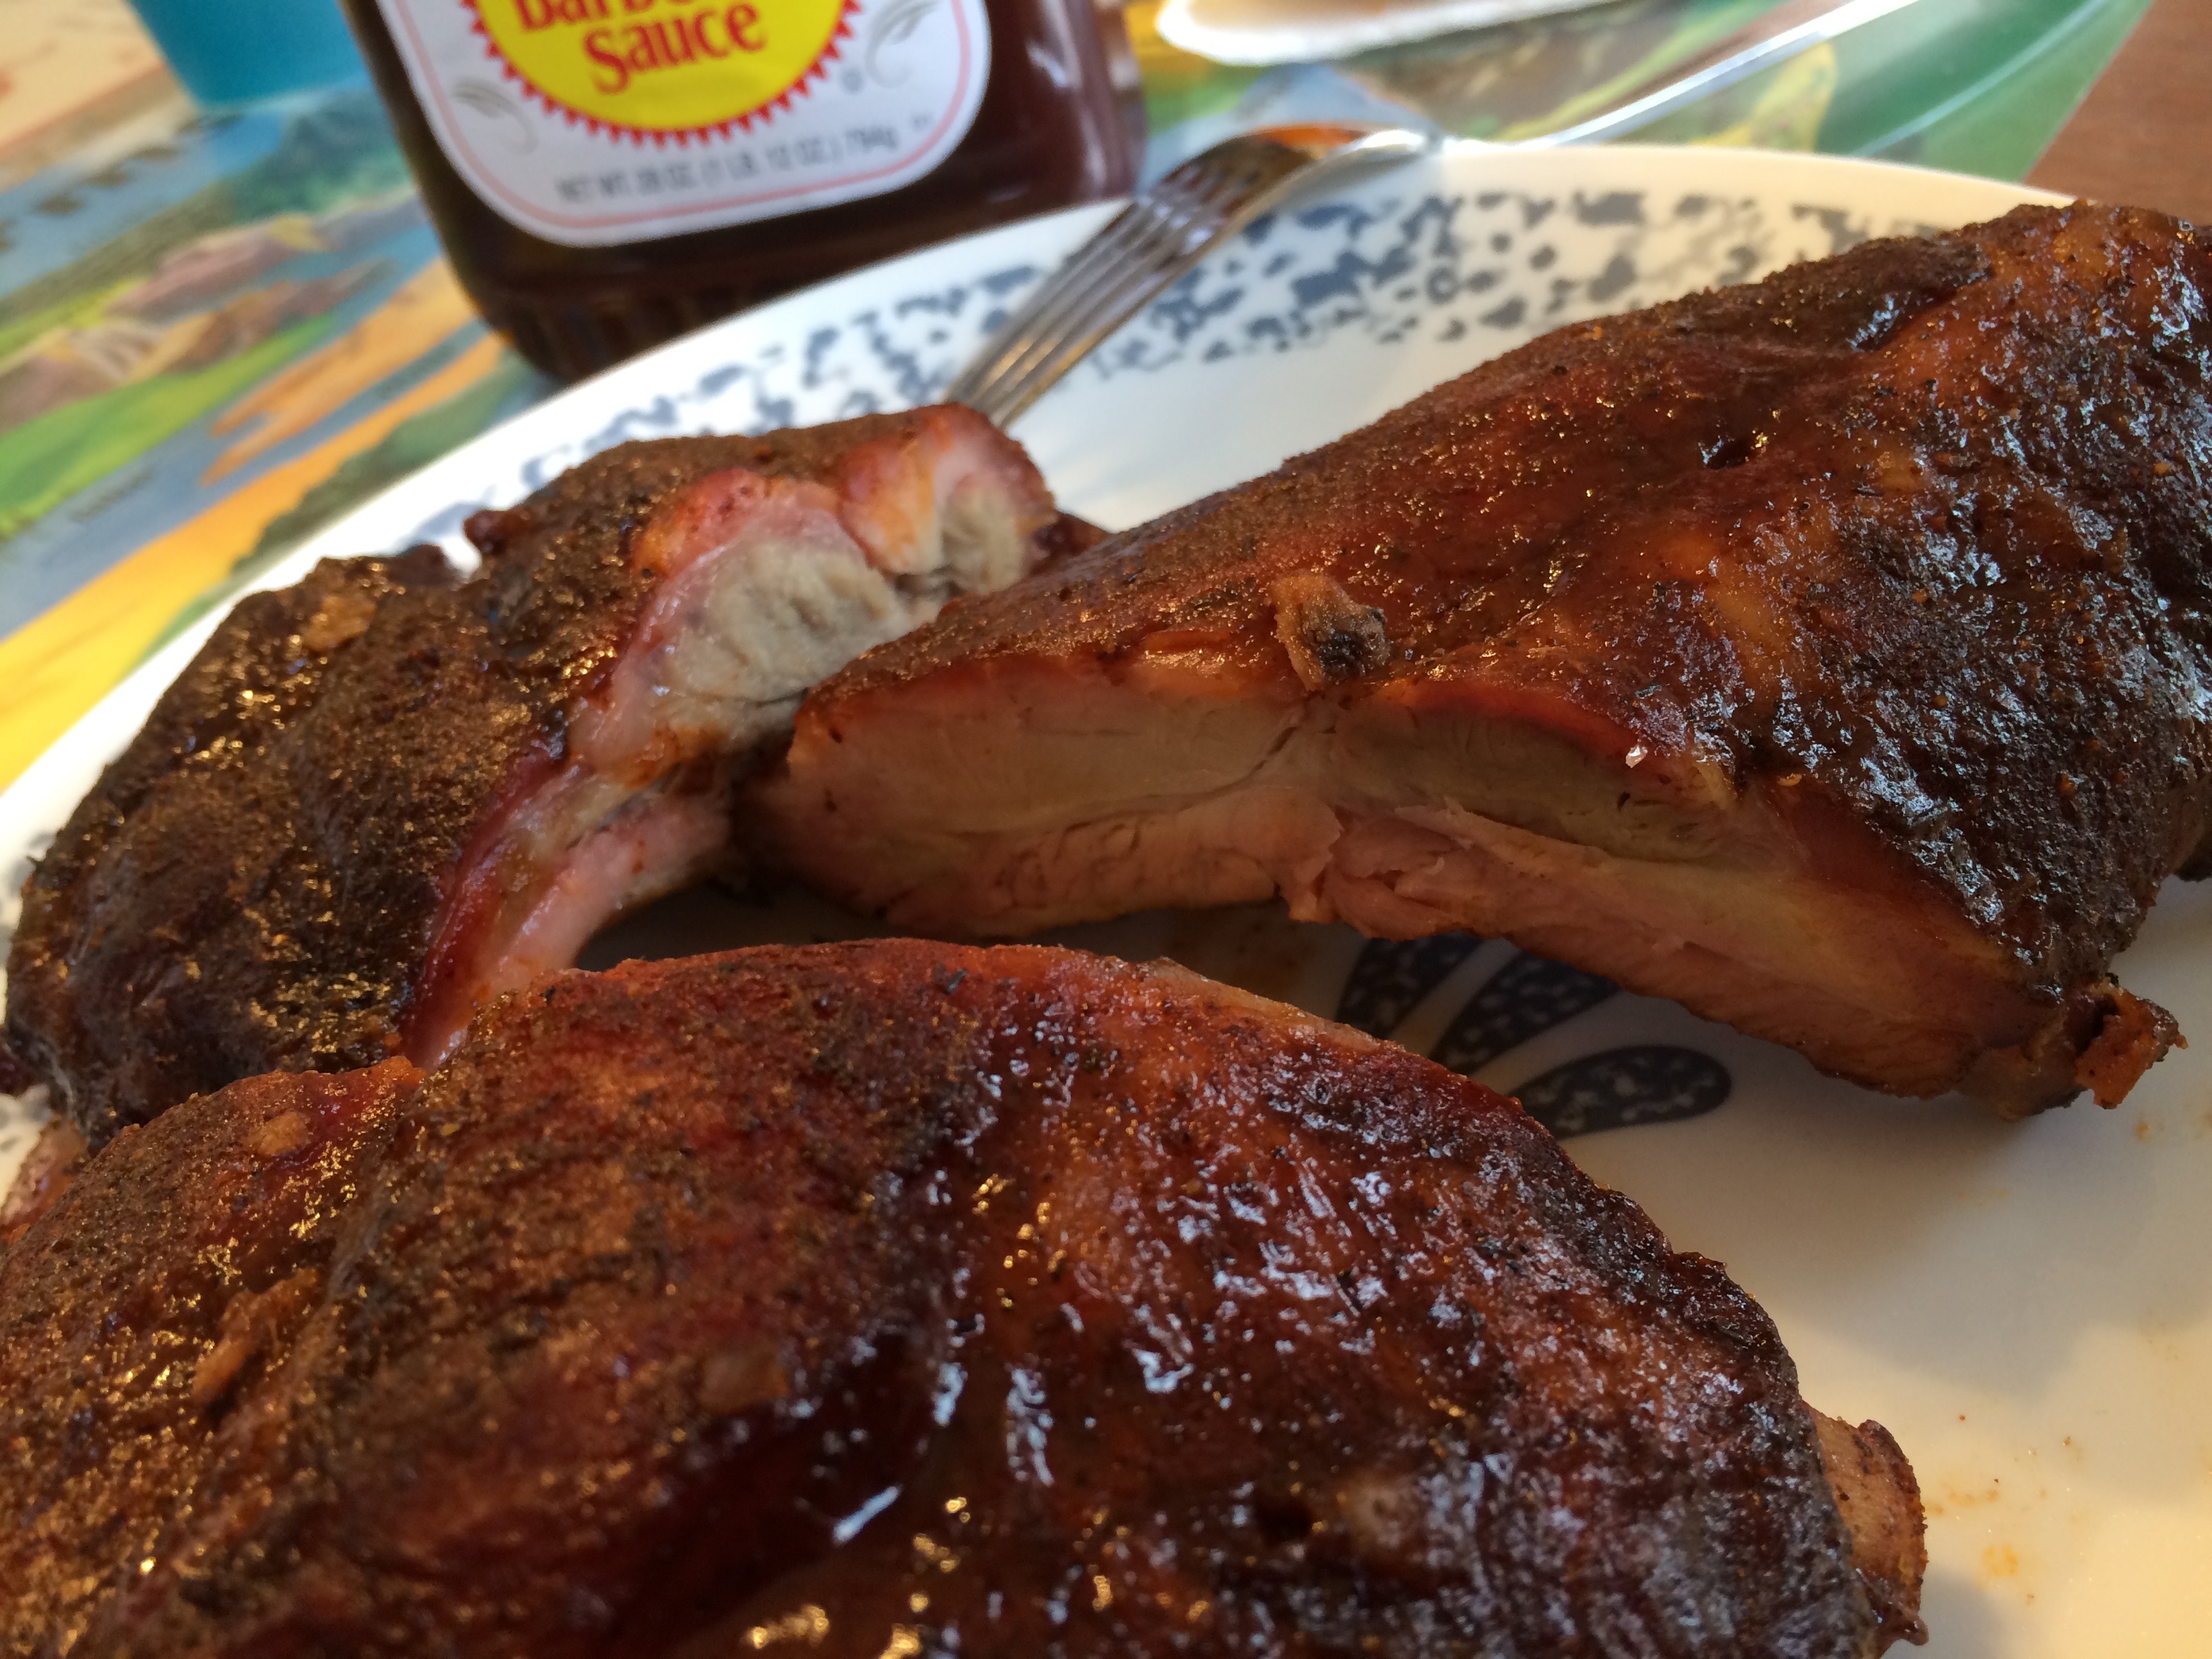
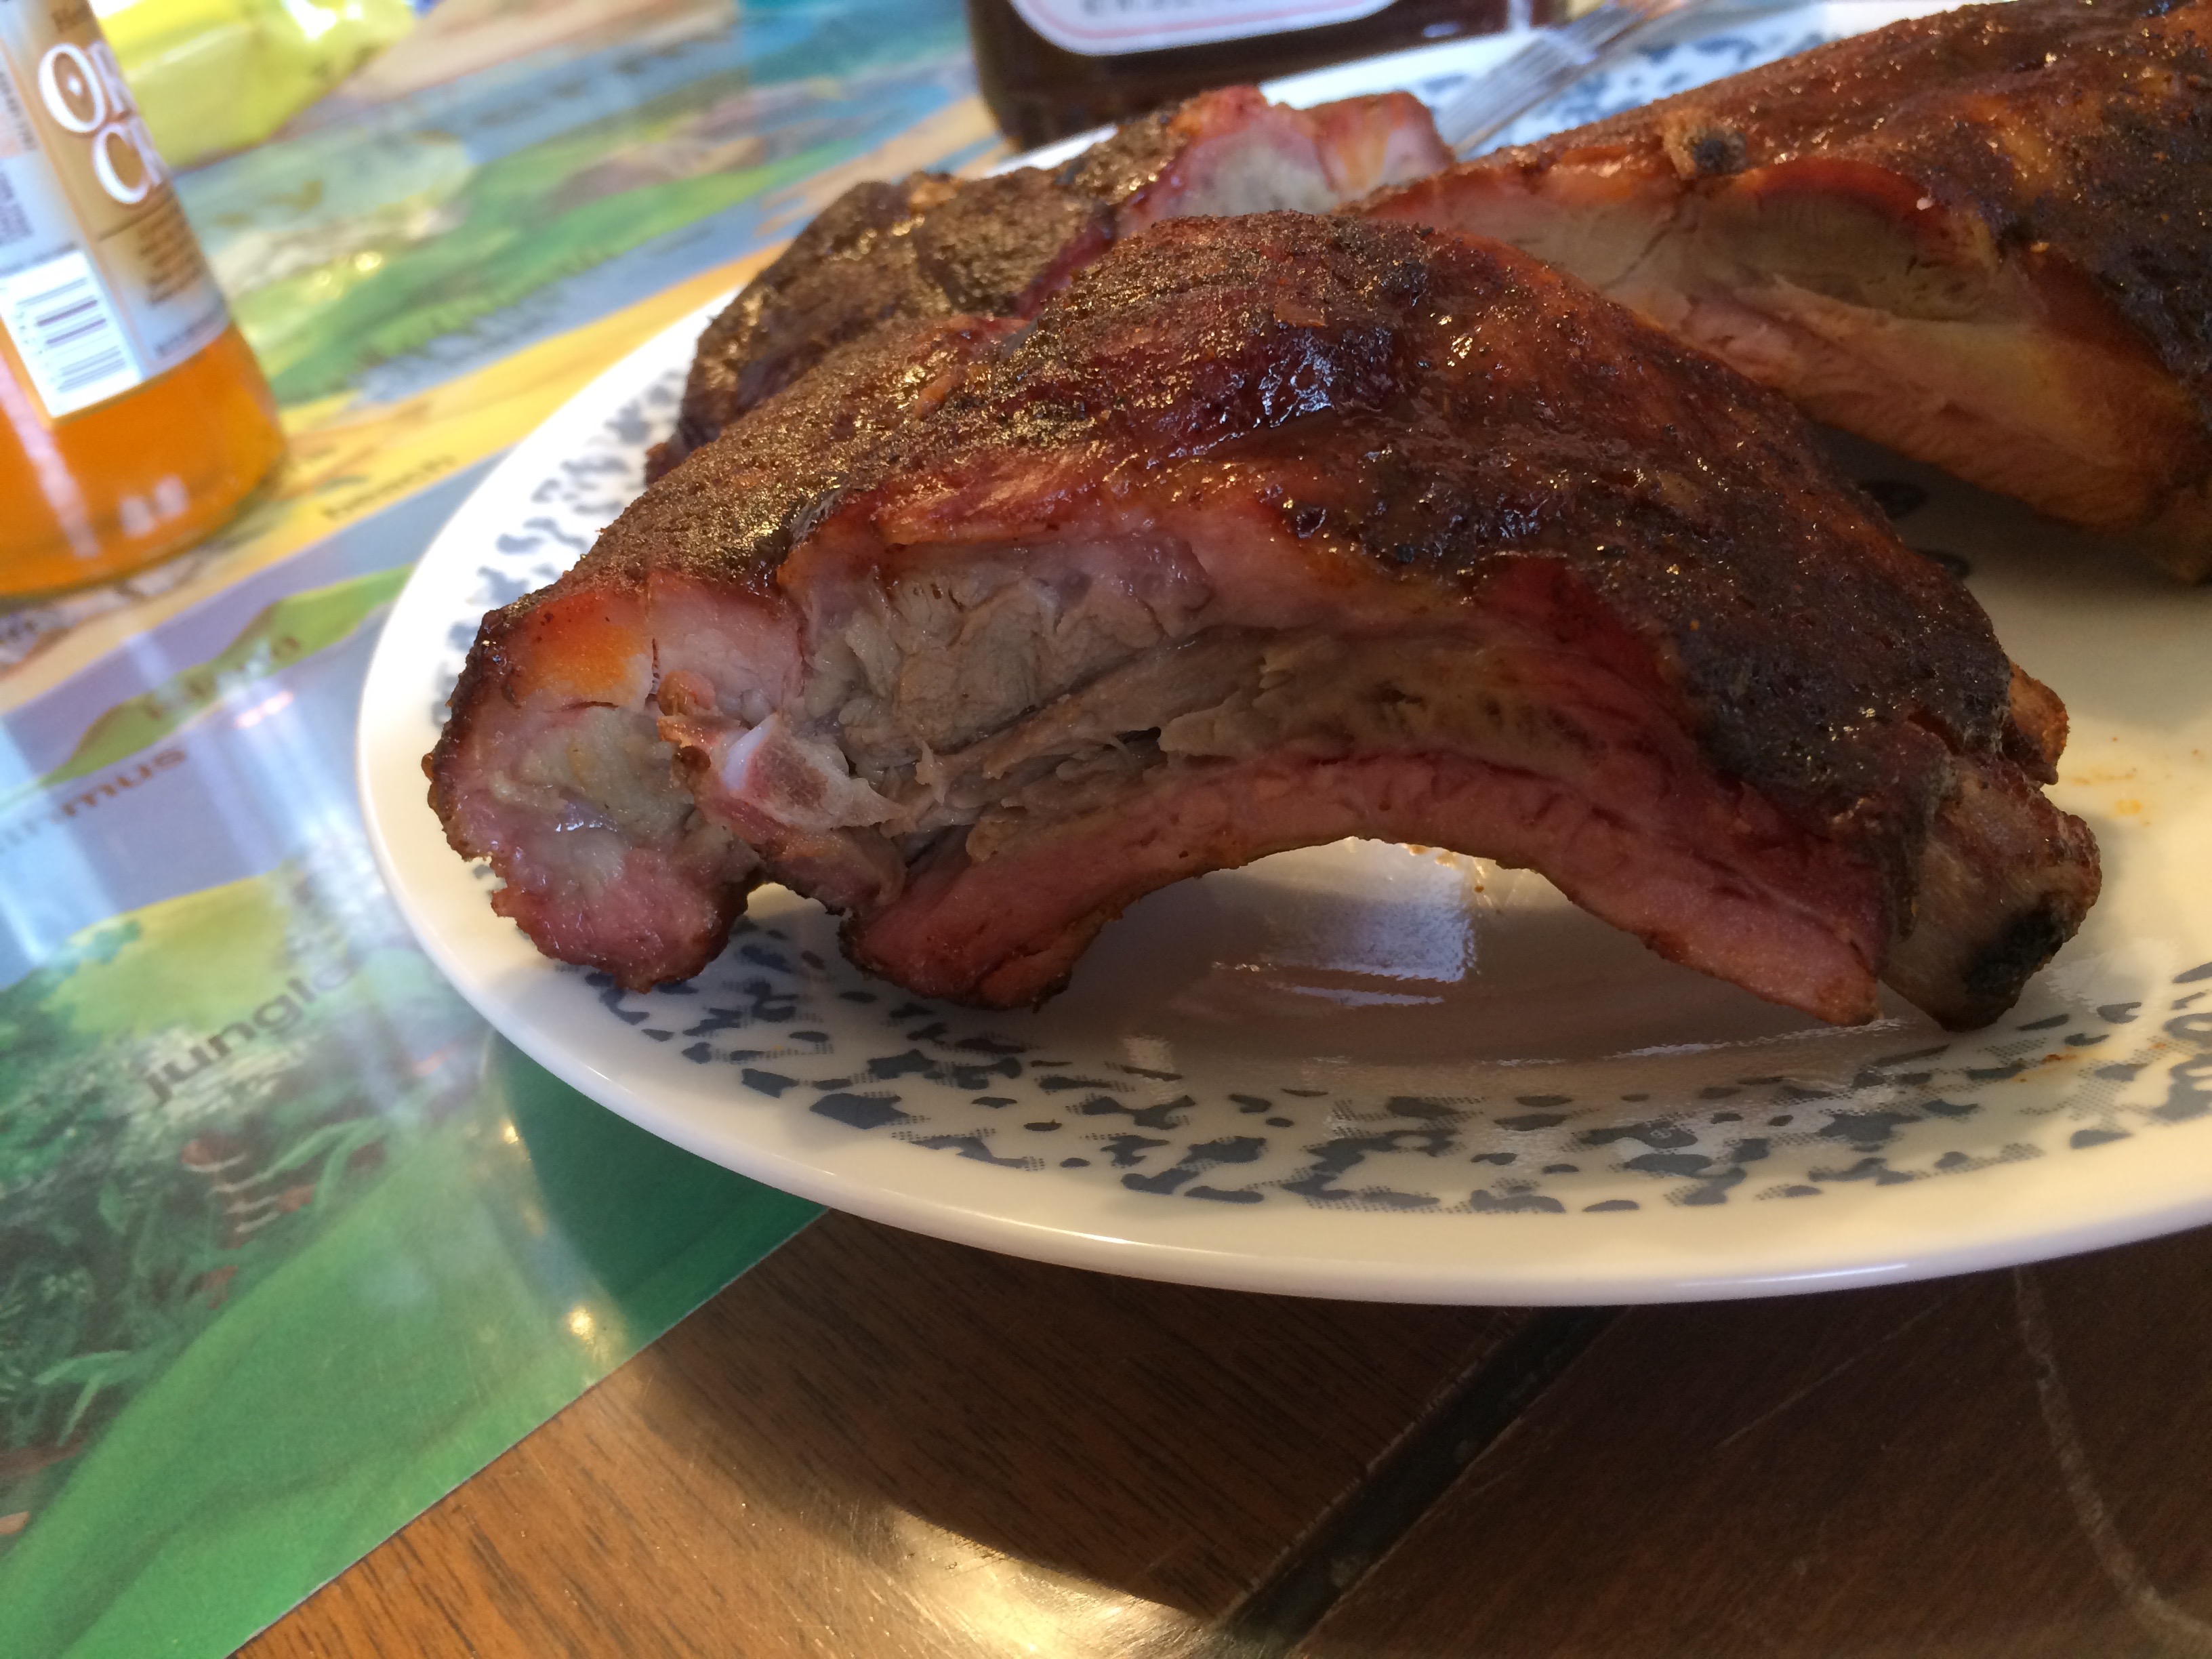
 Mmm, yeah! Baby Back Ribs. It doesn’t get any better than this!
Honestly, I borrowed most of the dry rub from Alton Brown, of Good Eats fame. Great show. It will teach you to cook better than any of those BAM shows or the Blue Tortilla guy ever will.
I like his rub and his braise, but Baby Back Ribs should have smoke. ‘Nuff said on that.
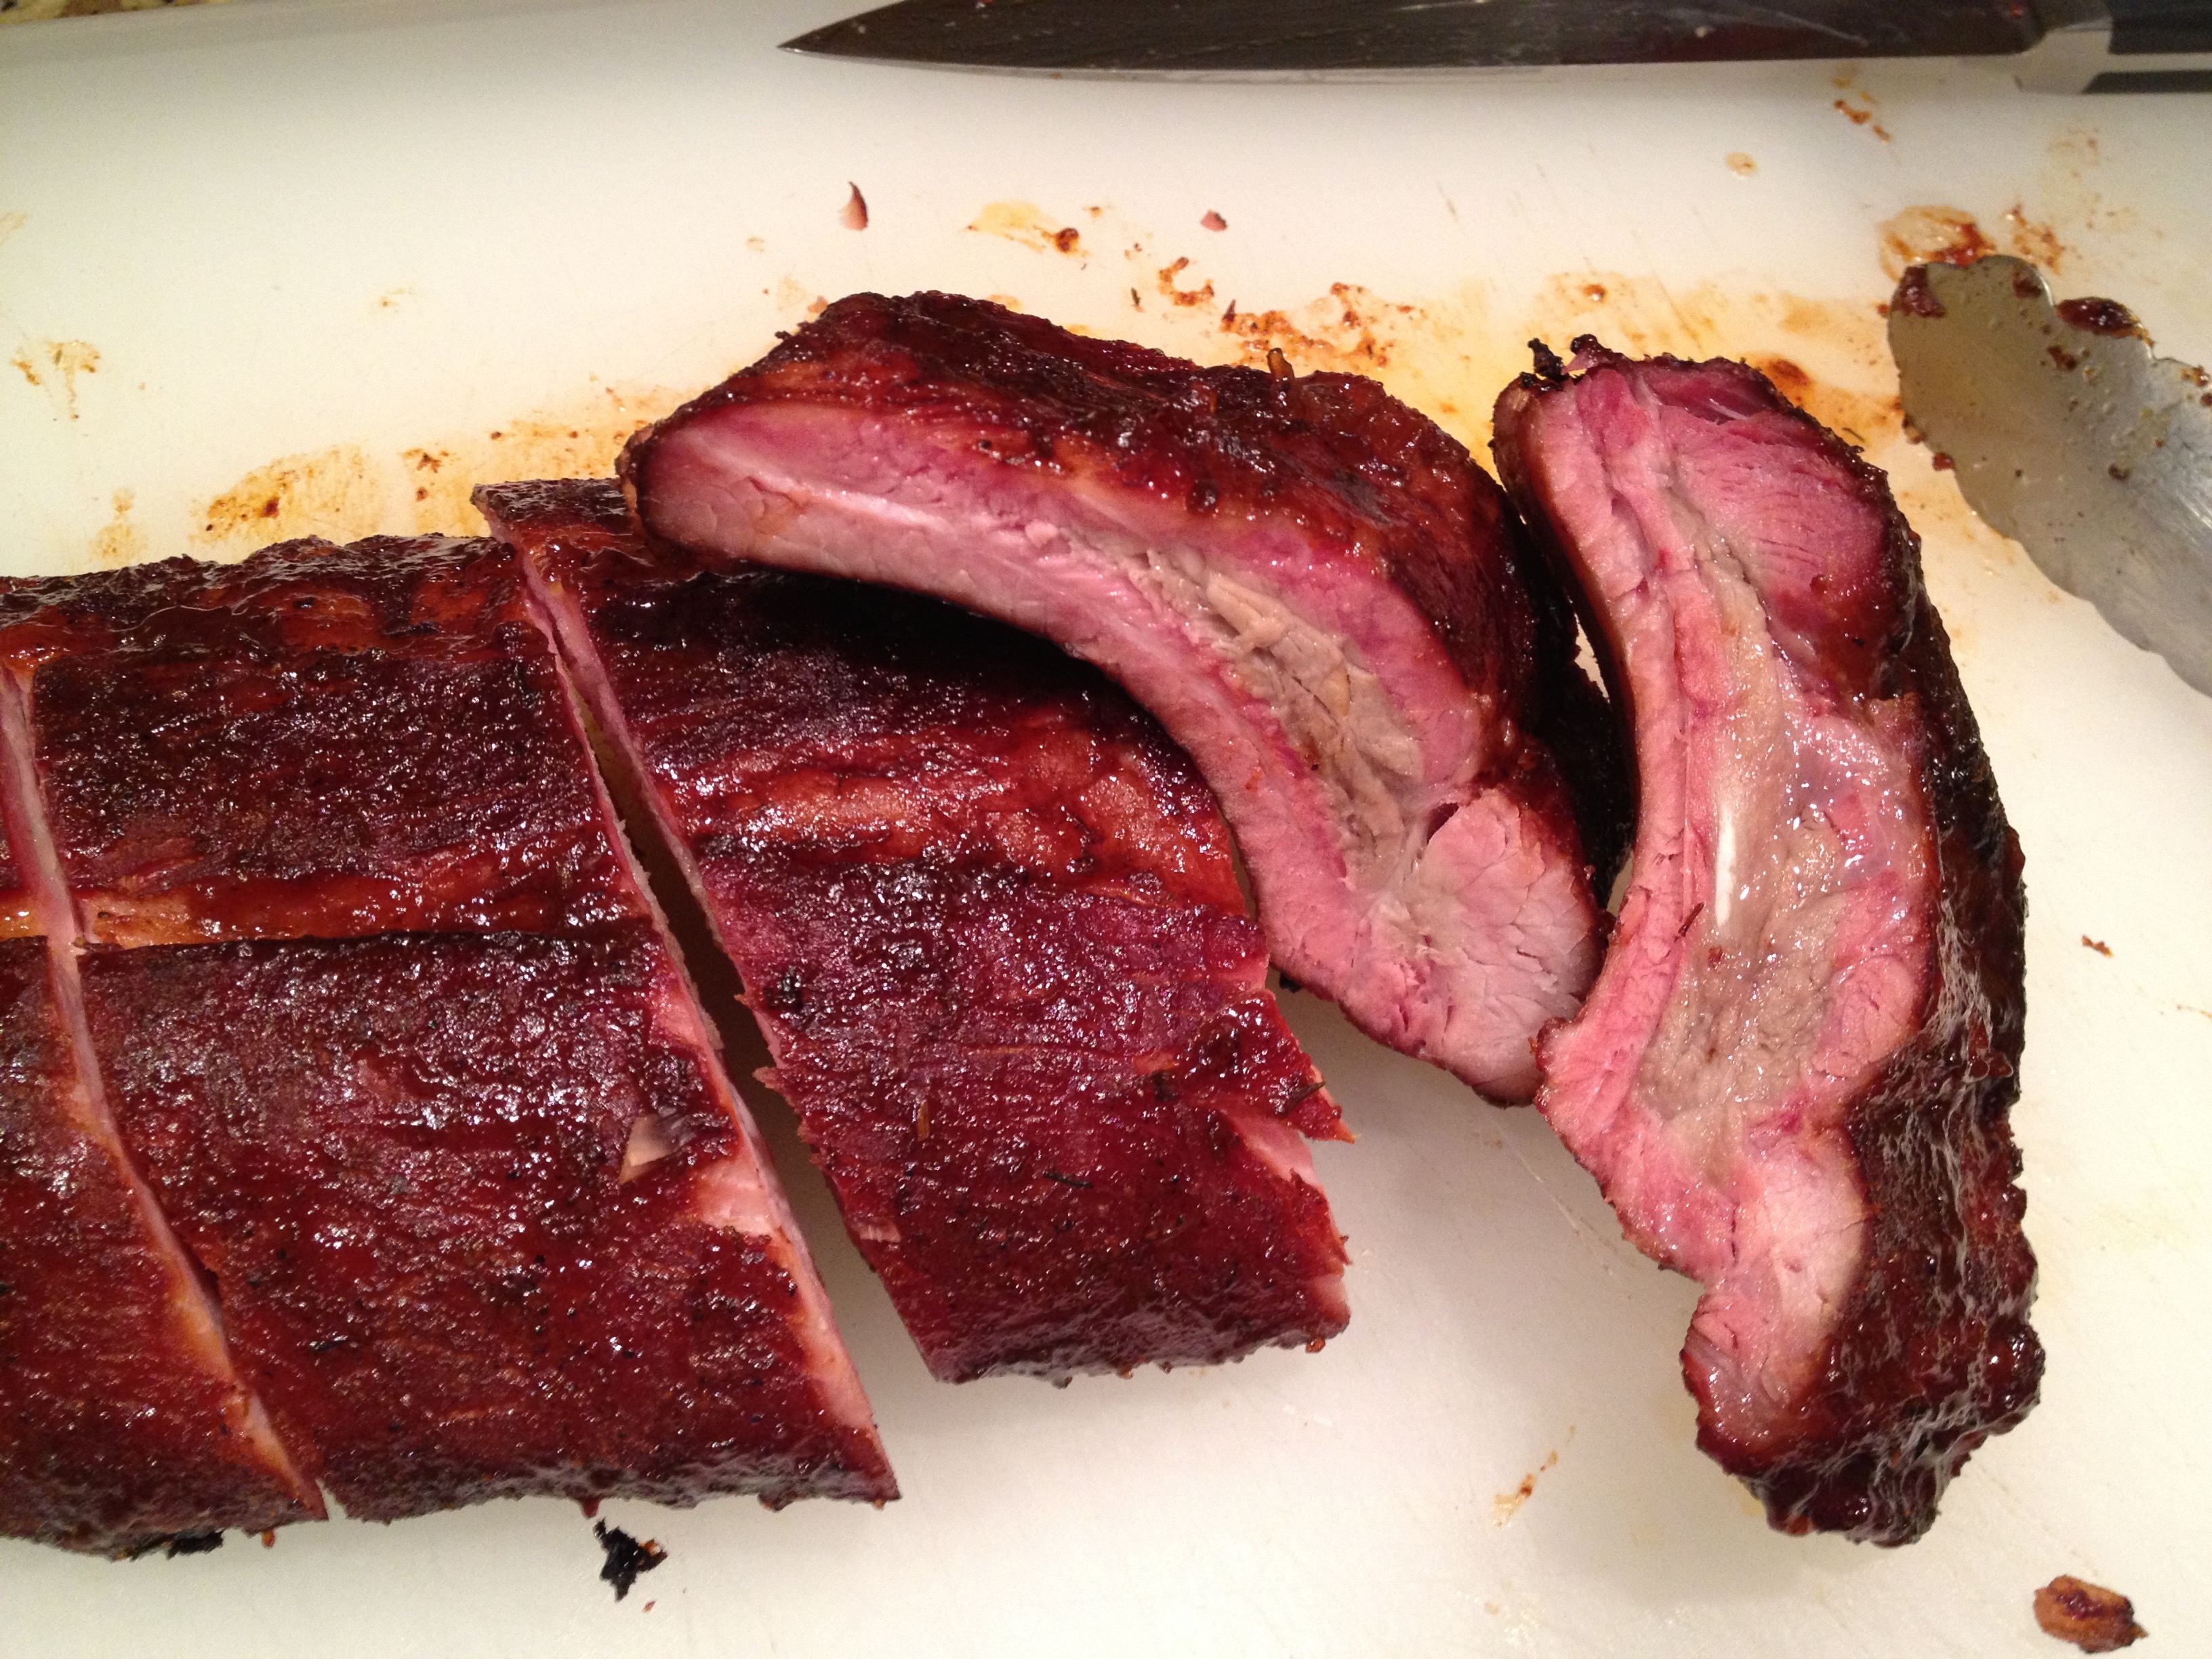
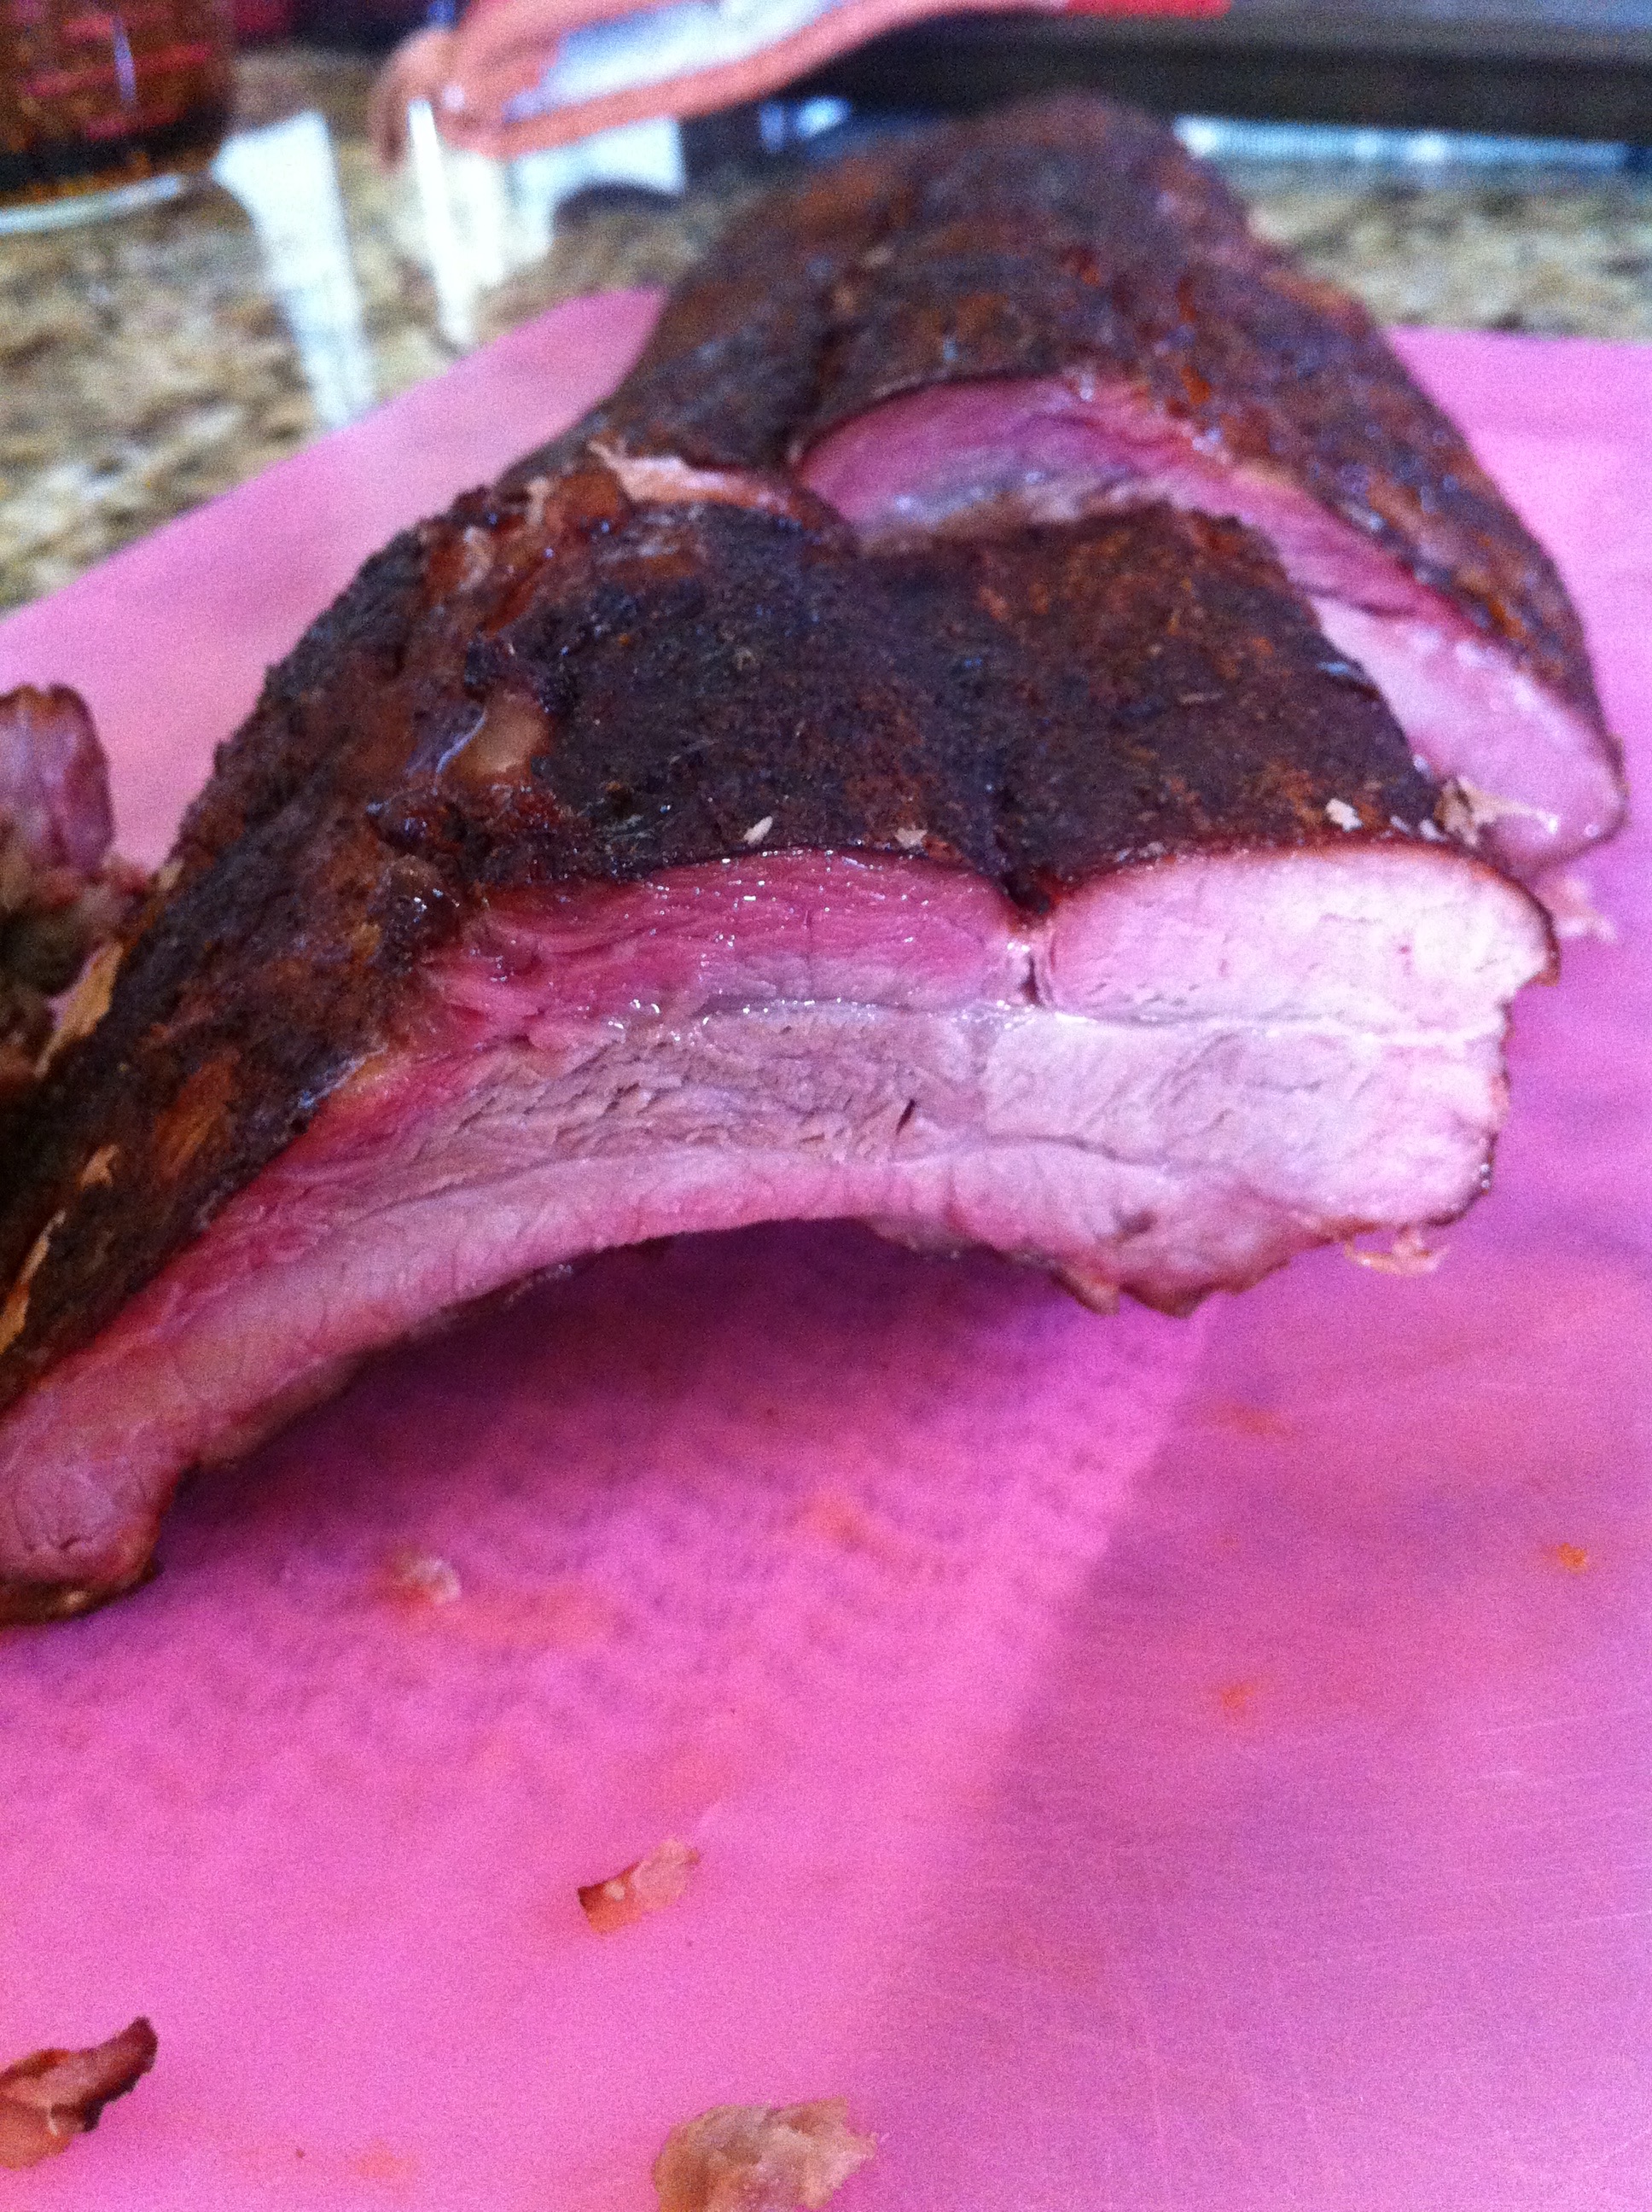
Also? they are done when the bone wiggle a little, but does not come free without a little effort. You want your ribs to be tender but have some toothsome feel to them. Fall off the bone is overdone, though still tasty. I won’t throw out a fall off the bone rib; I’ll simply adjust my time for the next batch.
Ok, the howto.
Put down a bunch of plastic wrap on the counter, making sure it overlaps. This makes cleanup easier.
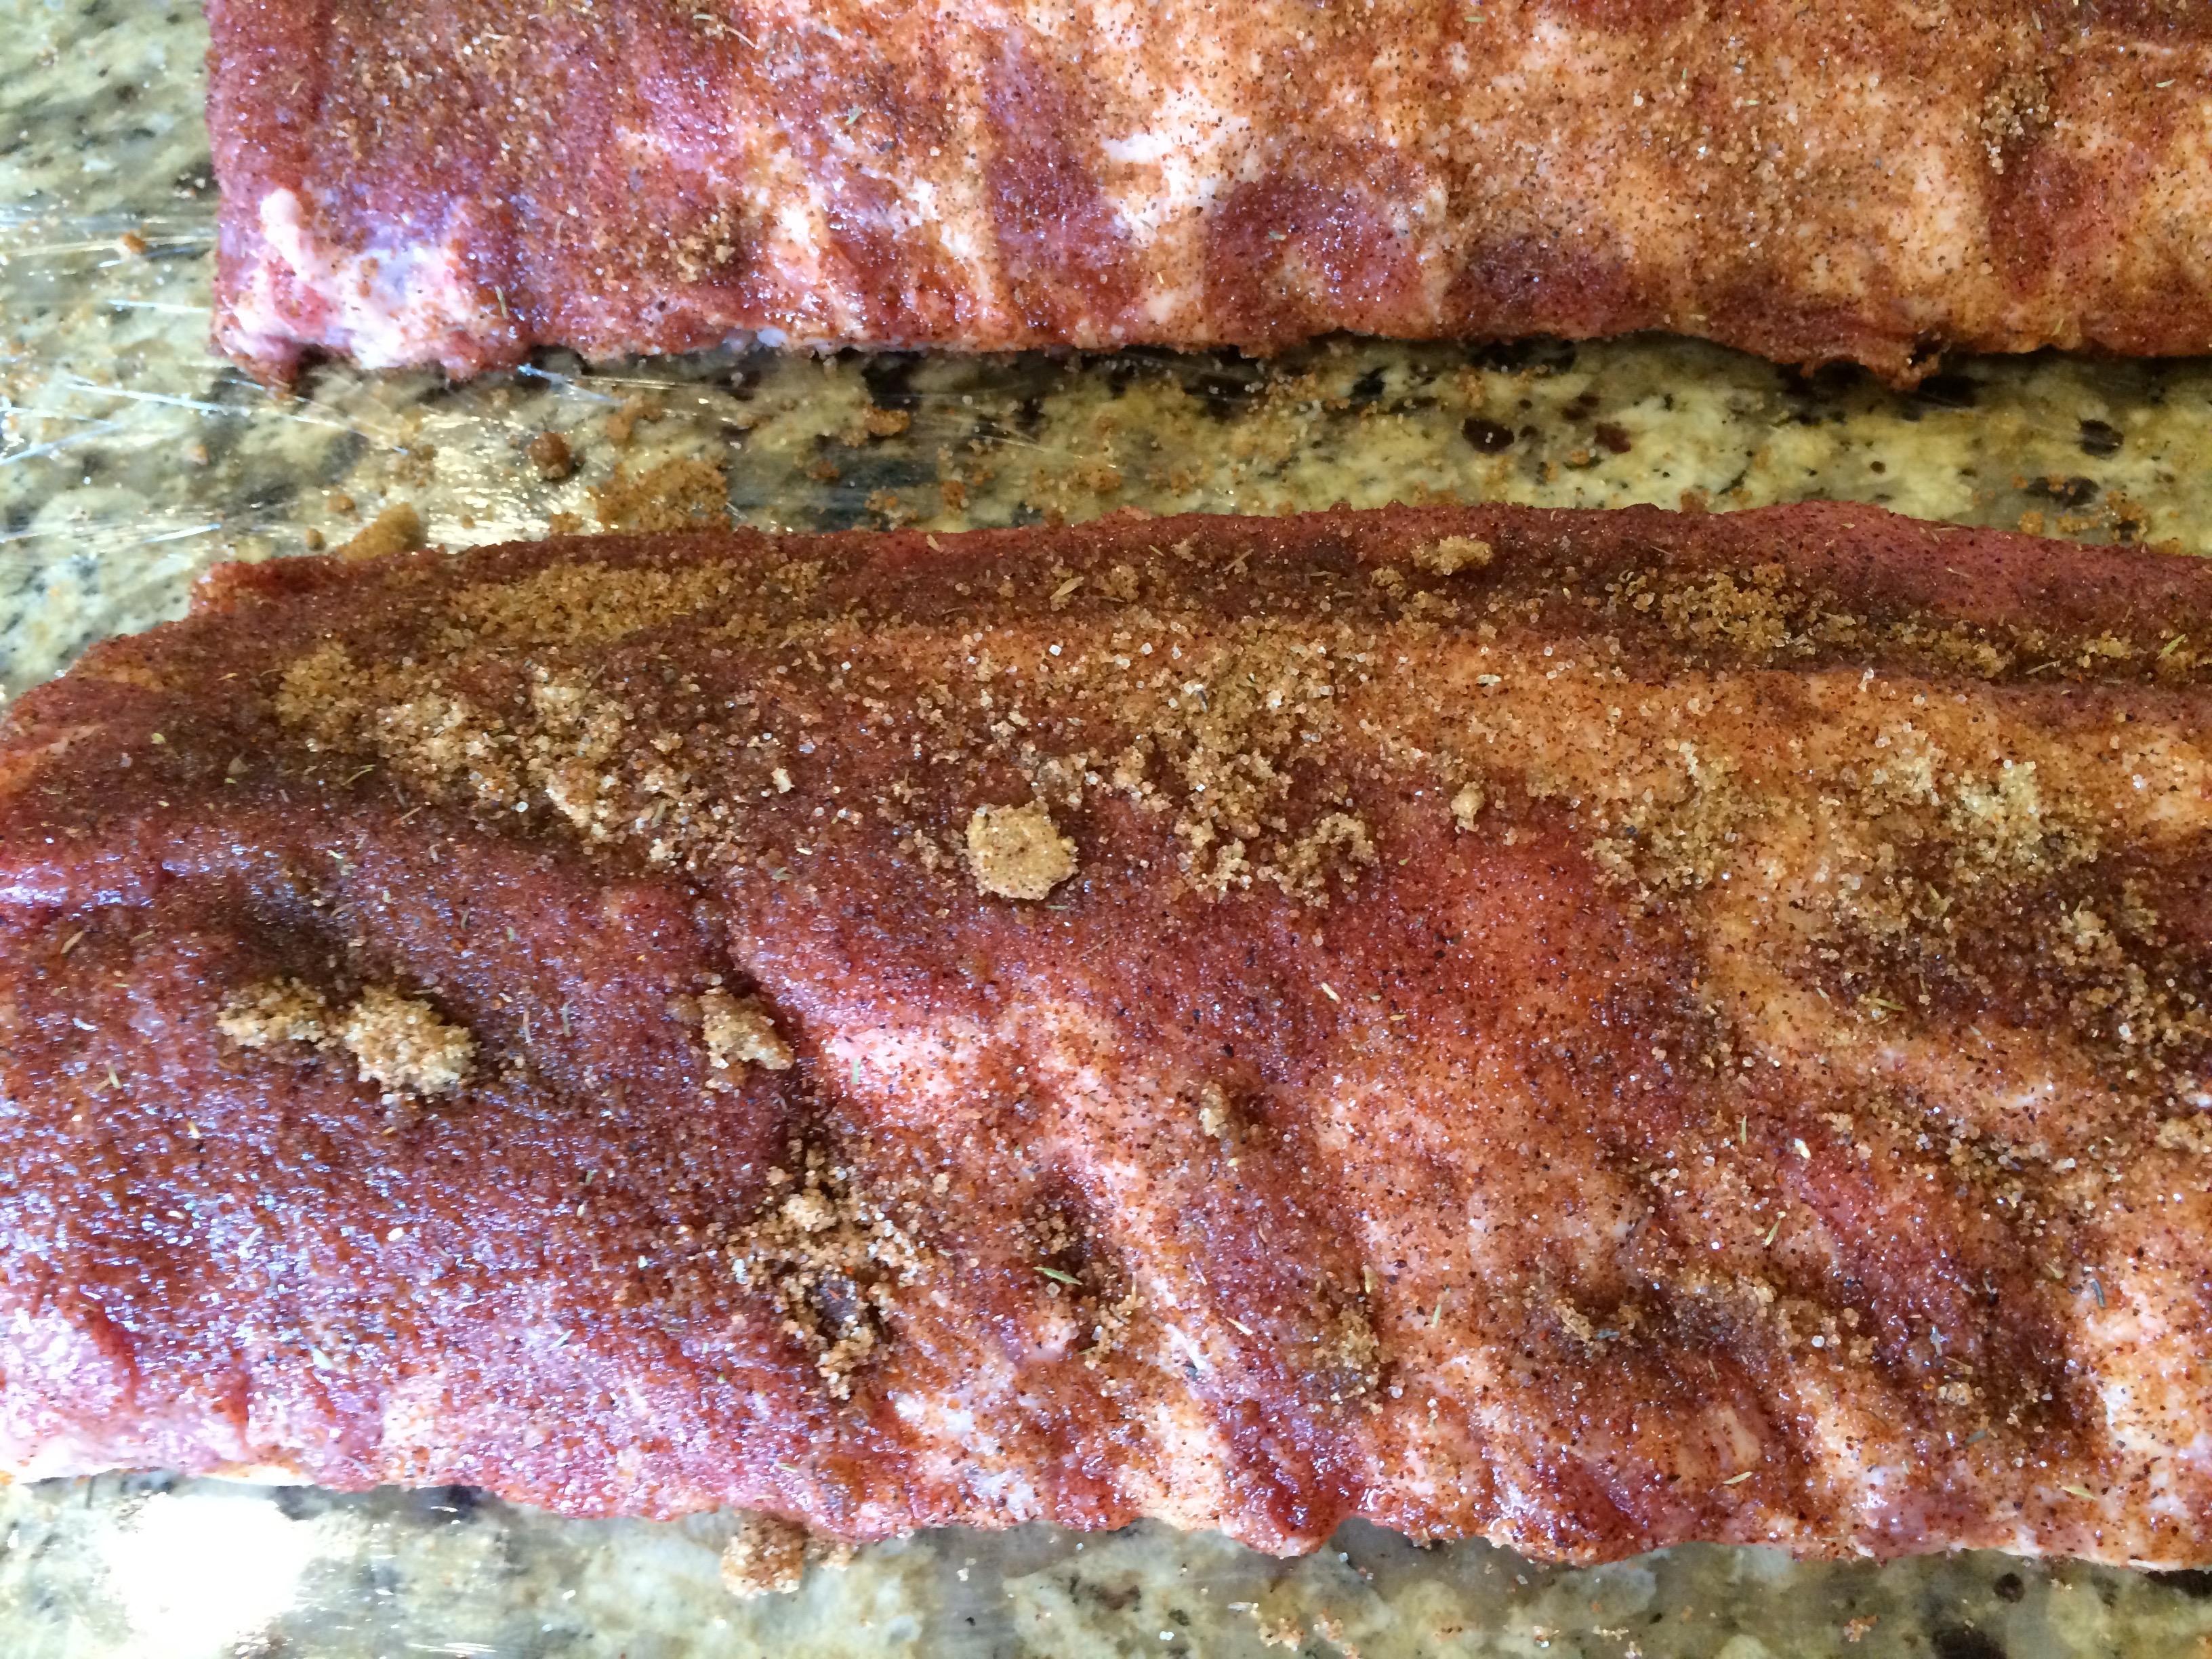
Open the pack of Baby Back Ribs and gently rinse them off. Put them on the plastic wrap, and pat them dry with paper towels.
Evenly spread the dry run on the meaty side. Rub it in, gently. The batch of dry rub I’m listing below is good for three racks of ribs.

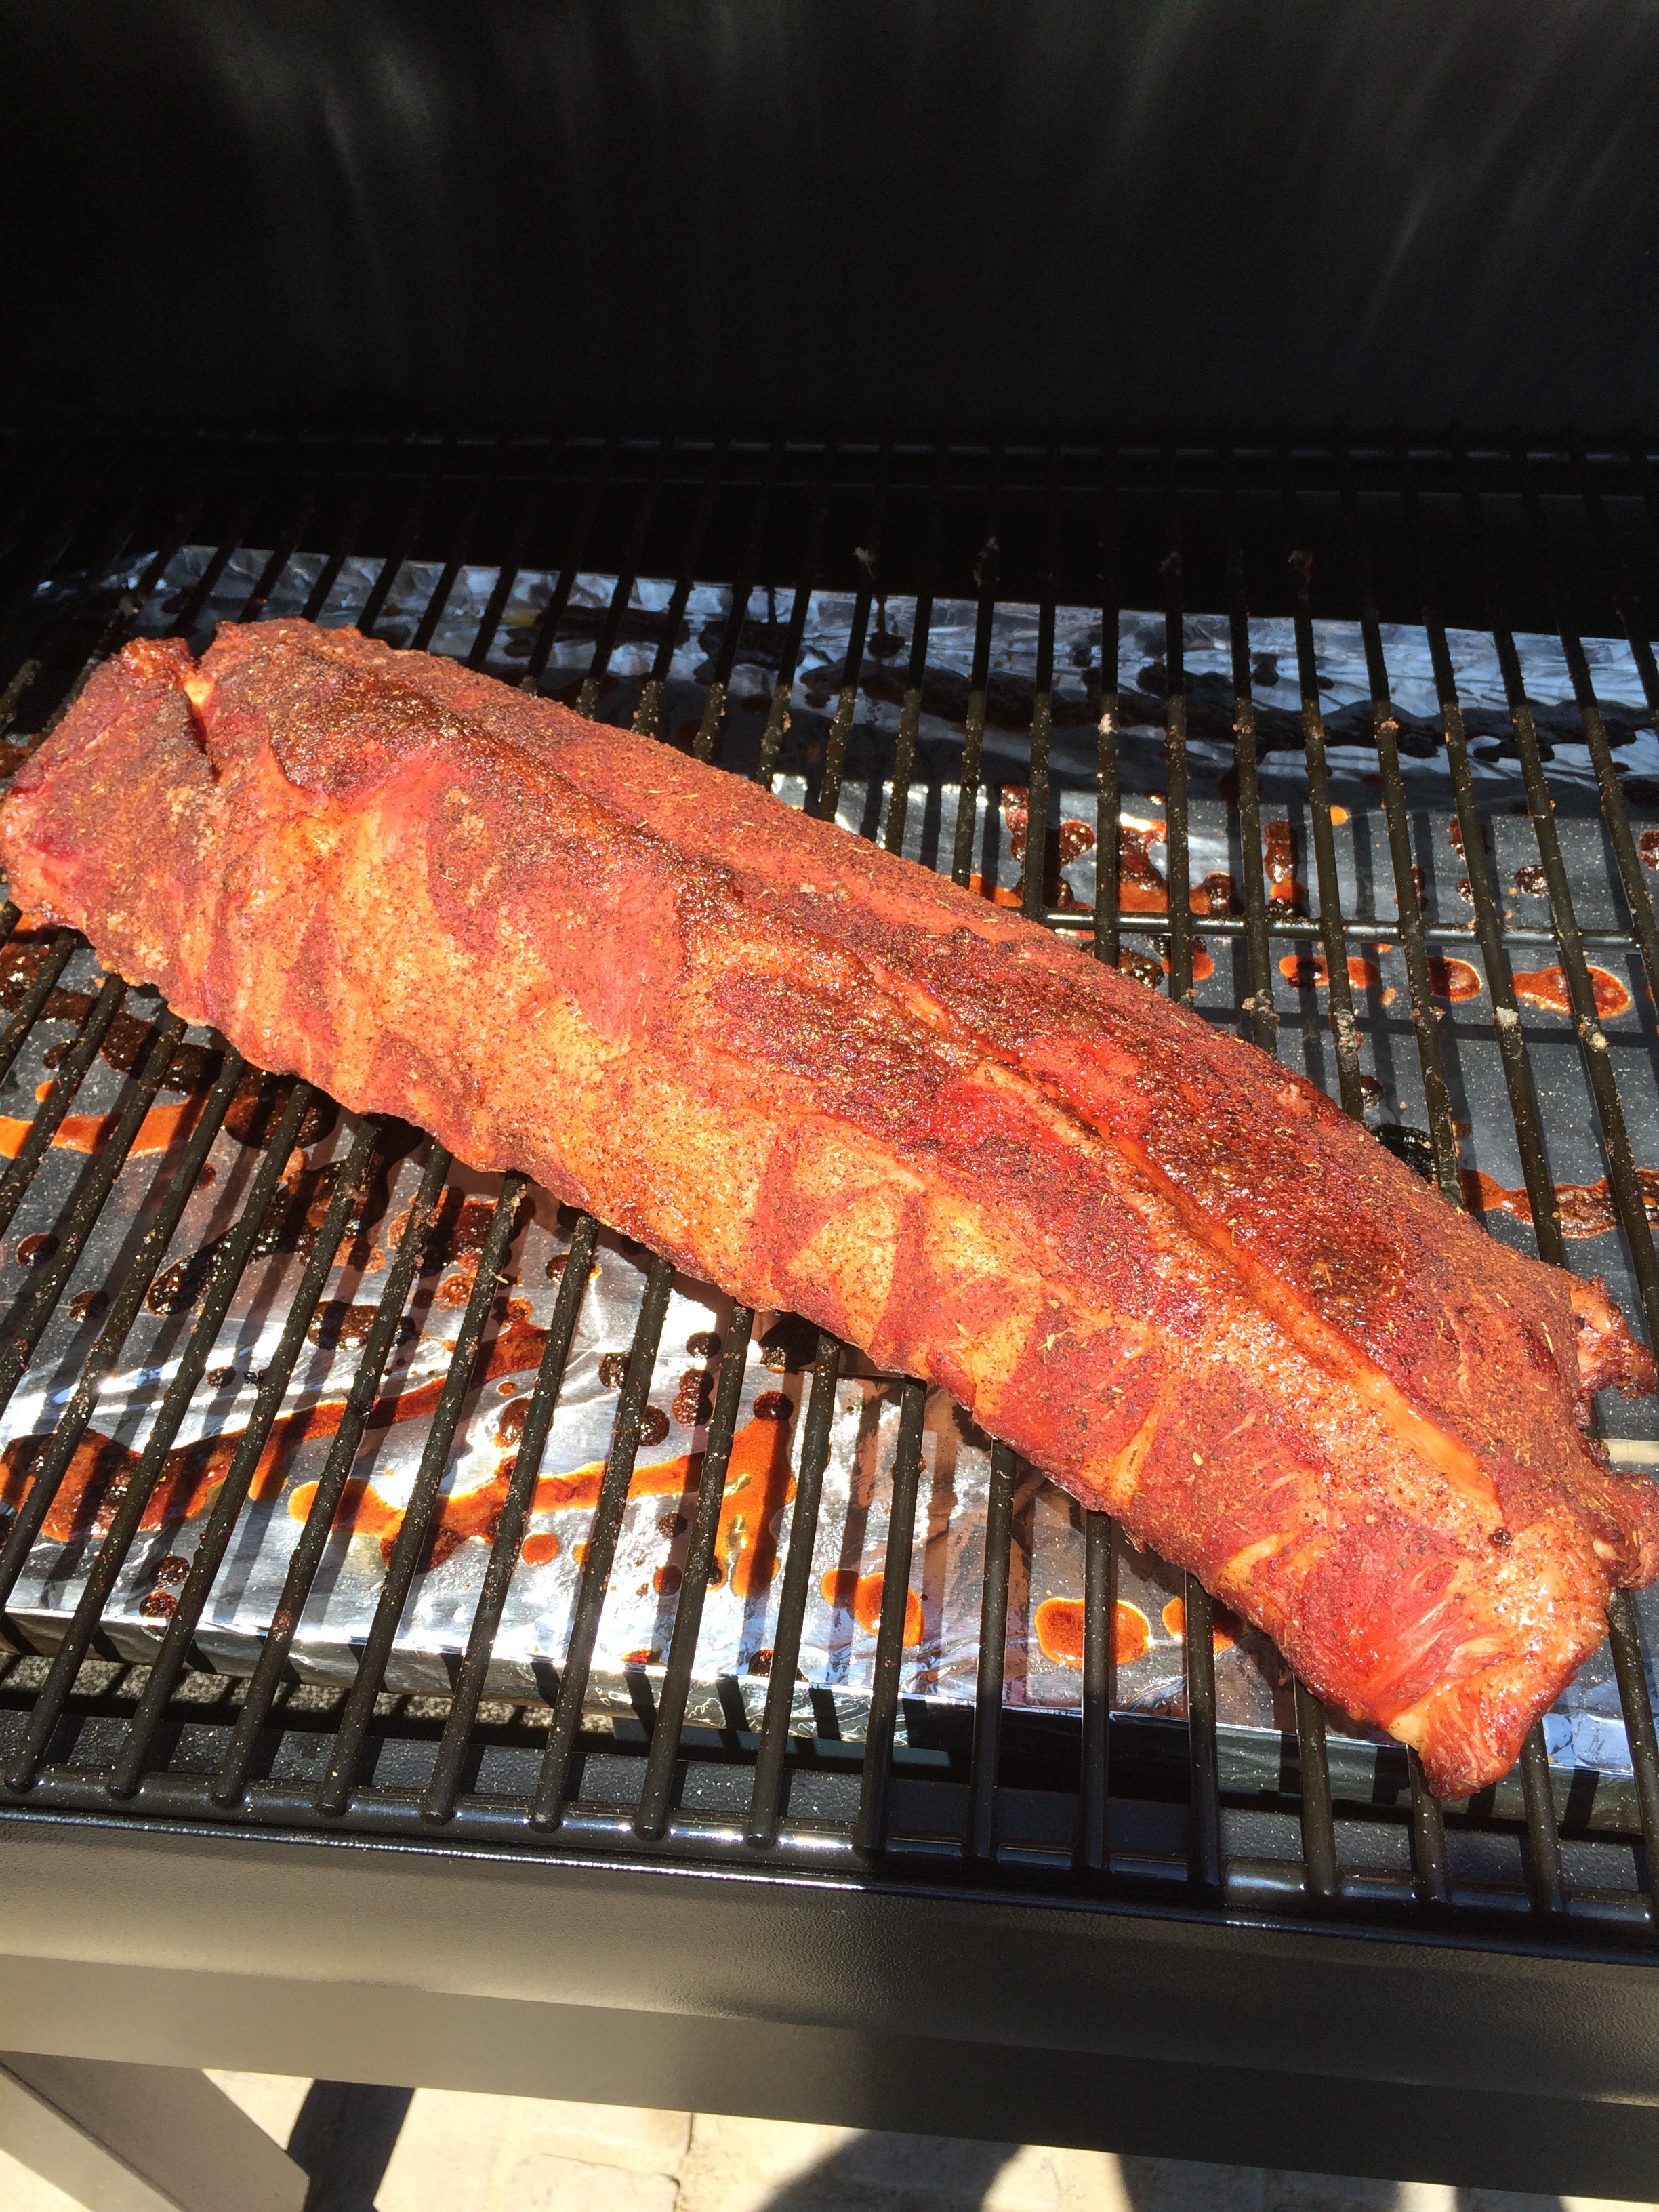
Put the ribs on the smoker. Warm smoke them for three hours, at around 160 degrees.
Now get a large sheet of heavy duty aluminum foil, large enough for one rack of ribs plus about four inches on either end. GENTLY put a rack of ribs in the foil, and fold up the sides, crimping the top together, plus one of the ends. Leave the last end open, but a little bent upwards. Do this for all three racks, but be very careful that the bones on the racks don’t make holes in the tinfoil.
[No photo here. I seem to miss taking one every single time.]
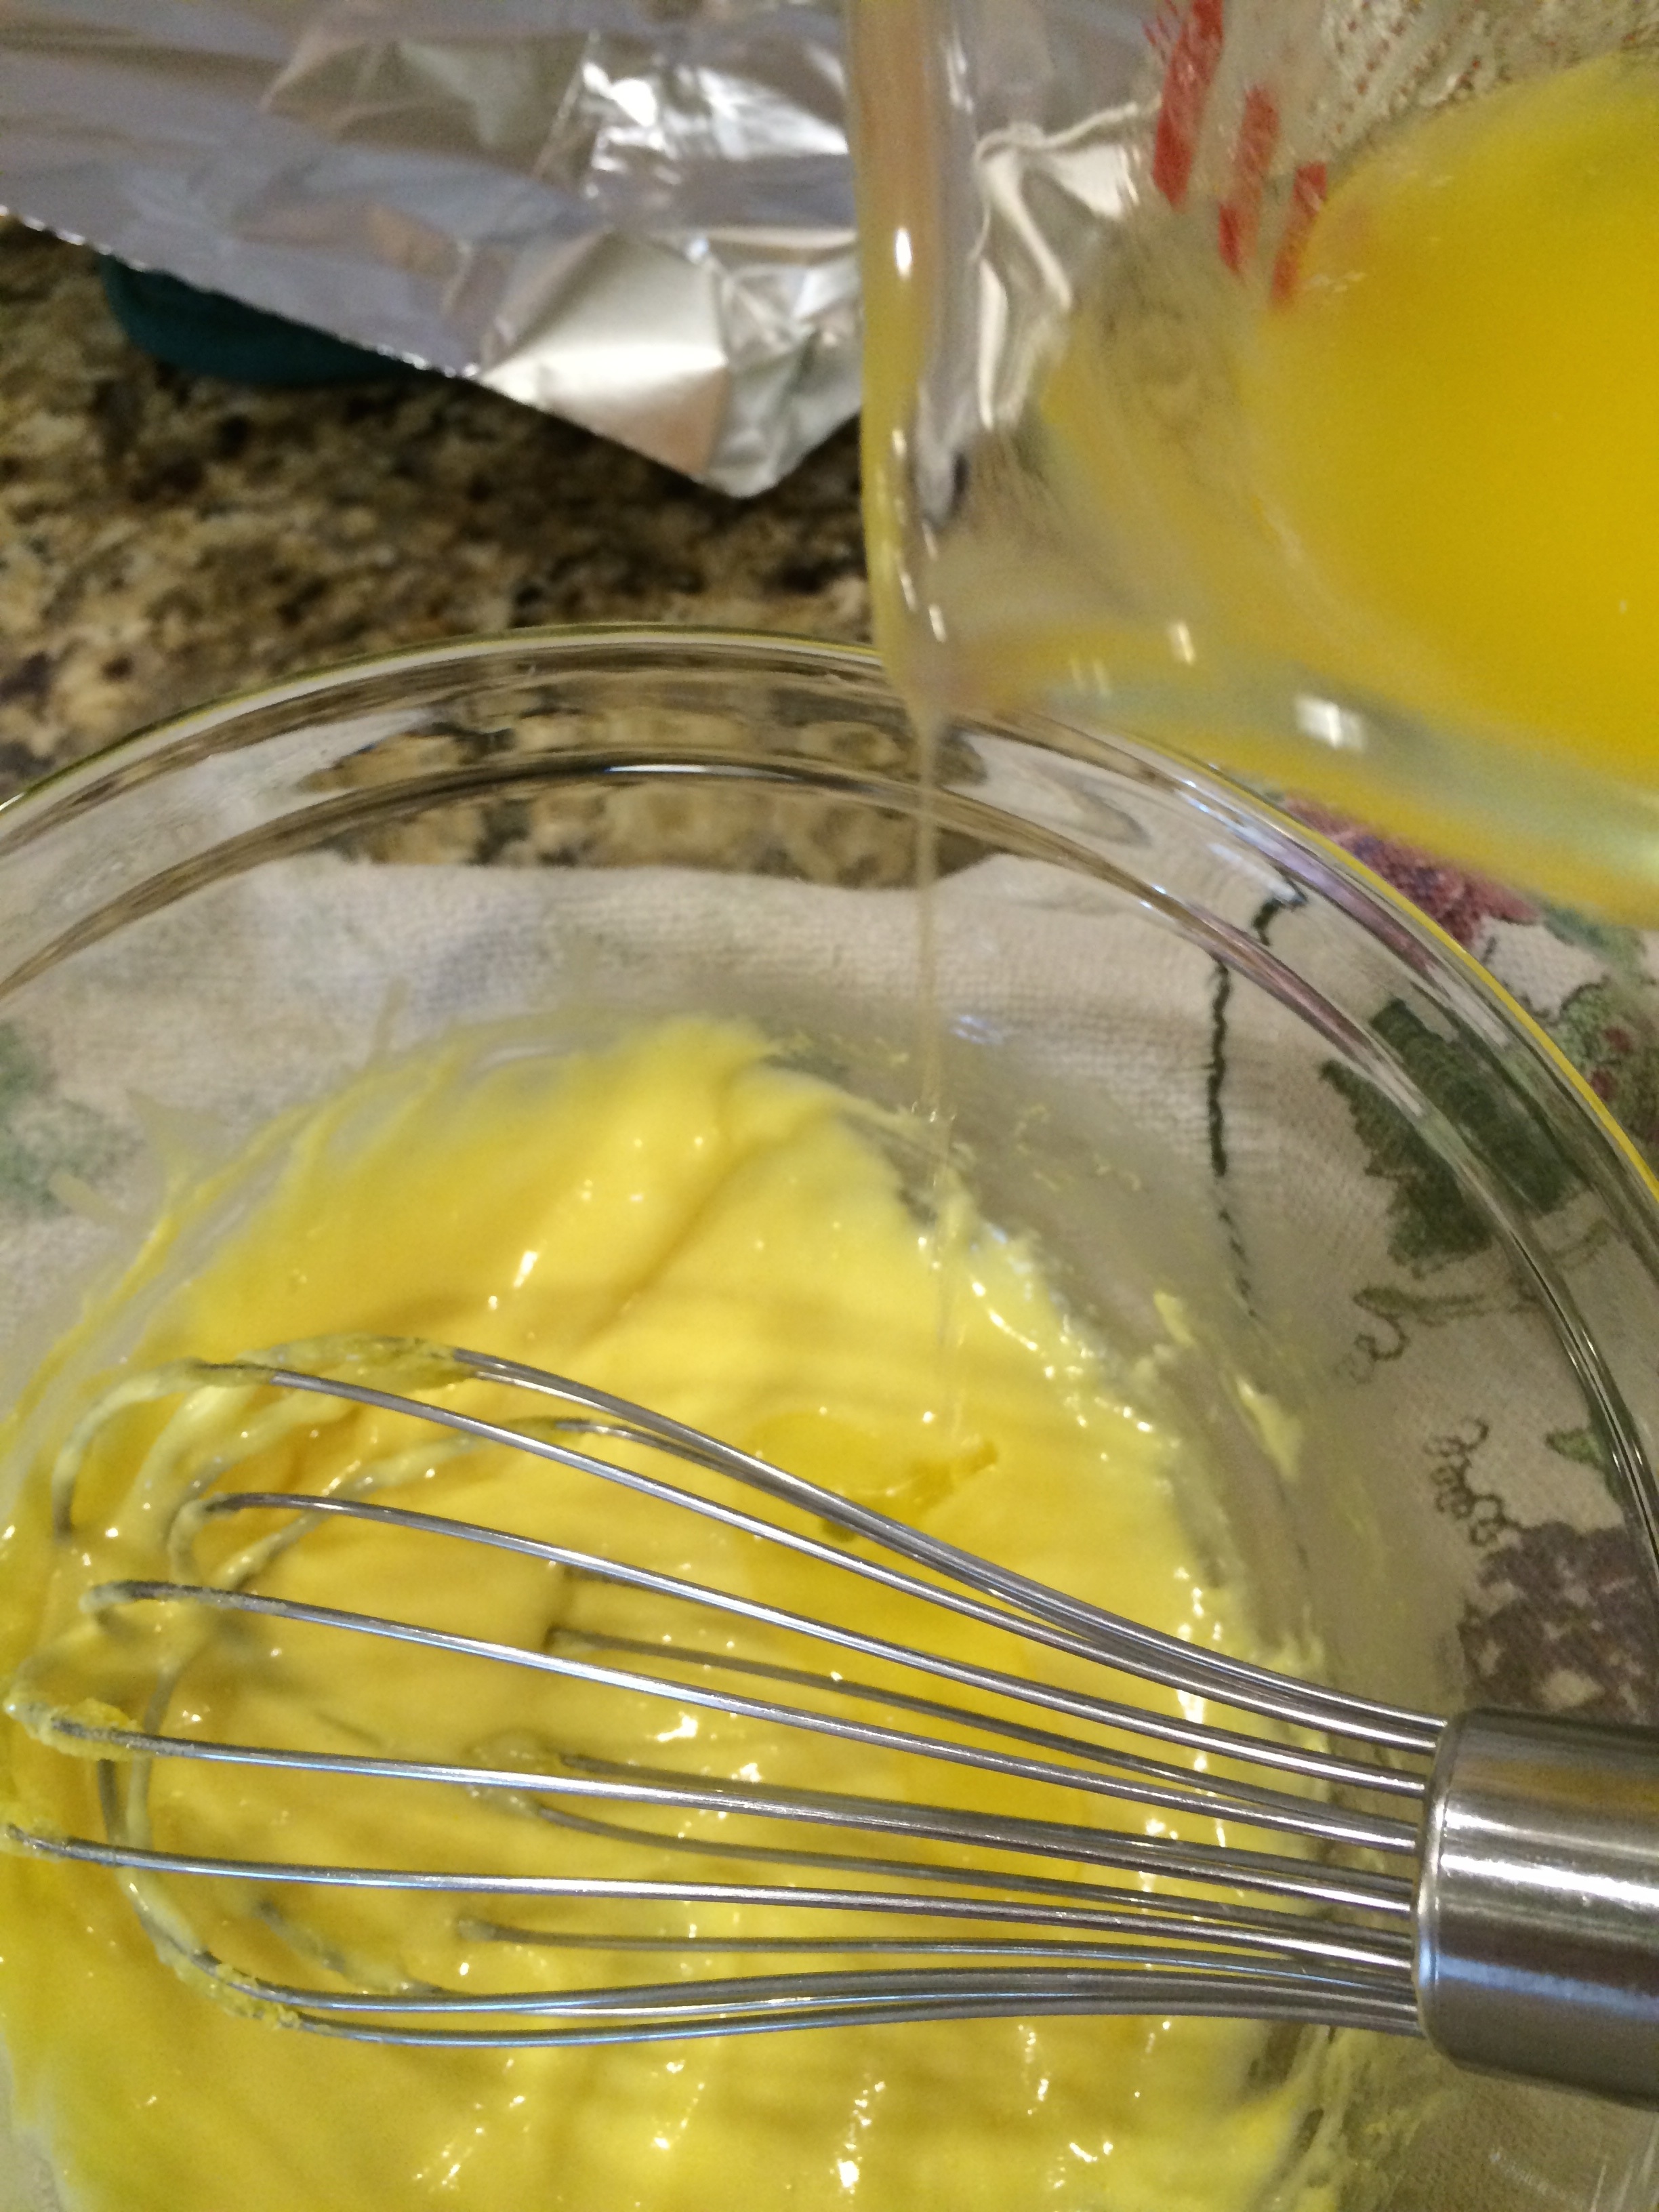
Now make the braise liquid. Pour 1/3 of it into each tinfoiled rack of ribs. Gently crimp the last end. Put all three of these in your oven on 225 degrees, or back on the smoker at the same temperature. I use the oven, because I am not a fan of wasting wood to smoke tinfoil.
Cook for another three hours, or until the bones can gently wiggle, but not quite fall off the meat without pressure.
Drain the liquid, carefully. It’s Hot!
Now you must make a tough decision. Wet, or dry? If you like dry, cut them into two bone pieces, serve them and enjoy! Personally, I like mine painted with my favorite BBQ sauce, then back on the smoker for another half hour. it sets the sauce and adds just a hint more smoke. The choice is up to you. Choose wisely.
Either way, your dinner guests will snarf them up, and you will be sad the next day for no leftovers. Or don’t invite anyone over, and have a lot for yourself. or buy a second wire rack for the smoker, and do six instead of three!

- Dry Rub
- 8 Tablespoons brown sugar
- 3 Tablespoons salt
- ½ teaspoon black pepper
- ½ teaspoon paprika, or smoked paprika
- ½ teaspoon thyme
- ½ teaspoon onion powder
- ⅜ teaspoon cayenne pepper
- Braise liquid
- 1 cup water
- 2 Tablespoons apple cider vinegar
- 2 Tablespoons Worcestershire sauce
- 1 Tablespoon honey
- 2 cloves garlic
- To make dry rub, put ingredients into a zip top bag and shake until well mixed.
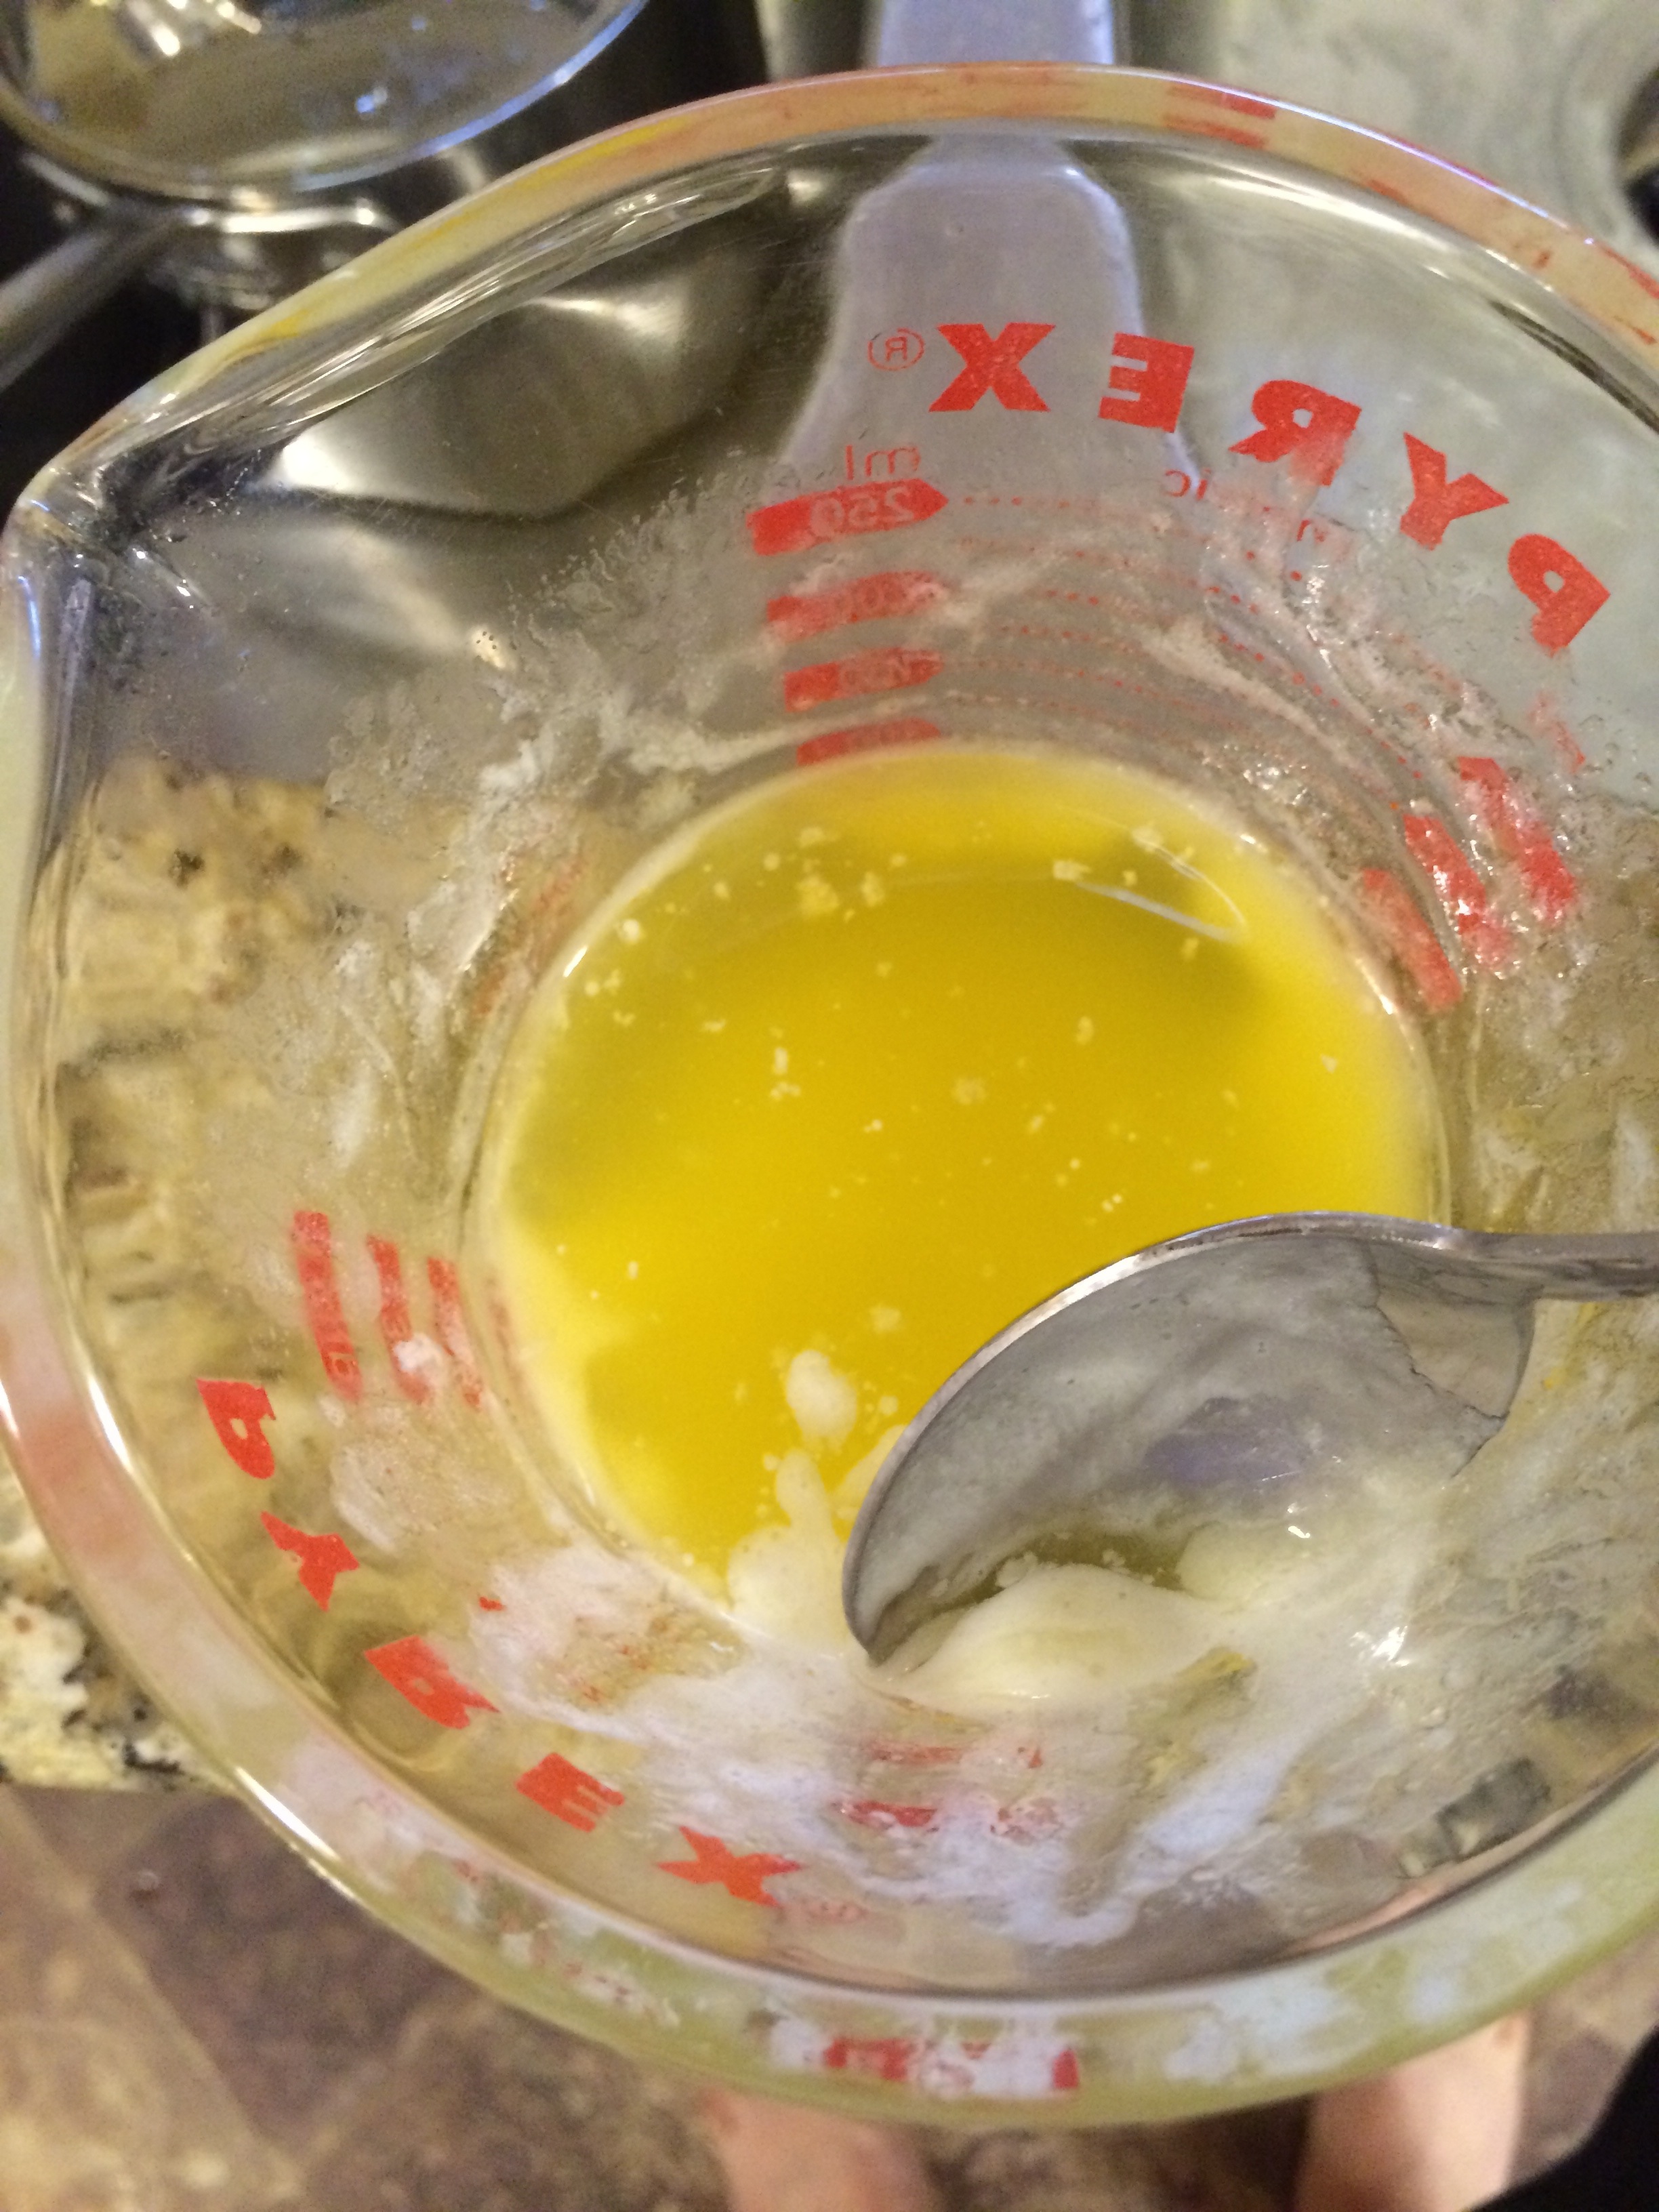
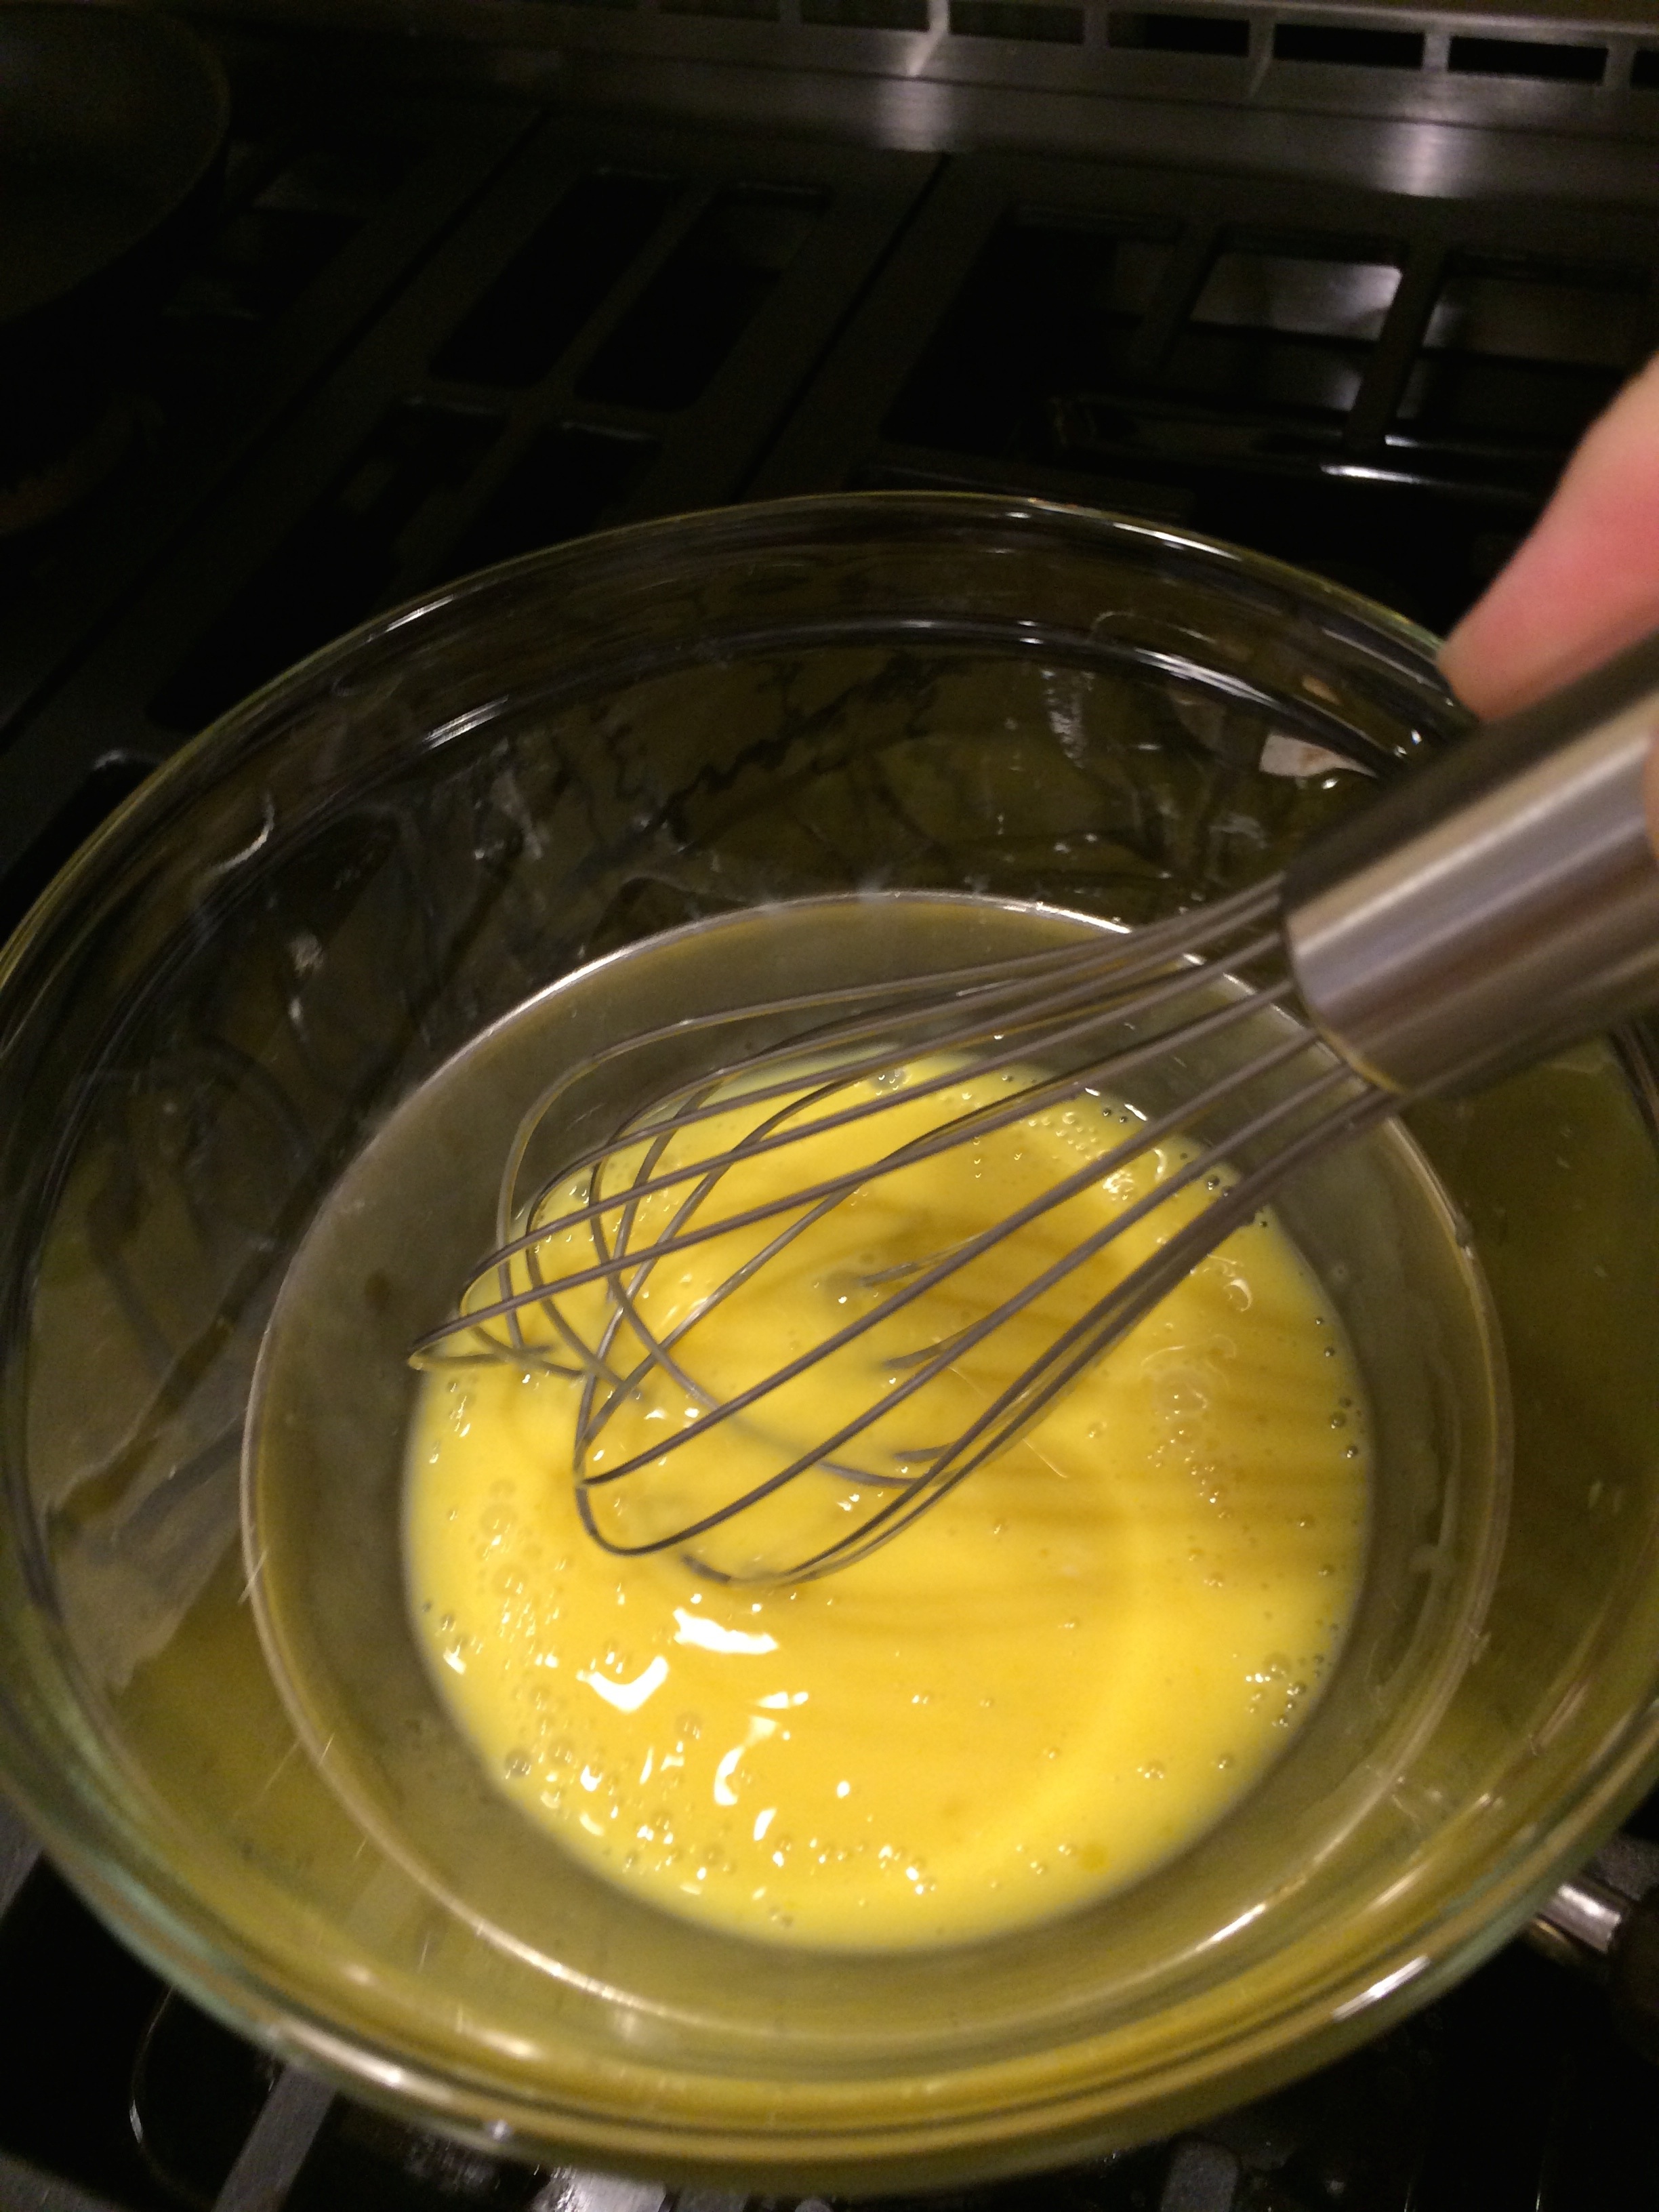
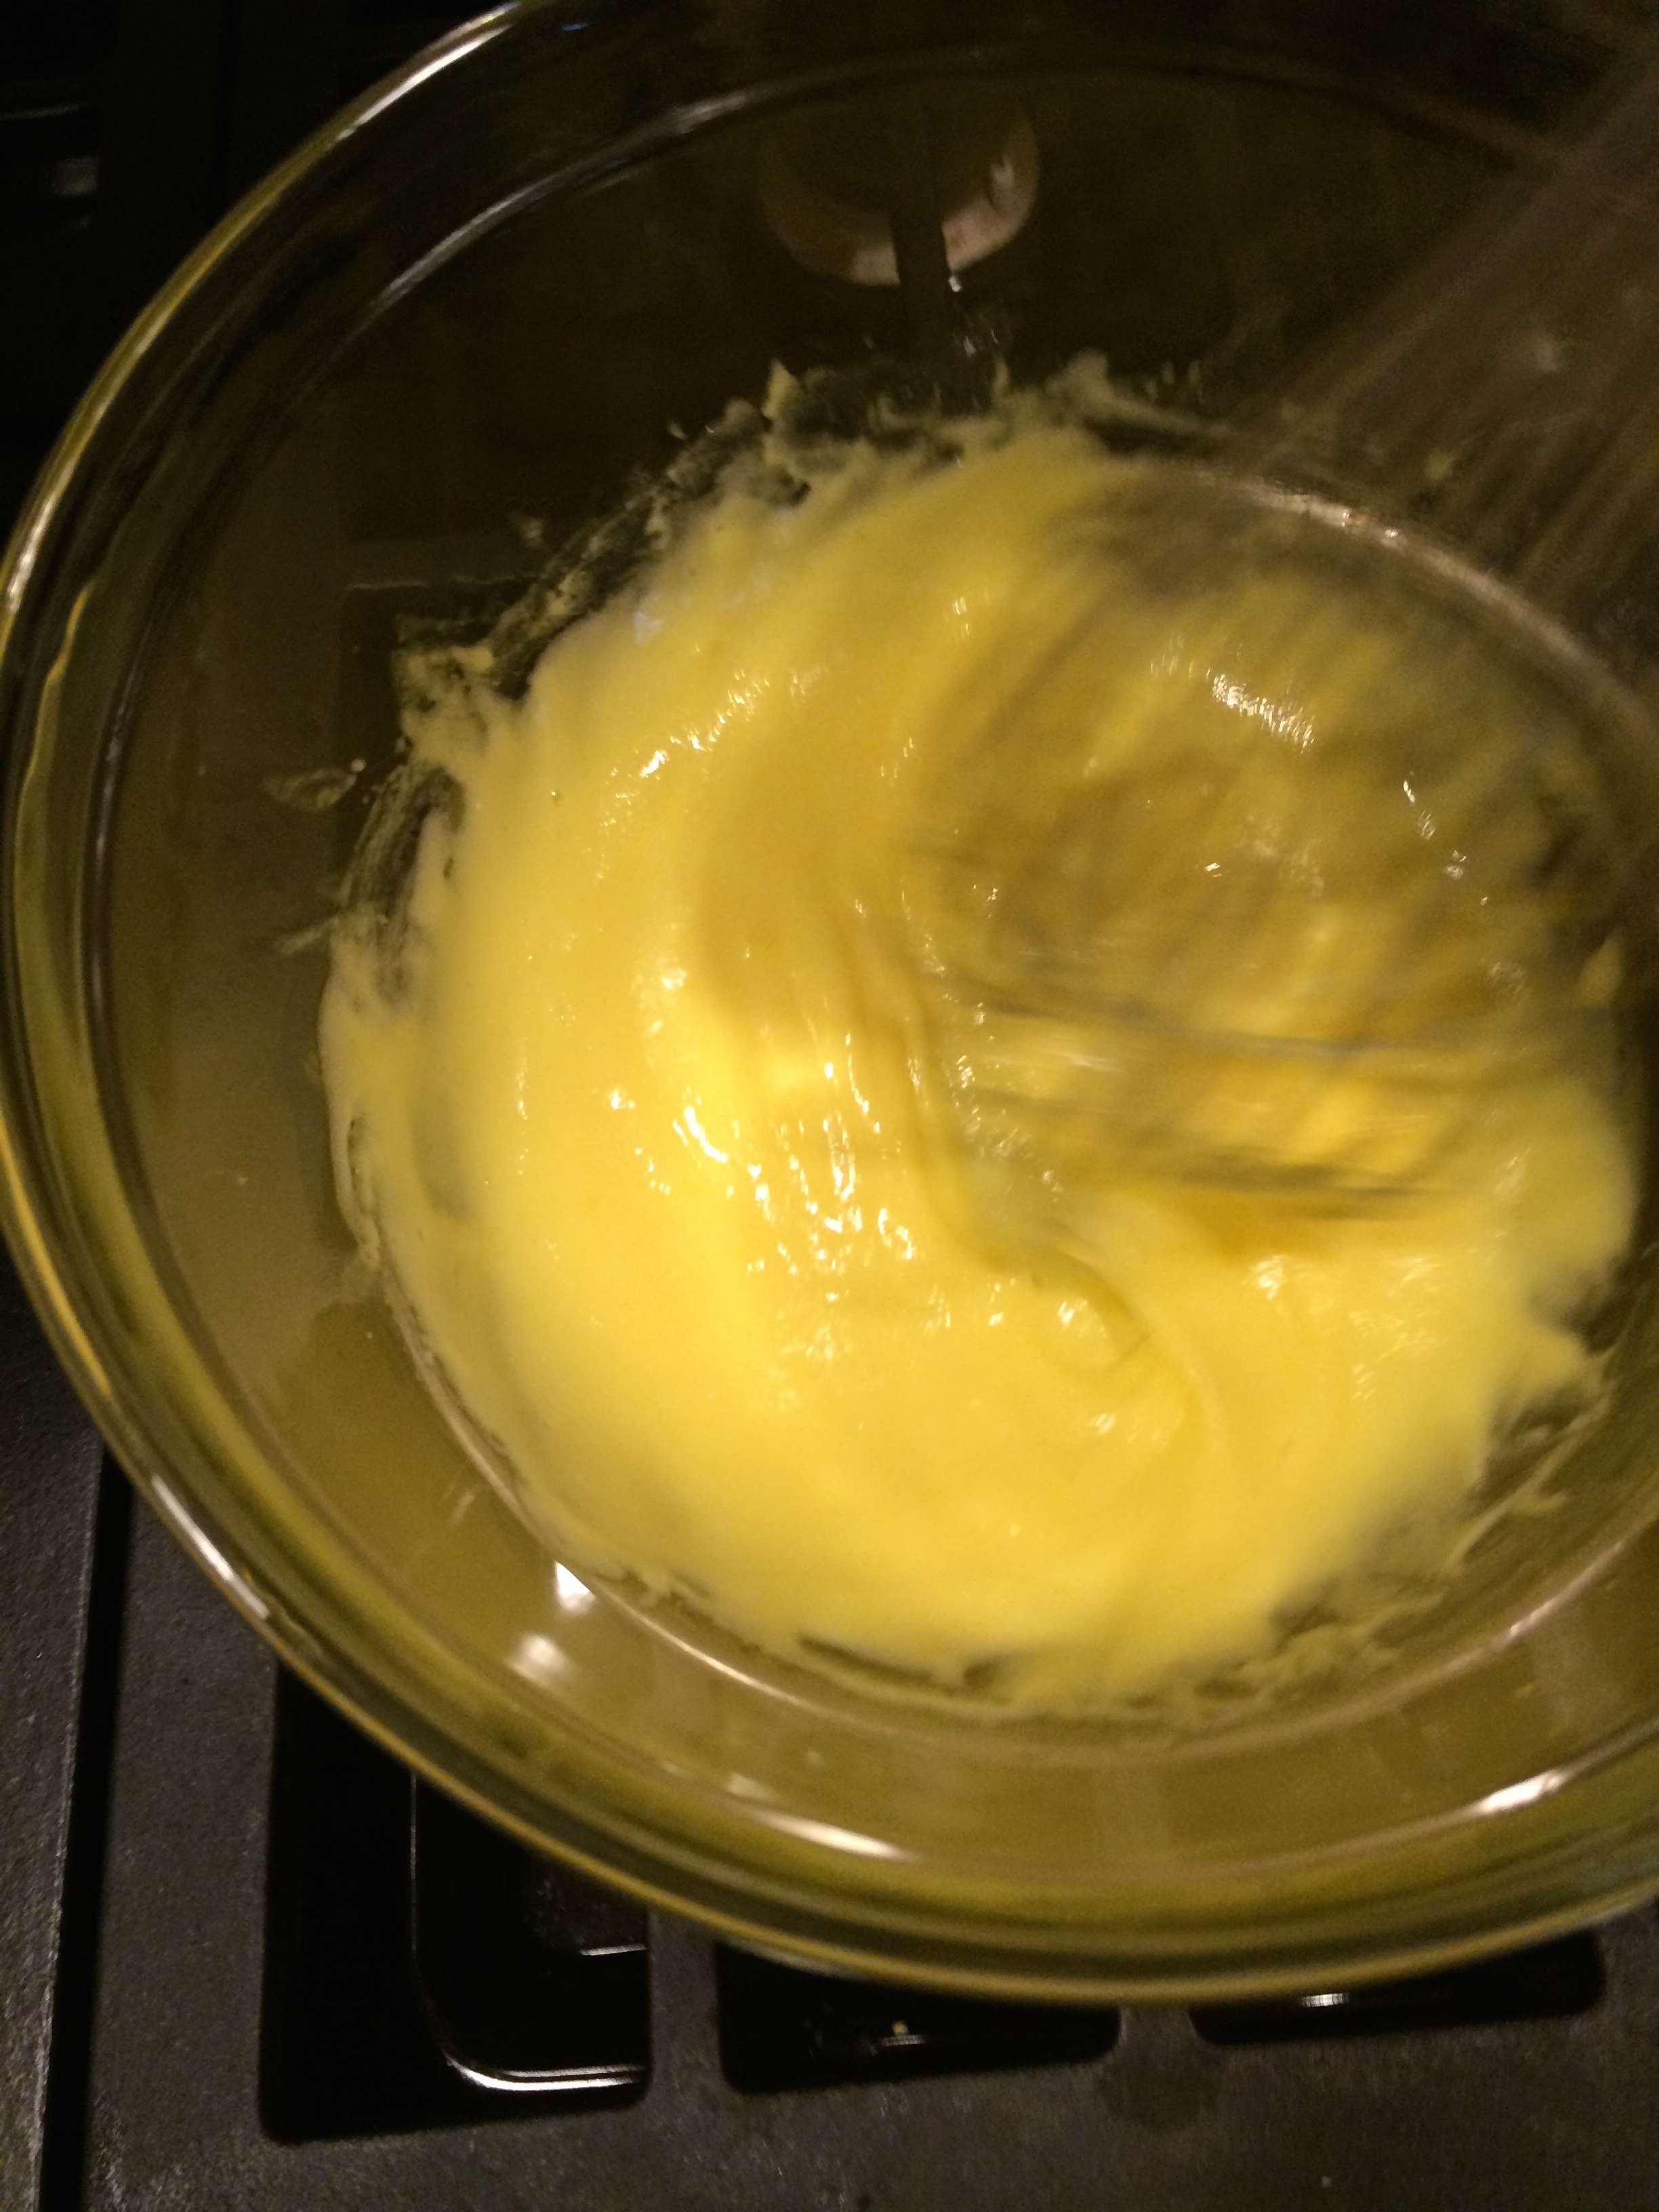
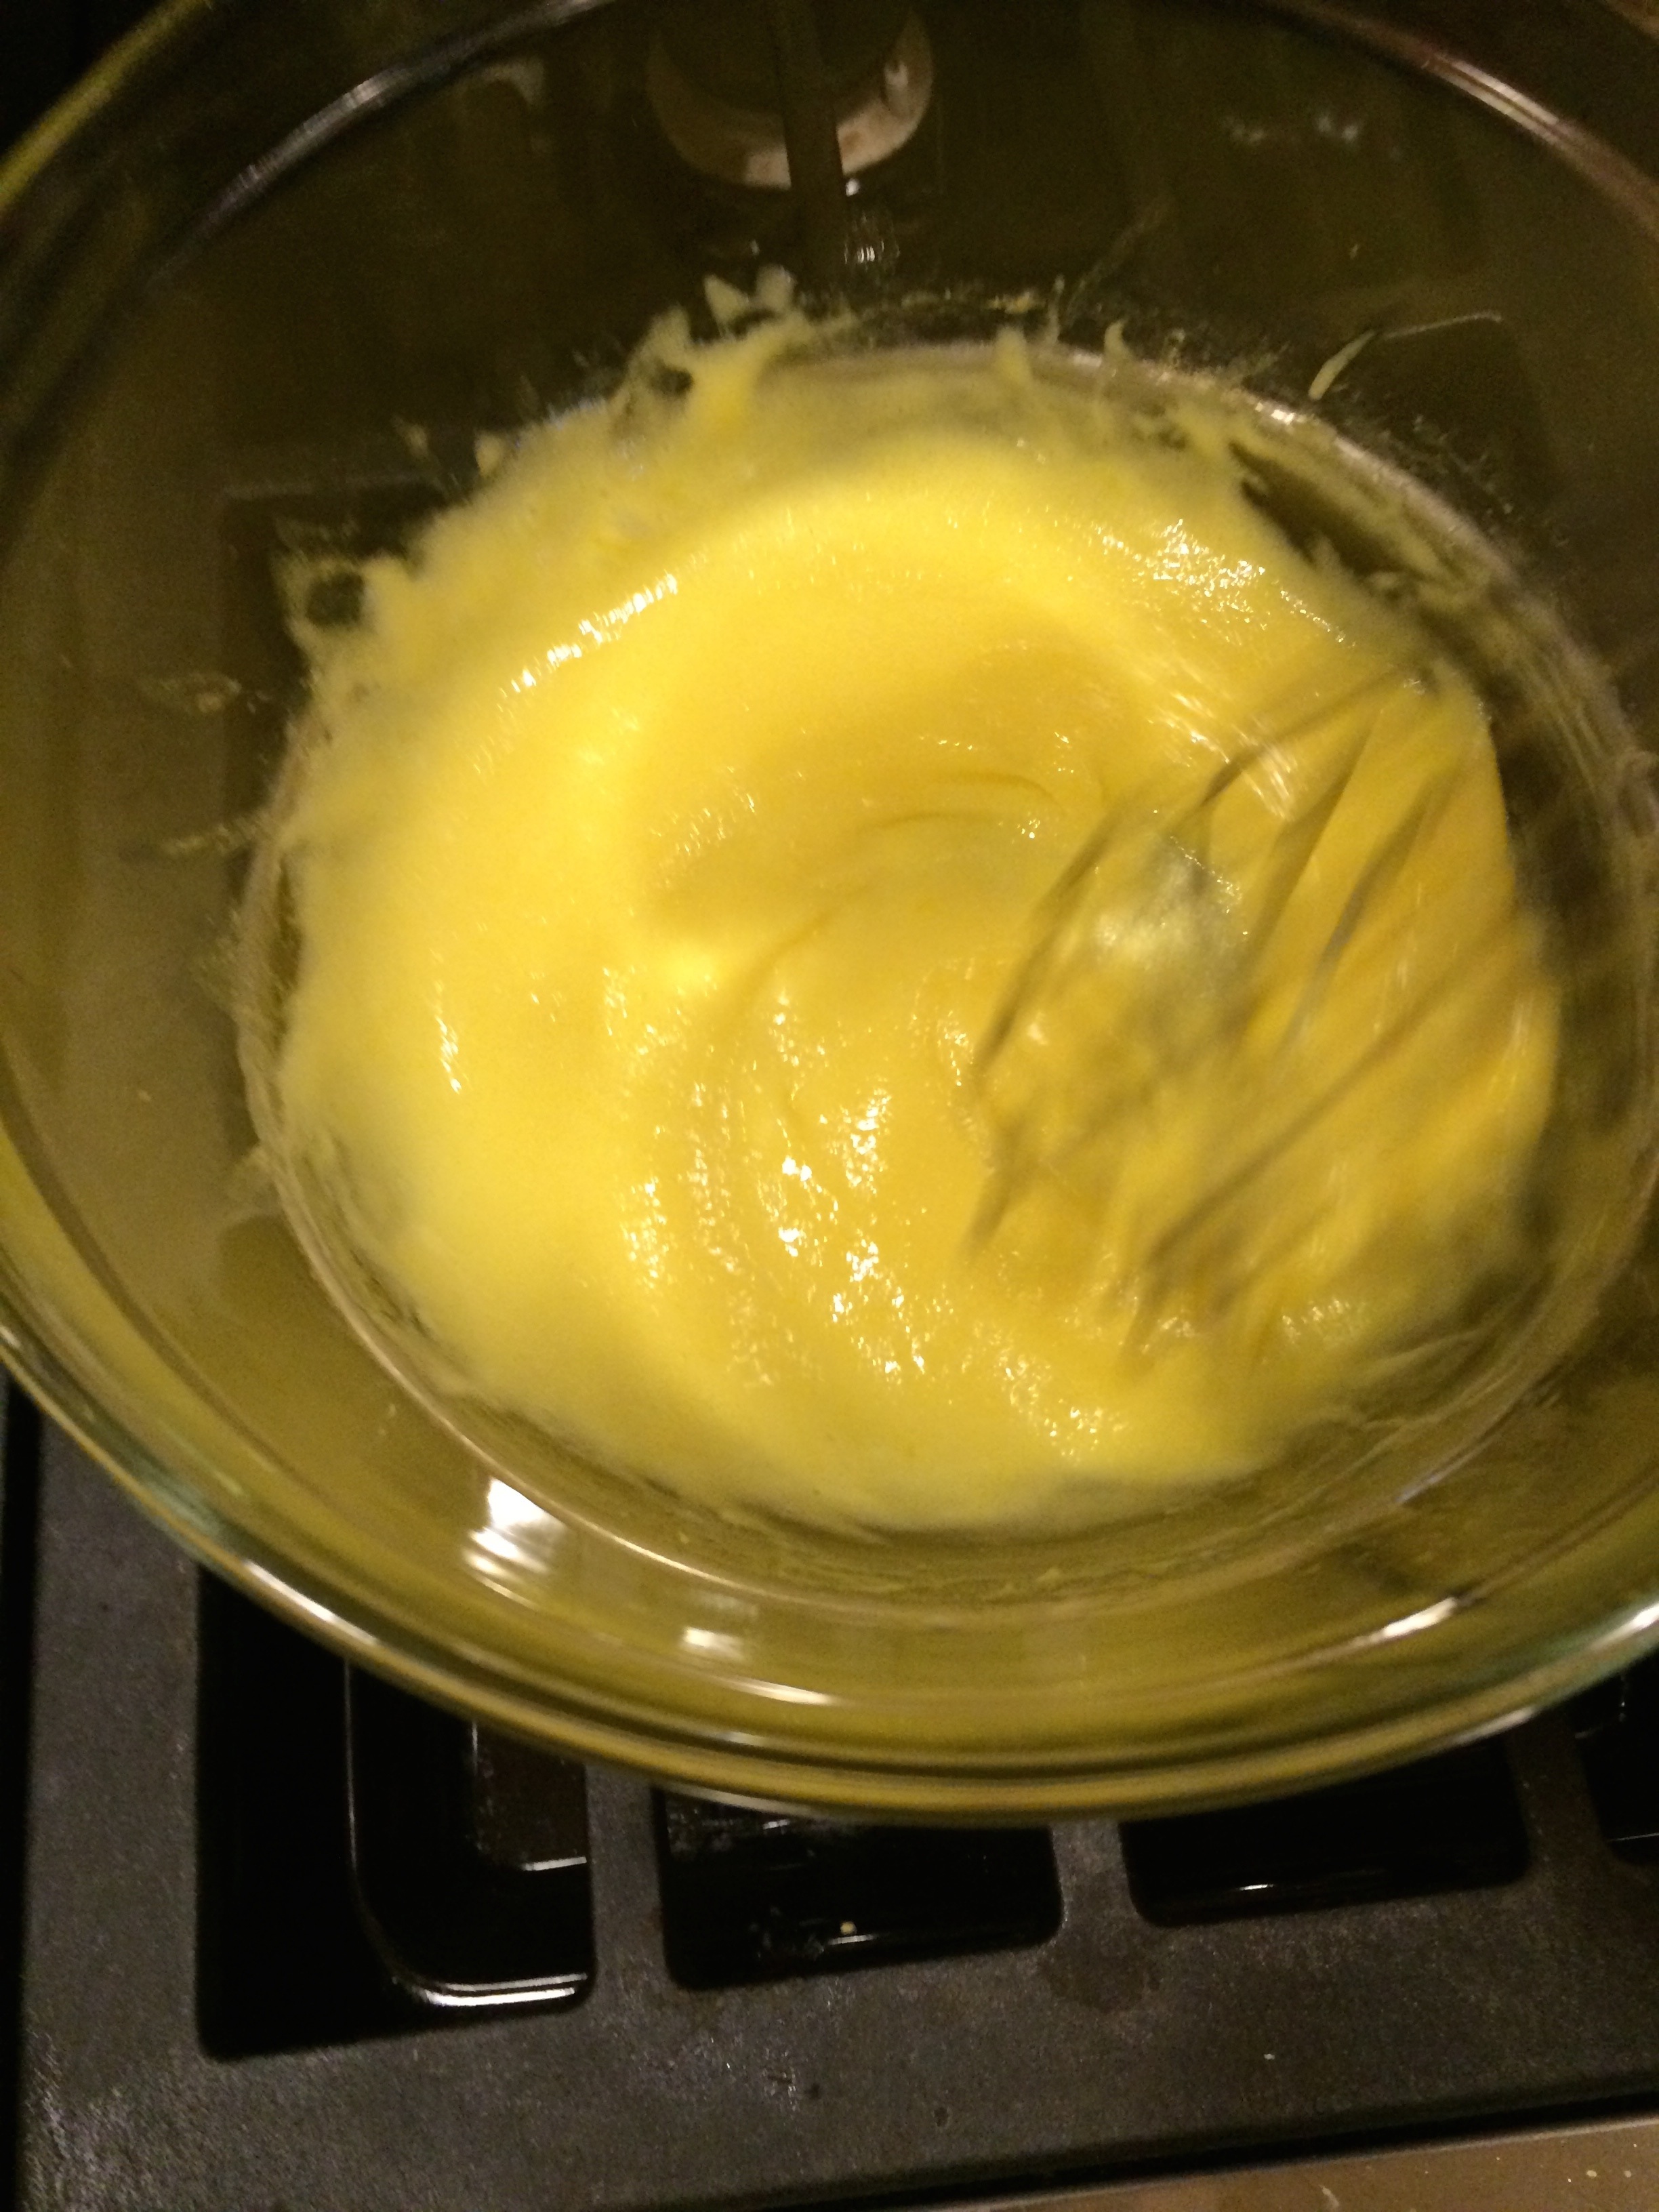
- To make braising liquid, put ingredients into a microwave safe bowl and microwave on high for one to two minutes, immediately before pouring into the tinfoil.
- Open the pack of Baby Back Ribs and gently rinse them off. Pat them dry with paper towels.
- Evenly spread the dry run on the meaty side. Rub it in, gently.
- Put the ribs on the smoker. Warm smoke them for three hours, at around 160 degrees.
- Now get a large sheet of heavy duty aluminum foil, large enough for one rack of ribs plus about four inches on either end. GENTLY put a rack of ribs in the foil, and fold up the sides, crimping the top together, plus one of the ends. Leave the last end open, but a little bent upwards. Do this for all three racks, but be very careful that the bones on the racks don't make holes in the tinfoil.
- Now make the braising liquid. Pour ⅓ of it into each tinfoiled rack of ribs. Gently crimp the last end. Put all three of these in your oven on 225 degrees.
- Cook for another three hours, or until the bones can gently wiggle, but not quite fall off the meat without pressure.
- Careful draining the braising liquid, it will be hot. Cut ribs into two bone pieces and serve, or paint with your favorite BBQ sauce and smoke for another half hour, then cut and serve.