Baby Back Ribs

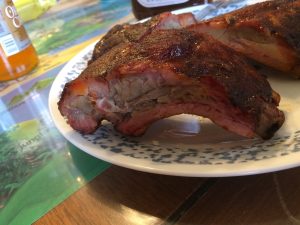
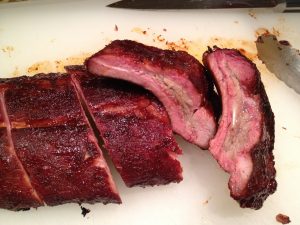
Average NinjaMmm, yeah!  Baby Back Ribs.  It doesn’t get any better than this!


Honestly, I borrowed most of the dry rub from Alton Brown, of Good Eats fame.  Great show.  It will teach you to cook better than any of those BAM shows or the Blue Tortilla guy ever will.

I like his rub and his braise, but Baby Back Ribs should have smoke.  ‘Nuff said on that.

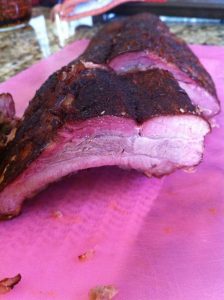
Also?  they are done when the bone wiggle a little, but does not come free without a little effort.  You want your ribs to be tender but have some toothsome feel to them.  Fall off the bone is overdone, though still tasty.  I won’t throw out a fall off the bone rib; I’ll simply adjust my time for the next batch.


Ok, the howto.

Put down a bunch of plastic wrap on the counter, making sure it overlaps.  This makes cleanup easier.

Open the pack of Baby Back Ribs and gently rinse them off.  Put them on the plastic wrap, and pat them dry with paper towels.

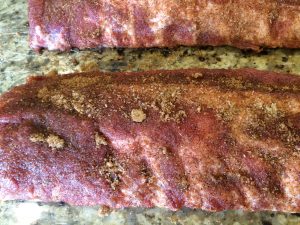
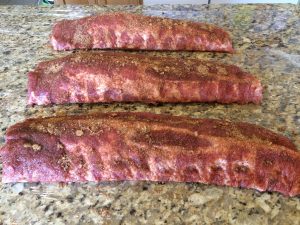
Evenly spread the dry run on the meaty side.  Rub it in, gently.  The batch of dry rub I’m listing below is good for three racks of ribs.

Baby Back Ribs Baby Back Ribs Baby Back Ribs


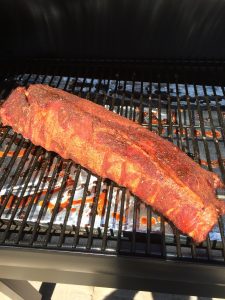
Put the ribs on the smoker.  Warm smoke them for three hours, at around 160 degrees.

Now get a large sheet of heavy duty aluminum foil, large enough for one rack of ribs plus about four inches on either end.  GENTLY put a rack of ribs in the foil, and fold up the sides, crimping the top together, plus one of the ends.  Leave the last end open, but a little bent upwards.  Do this for all three racks, but be very careful that the bones on the racks don’t make holes in the tinfoil.

[No photo here.  I seem to miss taking one every single time.]

Now make the braise liquid.  Pour 1/3 of it into each tinfoiled rack of ribs.  Gently crimp the last end.  Put all three of these in your oven on 225 degrees, or back on the smoker at the same temperature.  I use the oven, because I am not a fan of wasting wood to smoke tinfoil.

Cook for another three hours, or until the bones can gently wiggle, but not quite fall off the meat without pressure.

Drain the liquid, carefully.  It’s Hot!

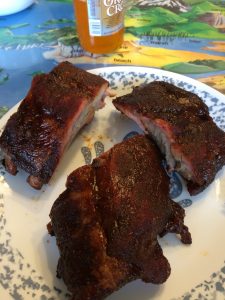
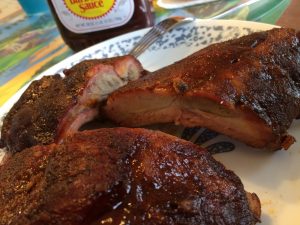
Now you must make a tough decision.  Wet, or dry?  If you like dry, cut them into two bone pieces, serve them and enjoy!  Personally, I like mine painted with my favorite BBQ sauce, then back on the smoker for another half hour.  it sets the sauce and adds just a hint more smoke.  The choice is up to you.  Choose wisely.

Either way, your dinner guests will snarf them up, and you will be sad the next day for no leftovers.  Or don’t invite anyone over, and have a lot for yourself.  or buy a second wire rack for the smoker, and do six instead of three!

Baby Back Ribs Baby Back Ribs Baby Back Ribs

Baby Back Ribs


Baby Back Ribs
Author: 
Recipe type: Entree
Cuisine: American
Prep time: 
Cook time: 
Total time: 
Serves: 3 racks
 
Baby Back Ribs! Awesomacity at it's finest! (yes, it's a real word!) (ok, maybe not, but it should be!) This is enough rub and braise liquid for three racks
Ingredients
  • Dry Rub
  • 8 Tablespoons brown sugar
  • 3 Tablespoons salt
  • ½ teaspoon black pepper
  • ½ teaspoon paprika, or smoked paprika
  • ½ teaspoon thyme
  • ½ teaspoon onion powder
  • ⅜ teaspoon cayenne pepper

  • Braise liquid
  • 1 cup water
  • 2 Tablespoons apple cider vinegar
  • 2 Tablespoons Worcestershire sauce
  • 1 Tablespoon honey
  • 2 cloves garlic
Instructions
  1. To make dry rub, put ingredients into a zip top bag and shake until well mixed.
  2. To make braising liquid, put ingredients into a microwave safe bowl and microwave on high for one to two minutes, immediately before pouring into the tinfoil.
  3. Open the pack of Baby Back Ribs and gently rinse them off. Pat them dry with paper towels.
  4. Evenly spread the dry run on the meaty side. Rub it in, gently.
  5. Put the ribs on the smoker. Warm smoke them for three hours, at around 160 degrees.
  6. Now get a large sheet of heavy duty aluminum foil, large enough for one rack of ribs plus about four inches on either end. GENTLY put a rack of ribs in the foil, and fold up the sides, crimping the top together, plus one of the ends. Leave the last end open, but a little bent upwards. Do this for all three racks, but be very careful that the bones on the racks don't make holes in the tinfoil.
  7. Now make the braising liquid. Pour ⅓ of it into each tinfoiled rack of ribs. Gently crimp the last end. Put all three of these in your oven on 225 degrees.
  8. Cook for another three hours, or until the bones can gently wiggle, but not quite fall off the meat without pressure.
  9. Careful draining the braising liquid, it will be hot. Cut ribs into two bone pieces and serve, or paint with your favorite BBQ sauce and smoke for another half hour, then cut and serve.

 

French Toast

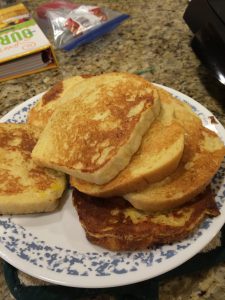
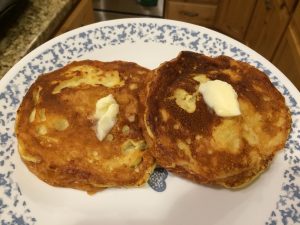
French ToastAnother quick post.  French Toast.

And not just any French Toast, but the most awesome French Toast.

Growing up, in my home what we got, which was good, was just beaten eggs with bread dipped into it and cooked on a griddle.  Sometimes, the bread was broken into chunks and just stirred with the beaten eggs, then all at once was put on the griddle and cooked, occasionally stirred or turned to get it all cooked.  The issue with *that* was that the eggs didn’t coat all the bread and some of the thicker chunks didn’t get fully cooked in the middle.  Personally, I love runny eggs, especially as a French Omelette, although admittedly with a few less herbs than Julia uses.  But when soaked with maple syrup, I find it to be cloyingly sweet and a little gross.  Of course, I also do not like maple syrup on scrambled eggs, or even McGriddle sandwiches.  Yuck.  My brother disagrees with me, and he adored the chumps of french-toast-like-stuff we ate as kids.

I am more of a purest.  I believe that you should make the French Toast in toast shapes, though I do add more than just eggs.  I actually tried a few different recipes (few dozen?), and even tried winging it a bunch and just put whatever looked good into the bowl and mixed it up.  It wasn’t bad, but it wasn’t awesome, either.  We actually now go to the Joy of Cooking, that wonderful classic of American cooking.  If you don’t have it, you should go get it.

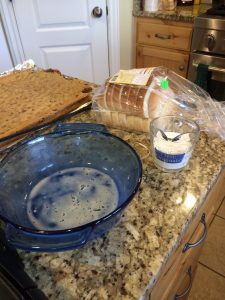
Also?  it is good with normal sandwich bread, but to reach awesome levels of goodness, you need a thicker bread, and it is even better if that bread is a little stale or dried out.  We lay out the bread on a rack for a half hour or so before putting it in the custard, if we can at all stir up the patience for it.  And for those super special occasions, we get a big pack of Croissants, cut in half length-wise, and use those.  Awesomocity at it’s finest!

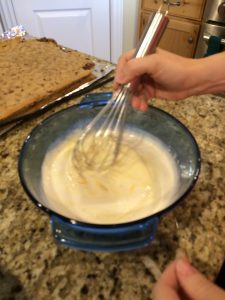
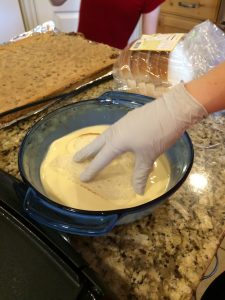
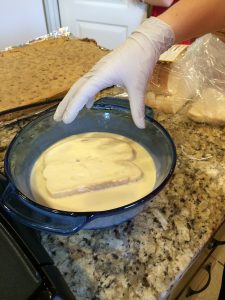
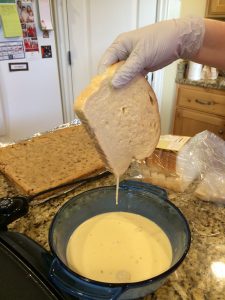
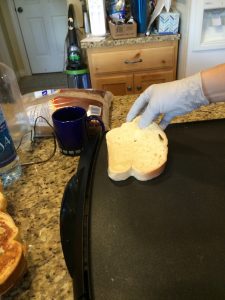
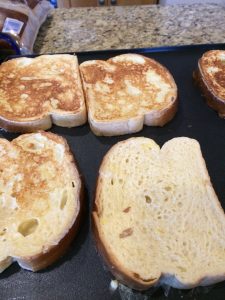
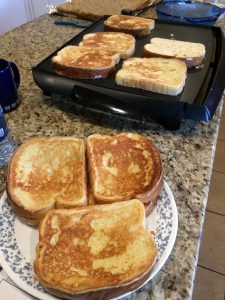
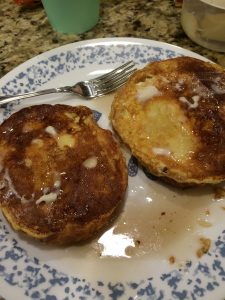
Really simple, too.  Dump all the ingredients into a bowl, whisk them (with a fork or a balloon whisk), and dip the bread into them until well coated.  Put it on a 325-350 degree griddle, flip them when the first side is golden brown, remove when the second side is golden brown.  Serve with butter or syrup.

French Toast French Toast French Toast French Toast French Toast French Toast French Toast French Toast French Toast


Oh, and don’t forget Croissants!

French Toast French Toast


French Toast
Author: 
Recipe type: Breakfast
Cuisine: American
Prep time: 
Cook time: 
Total time: 
Serves: 8-10 slices
 
Best French Toast, ever!
Ingredients
  • ½ Cup heavy cream (or half and half, or whole milk)
  • 4 large eggs
  • 2 tablespoons powdered sugar
  • 1 teaspoon vanilla
  • ¼ teaspoon salt

  • 8-10 slices of bread (more or less depending on the type of bread used)
Instructions
  1. Preheat griddle or pan to between 325-350 degrees (when drops of water dance and evaporate rather than just sitting there)
  2. Put all the ingredients, other than the bread, into a bowl and whisk it together.
  3. Dip slices of bread into the custard and onto the griddle. Turn when golden brown, remove when second side is golden brown.
  4. Serve with butter and maple syrup, or powdered sugar.


Yellow Cake

yellow cakeI love a good Yellow Cake.  It is the de facto cake for many a fine dessert, and if you have a good one, you will rarely find anyone who is willing to complain about it.  A good Yellow Cake is moist, with a delicate crumb and a little spongy.  Ok, technically, it is a sponge cake, or even called a butter cake, but everyone thinks of it as a Yellow Cake.  You know, because of the color.

(If you get a bad one, they are dry, crumbly, and hard to make taste good with anything.  So let’s not make a bad one, ok?)

When we add a simple buttercream frosting, and you cannot go wrong.  Chocolate frosting and you have something wonderful.  Put strawberries and whipped cream on it, and you have something amazing.  Put pastry cream in it, with Chocolate Ganache over the top and you have Boston Cream Pie, which is spectacular.  I’ll put that into another post, because it is really (REALLY) worth doing.

Today, however, is the sublime, delicate, and incredible Yellow Cake.


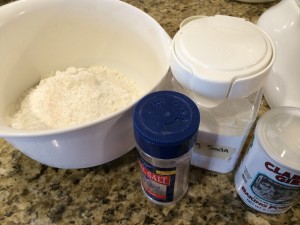
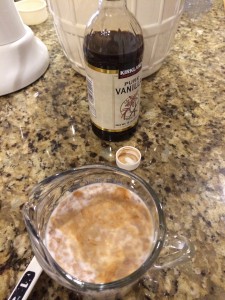
Mix the dry ingredients into a bowl, with a whisk or a fork.  Mix the wet ingredients into a measuring cup.  You can skip the stirring of the wet stuff.

yellow cake yellow cake

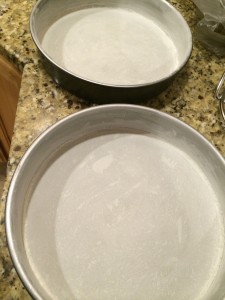
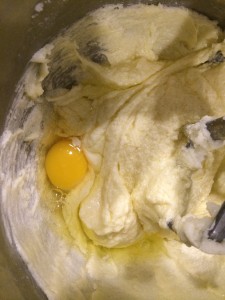
Grease and flour your pans.  Cream the sugar and butter until light and fluffy, about 5 minutes.  Add eggs, one at a time, and blend in.

yellow cake yellow cake

Alternatively add dry and wet ingredients in multiple additions, starting and ending with the dry. (You know: dry, wet, dry, wet, dry).

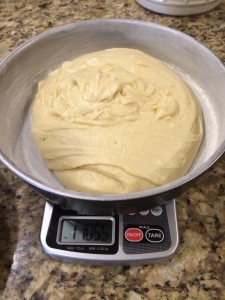
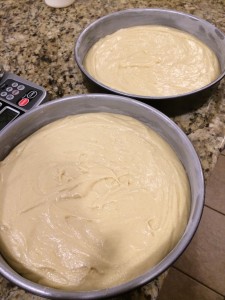
Divide the batter evenly between the two pans.  I use a scale to get them close.  They don’t have to be perfect, but if they are close they will cook evenly.  Once the batter is divided into the pans, use a spatula to spread it out evenly.

yellow cakeyellow cake

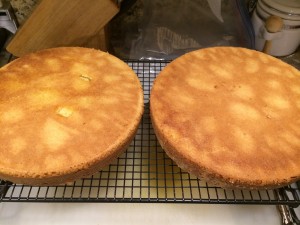
Bake them for 30-35 minutes at 350 degrees.  Once a toothpick comes out with a few moist crumbs, but not goopy, set them on a wire rack for ten minutes.  Run a knife (plastic knife for non-stick pans!) around the edges and turn onto the wire rack, making sure they are upside down.

yellow cake

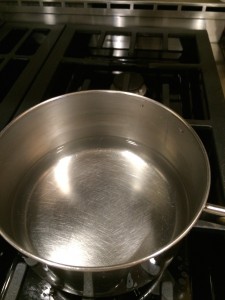
Here is the trick to keeping them moist and wonderful.  While they are cooling for the ten minutes in the pan, before you turn them out onto the wire rack, you need to make a simple syrup.  That is heating 1/2 cup water and 1/2 cup sugar over heat, stirring until sugar is dissolved.  The photo is of the syrup, with the sugar dissolved.  Ok, maybe not, but it looks the same.

Hollandaise sauce

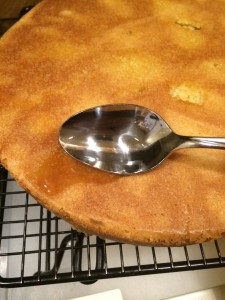
As soon as the cakes are turned out of the pans, you want to slowly coat the bottoms of the cakes with the syrup.  Spread it evenly, between both cakes.  You can tell that you are going at the right speed when it is soaking in and not beading up, or pouring around to any low spot.

yellow cake

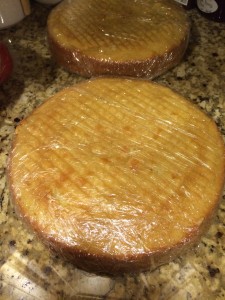
Once all the syrup is soaked in, let the cakes completely cool before you frost them or wrap them up for later.  I find they are even better the next day, so I wrap them tightly in plastic wrap and put them far back on the counter where the little kids don’t play with them, leaving them upside down so gravity can continue to help the syrup distribute through the cake.

yellow cake yellow cake

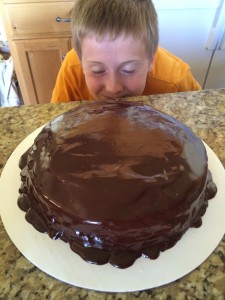
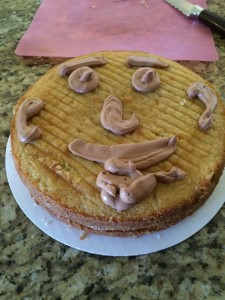
In case you’re curious, my son helped me frost that cake.


Yellow Cake
Author: 
Recipe type: Dessert
Cuisine: American
Prep time: 
Cook time: 
Total time: 
Serves: 2x 9" cake round
 
The divine, sublime, and delicious Yellow Cake
Ingredients
  • ½ lb unsalted butter, room temperature (2 sticks)
  • 2 cups granulated sugar, divided
  • 4 large eggs
  • 3 cups flour
  • ½ teaspoon baking powder
  • ½ teaspoon baking soda
  • 1 teaspoon kosher salt
  • ¼ cup water
  • ¾ Tablespoon lemon juice
  • ¾ cup (minus ¾ Tablespoon) milk
  • 2 teaspoons vanilla extract

  • Syrup
  • ½ Cup Sugar
  • ½ Cup water

  • Frosting
Instructions
  1. Preheat oven to 350°F.
  2. Grease and flour 2x 9" round cake pans, lining the bottom with parchment paper, if desired.
  3. Sift together flour, baking powder, baking soda and salt into a bowl. Set aside.
  4. Combine ¼ C water, lemon juice, milk and vanilla in a measuring cup or separate bowl. Set aside.
  5. Cream butter and 2 Cups granulated sugar in bowl of electric mixer until light and fluffy, about 5 minutes.
  6. Blend in eggs, one at a time.
  7. Add dry and wet mixtures to batter, beginning and ending with flour mixture.
  8. Divide batter evenly between pans, smoothing the tops.
  9. Bake 30 - 35 minutes, or until tester comes out clean.
  10. When cakes are done, cool 10 minutes in pans on a wire rack.
  11. While the cakes are cooling, make the simple syrup: combine ½ Cup granulated sugar and ½ Cup water in small saucepan, stirring over low to medium heat until sugar is dissolved.
  12. Remove cakes from pans and set on wire rack (best to set upside down on rack so that syrup absorbs better).
  13. Spoon simple syrup over cakes, slowly, trying to get even coverage.
  14. Allow cakes to cool completely.