I think if we are to be honest with ourselves, most of us have had a love of a basic Red Sauce since we were too young to put a name to it. I was enamored with Spaghetti-O’s, Chef Boy-R-Dee Beef Ravioli, and even those way too cheaply made pizzas sold in the deli section of the local grocery store. You know the kind not really frozen pizzas, but may have once been? I could not get enough of them.
As I got older, I progressed to slightly better sauce, the kind in those jars in the Italian aisle. If I was truly lucky, my mom would make a homemade spaghetti, but not often enough. Not by far.
When I got out on my own, I discovered Olive Garden, Spaghetti Factory, and Brick Oven. It was amazing what a good Red Sauce could taste like. I discovered some white sauces, and even a lemon butter sauce (both still great sauces in their realms) but eventually I would return to the Red Sauce.
One day, in all my arrogance, I proclaimed “How hard could it be? There are only a few basic ingredients!” I was then in for years of searching and experimenting for the right ratios of those basic ingredients. Had I known then how much effort and time it would take me, I am not sure if I wouldn’t just keep going to restaurants and work on other foods. I am glad I did. I think i am a better cook for the experience.
Don’t get me wrong, I made some ok sauces, and I got to eat a lot of Red Sauces along the way. I also made some sauce that was only good with Parmesano-Romano cheese. A lot of cheese. And really strong garlic bread.
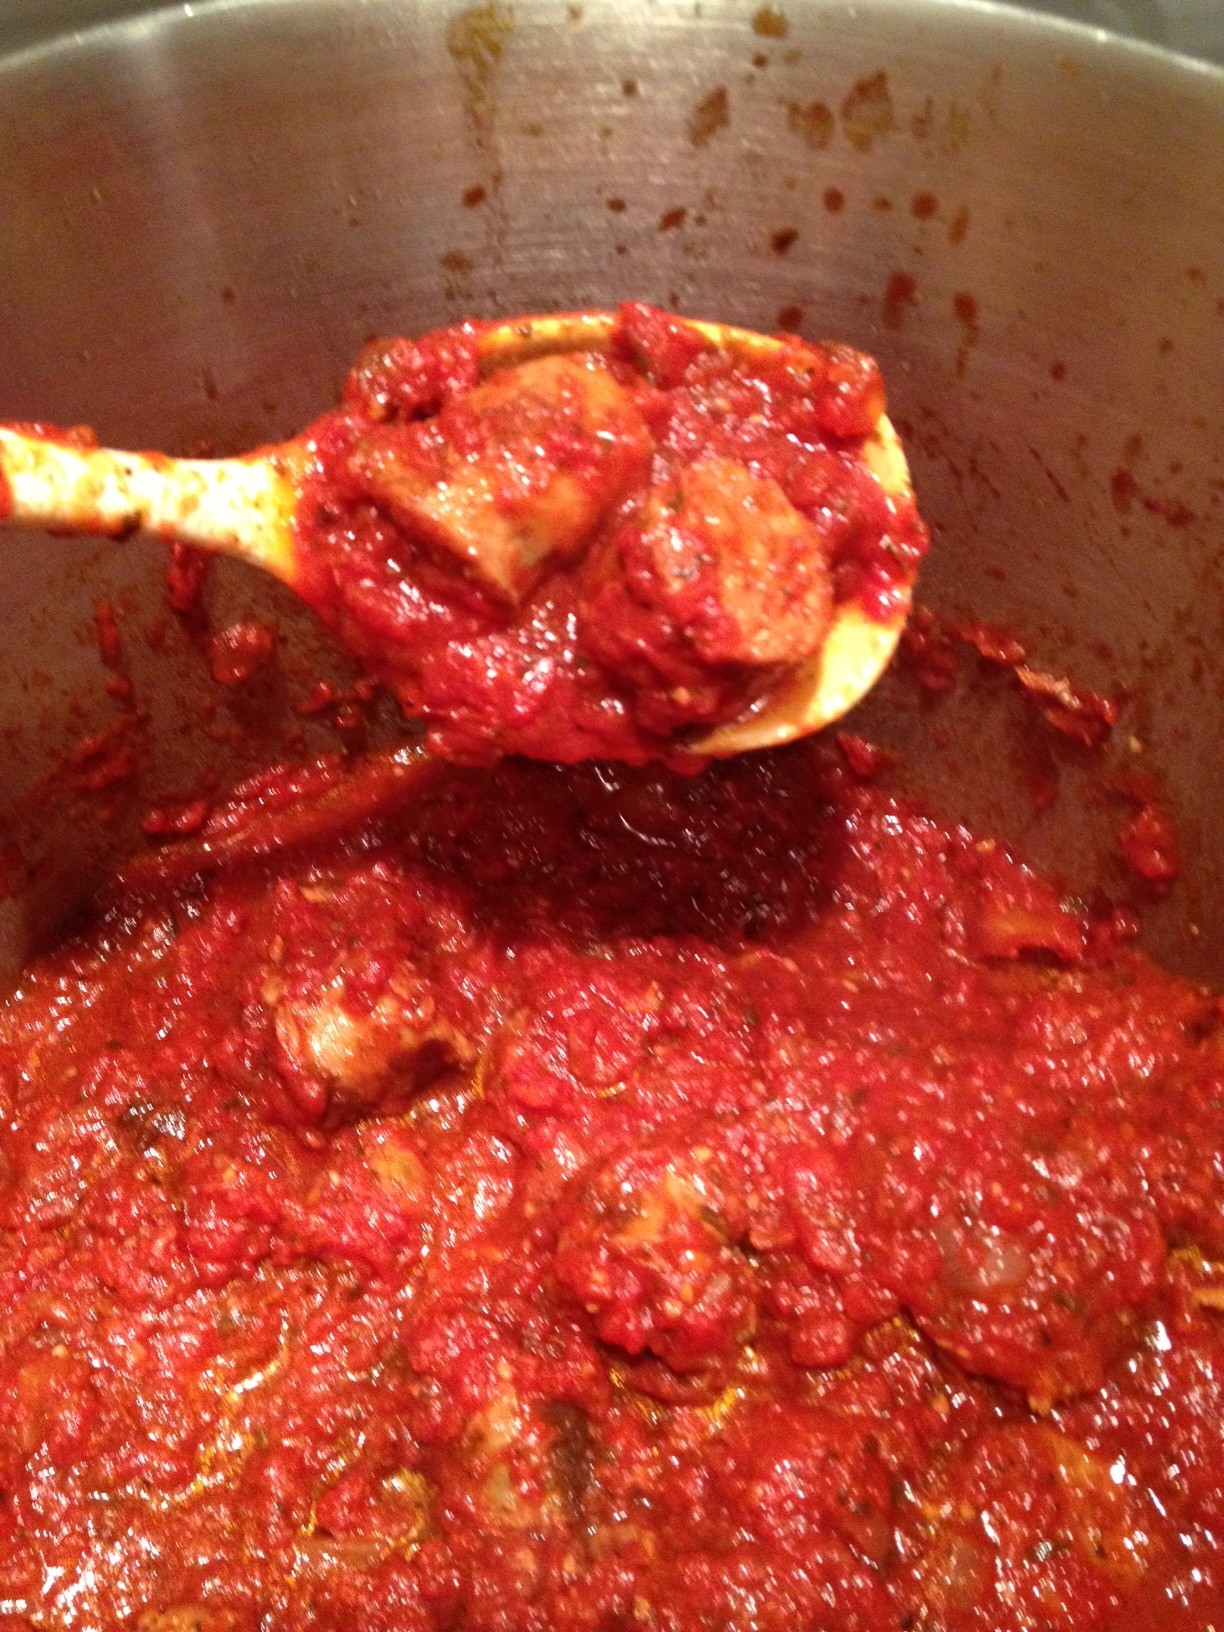
I finally came upon some Italian sausages at the local Costco. When mixed with the pretty good sauce I had been playing with, I ended up with something spectacular. It had balance, nuance, and flair. And it was pretty simple to make.
In other words, it was a truly great Red Sauce.
Dice the Onion. Crush the garlic. Grate the carrots. Open the cans of tomatoes. Brown the sausages.
I will warn you that this makes a good sized batch. Feel free to cut it in half or even quarters. And patience will reward you. It is not a five minute recipe by any means, but will take several hours, depending on how high a simmer you have it. If you do it higher, please stir more often; you don’t want it burned, that’s not good sauce.
Oh, and Food Handler warning. I only brown the sausage before cutting it and adding it to the sauce. Please follow safe practices and don’t taste the sauce with undercooked pork or chicken in it; Once the meat is in, be patient and simmer it for a few hours before you taste test it.
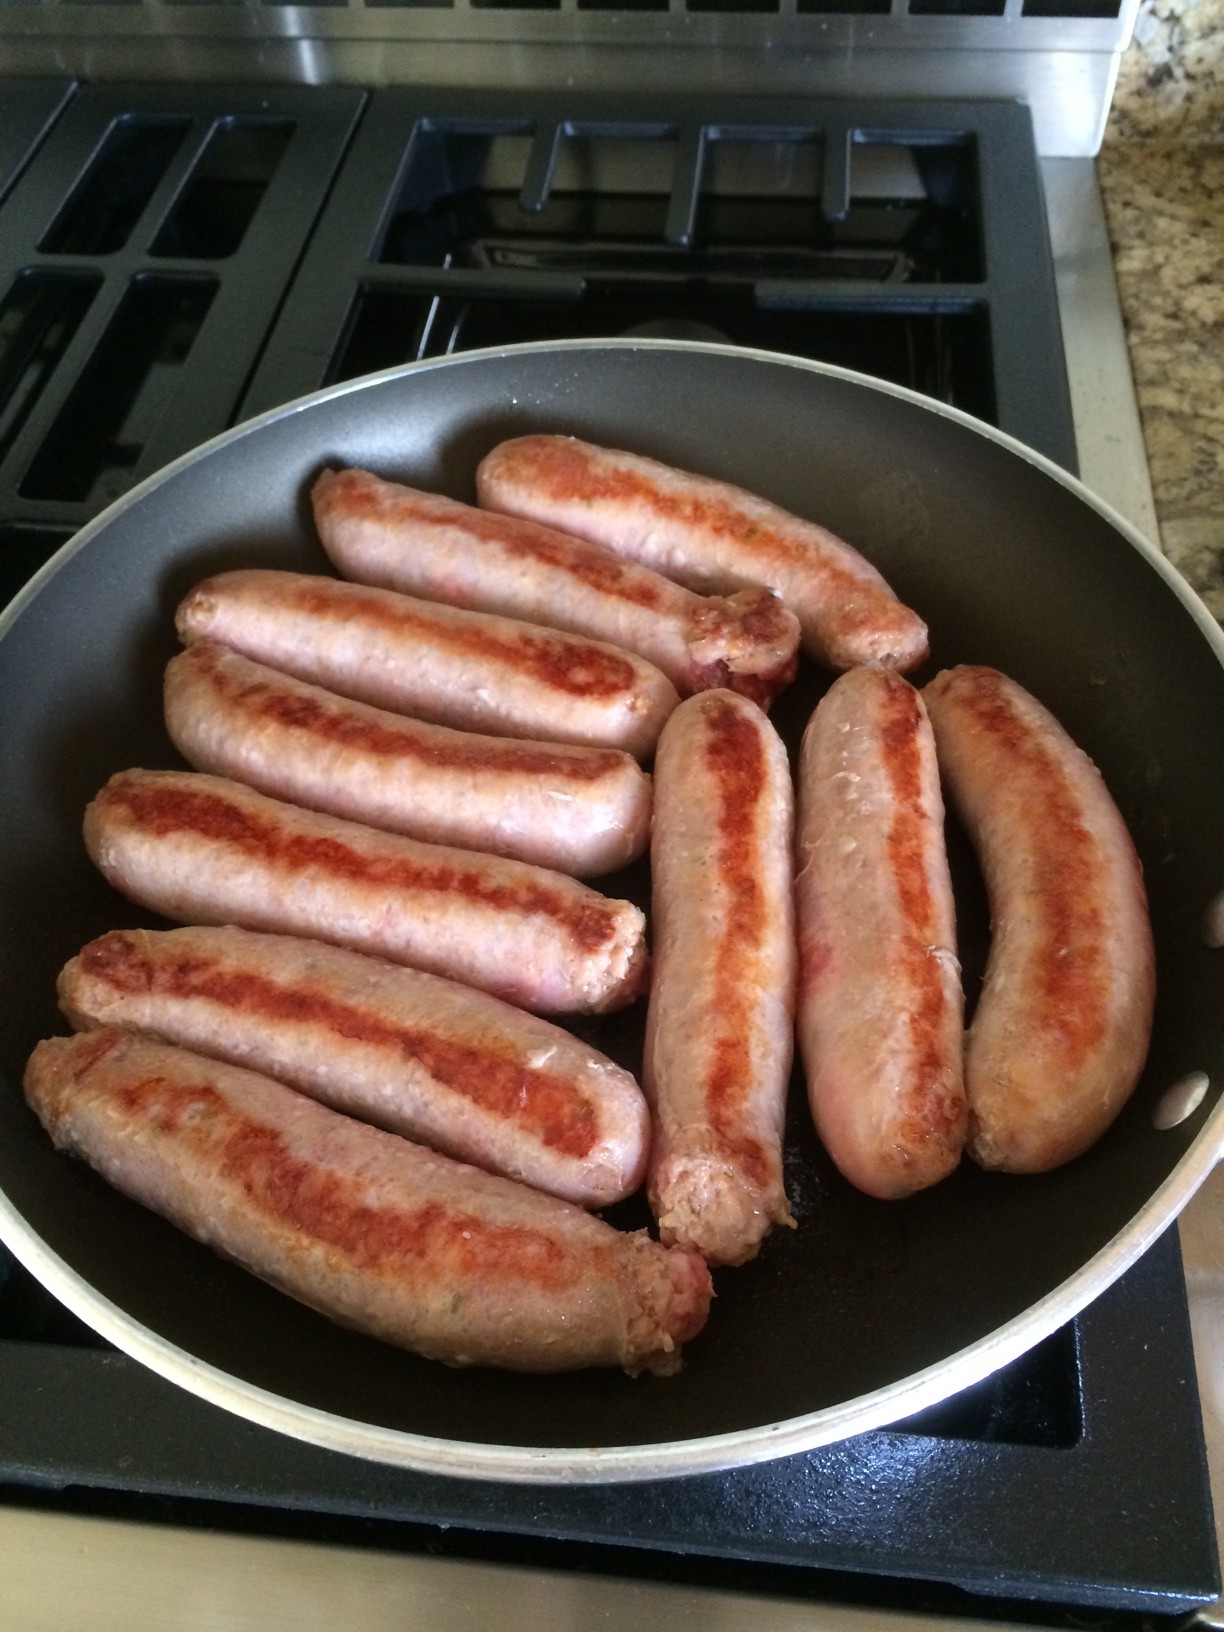
I use the Torino Italian Sausages sold at Costco. They are really amazing in this sauce.
Ingredients
3 Tablespoons olive oil
1 medium or large onion, diced
5 cloves garlic, crushed
4 – 28 oz cans crushed tomatoes – or one #10 can crushed tomatoes
½ cup carrot, finely grated
½ teaspoon red pepper flakes
1¾ Tablespoon dried Oregano
1¾ Tablespoon dried Basil
1¾ Tablespoon dried Parsley
2 Tablespoons brown bugar (or to taste, sometimes up to 3 Tablespoons)
Salt and Pepper to taste (roughly 1 T salt and ½ t pepper)
20 Torino mild Italian Sausages
Instructions
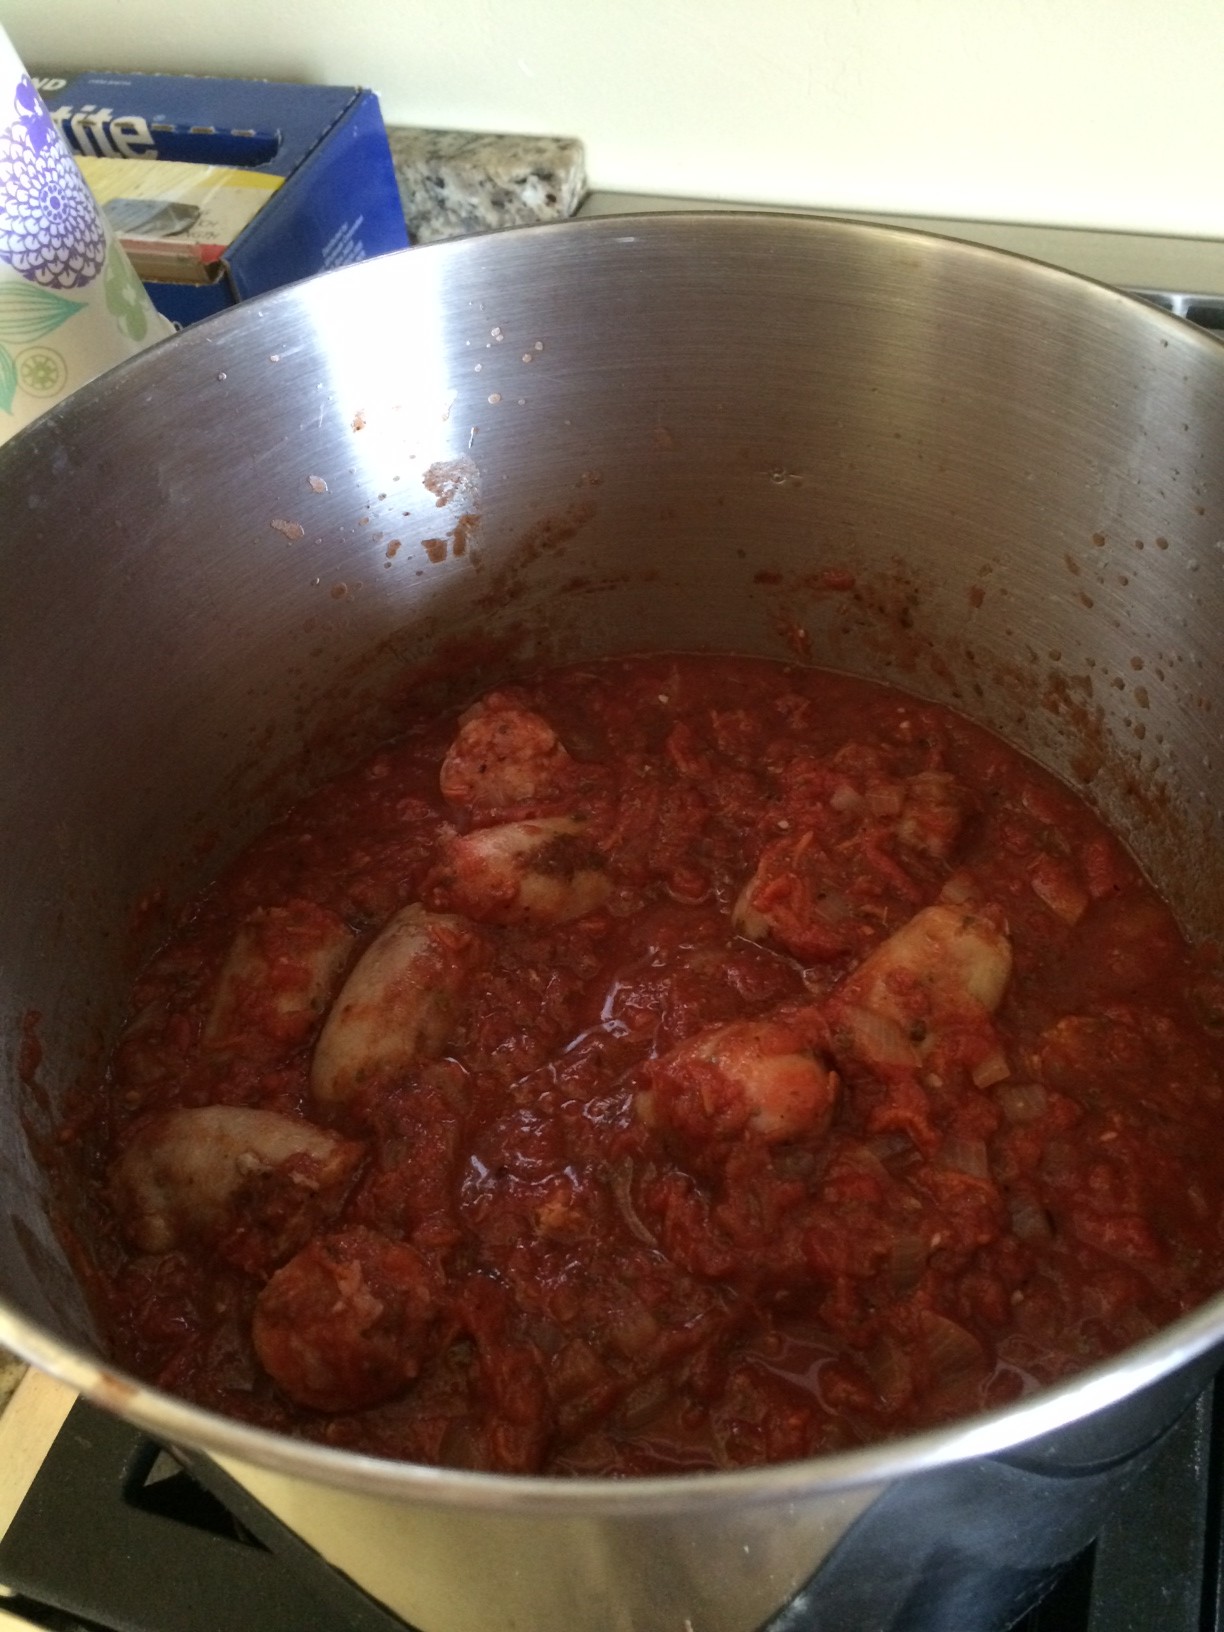
In a large stock pot, saute the diced onion in olive oil until translucent, 8-10 minutes. Add crushed garlic and saute slightly (be careful to not burn it).
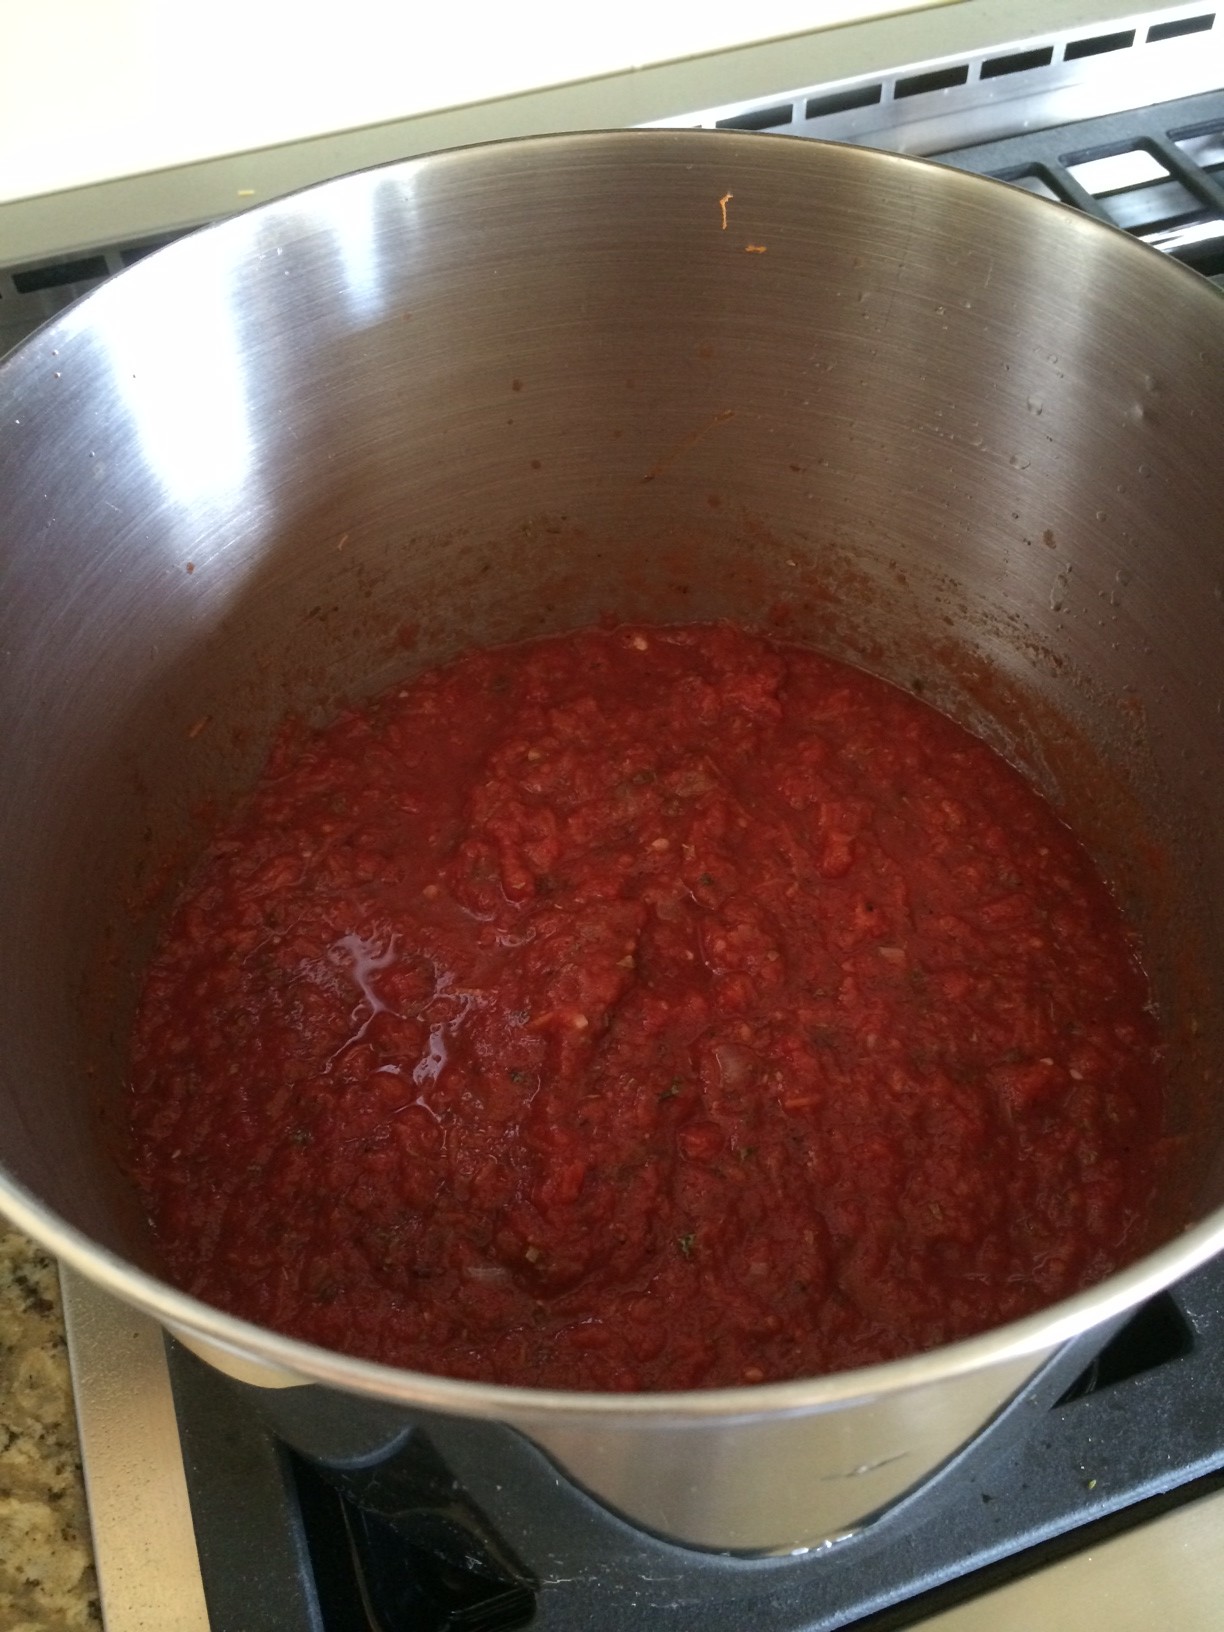
Add the tomatoes, carrots, and all the seasonings (the rest of the ingredient list, minus the sausages). Stir together, and set the burner for a simmer.
In a skillet, brown the sausages on all sides. It is OK if they are still raw in the middle, we just want them browned to add flavor. Cut them in thirds (depending on their size) and add to the sauce.
Simmer the sauce for 2-4 hours, stirring every half hour or so, then taste and adjust salt, pepper, and brown sugar as needed.
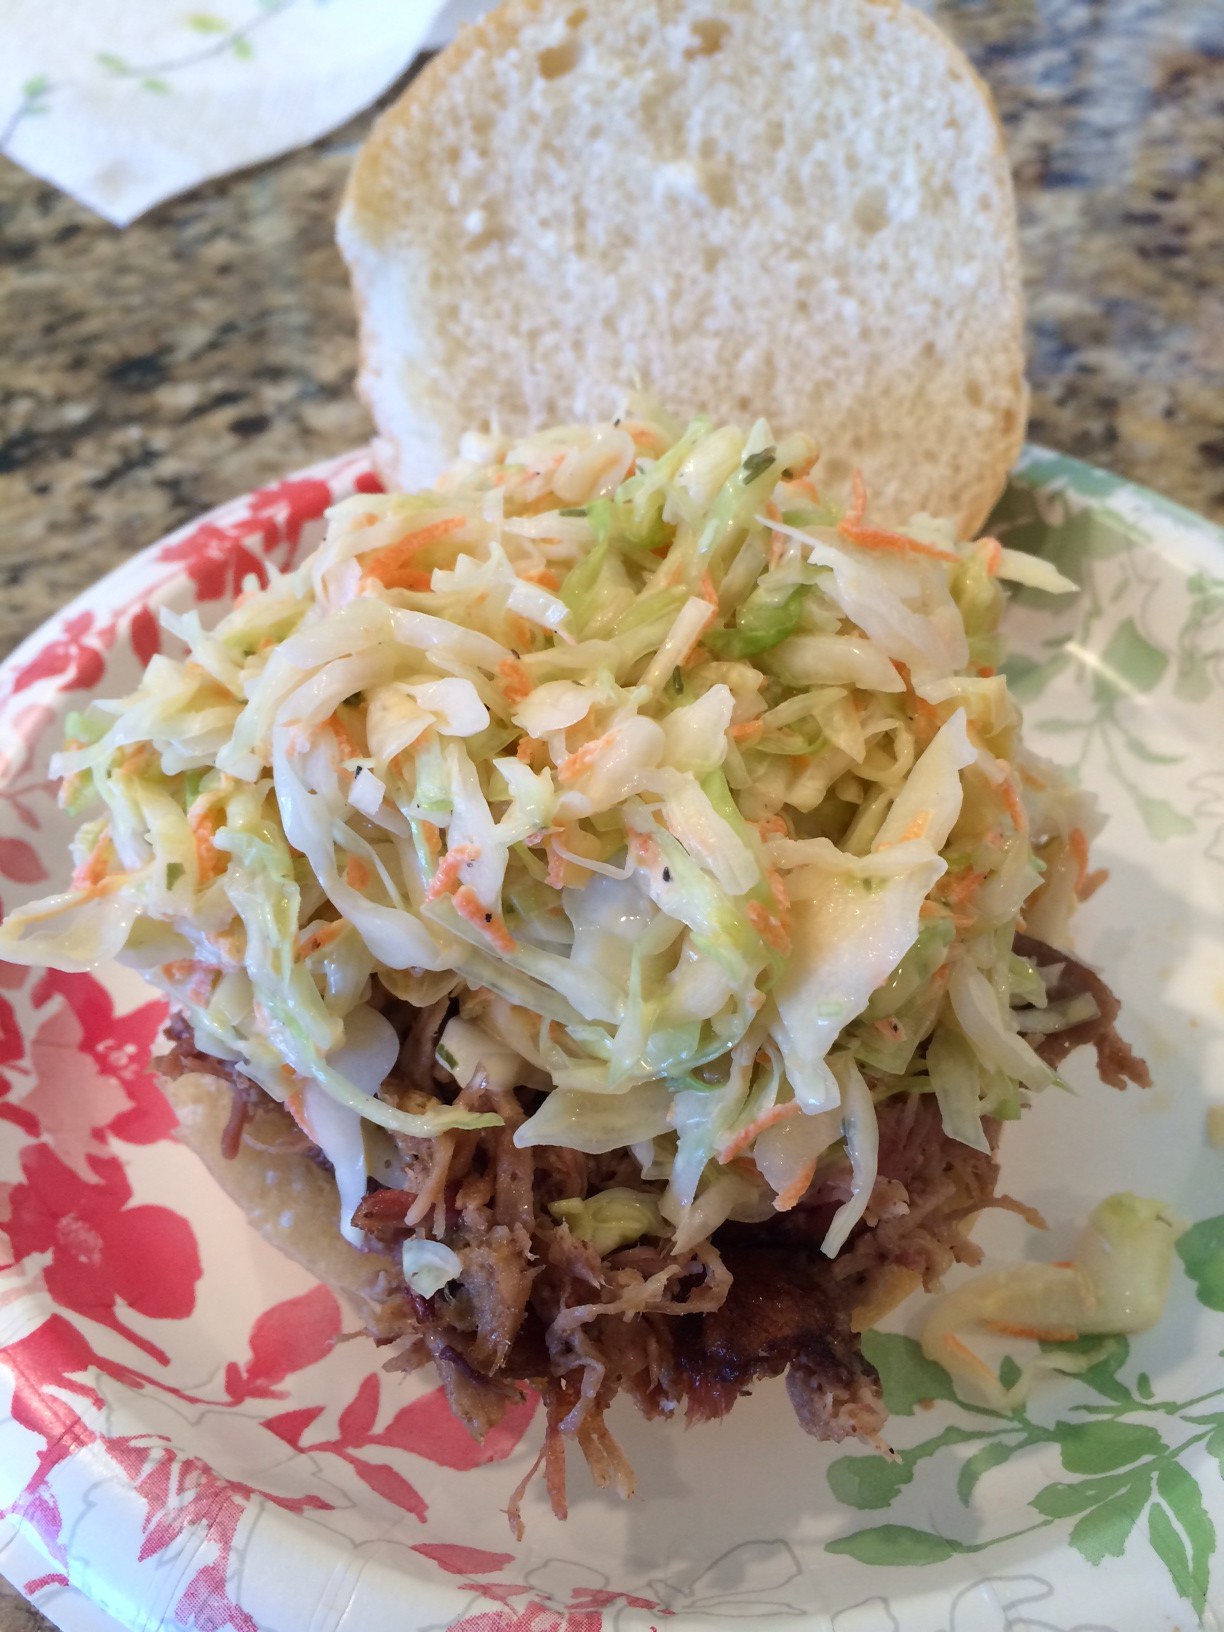
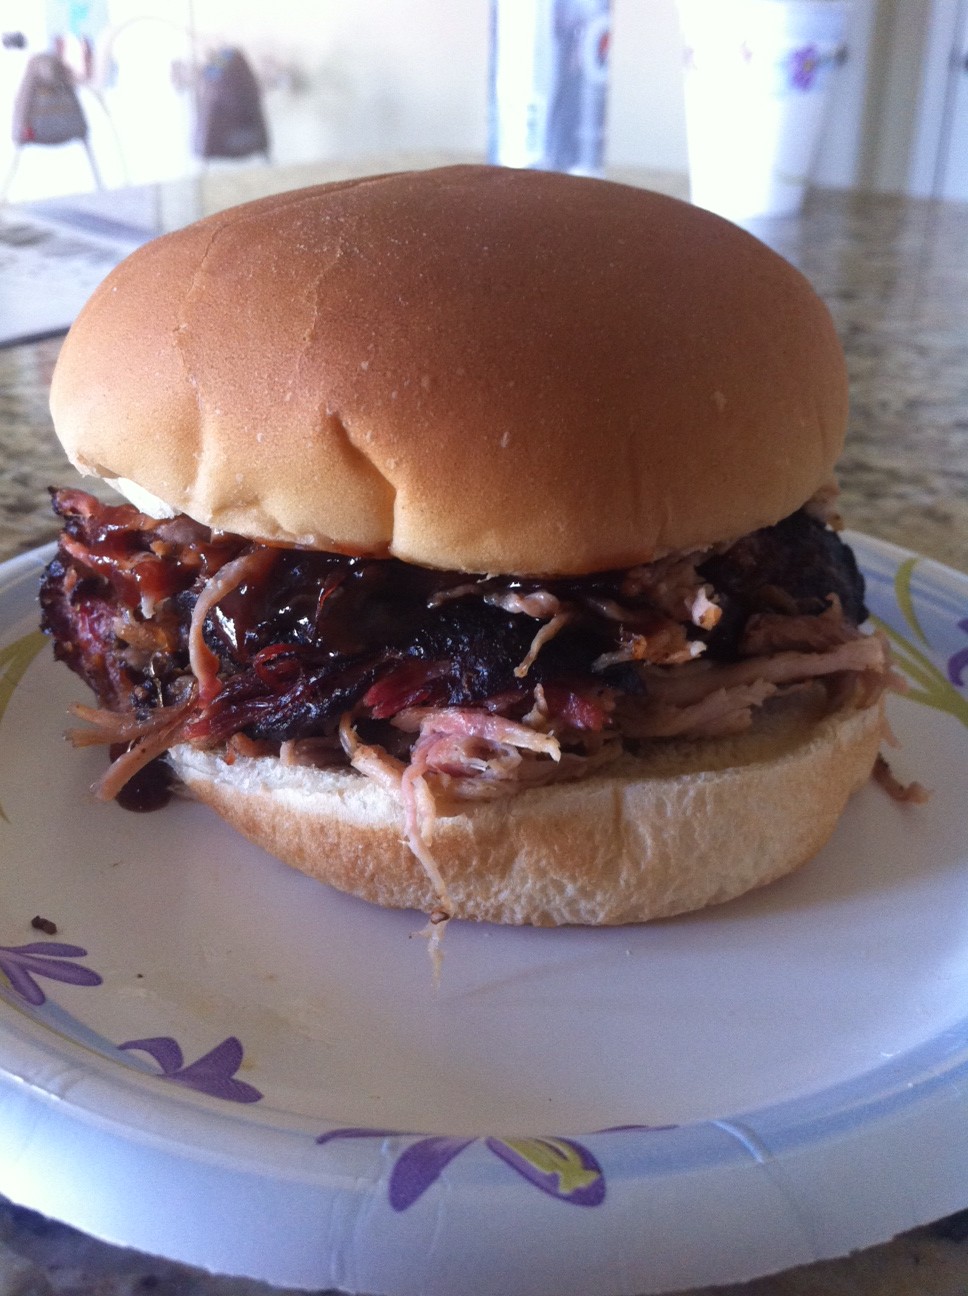
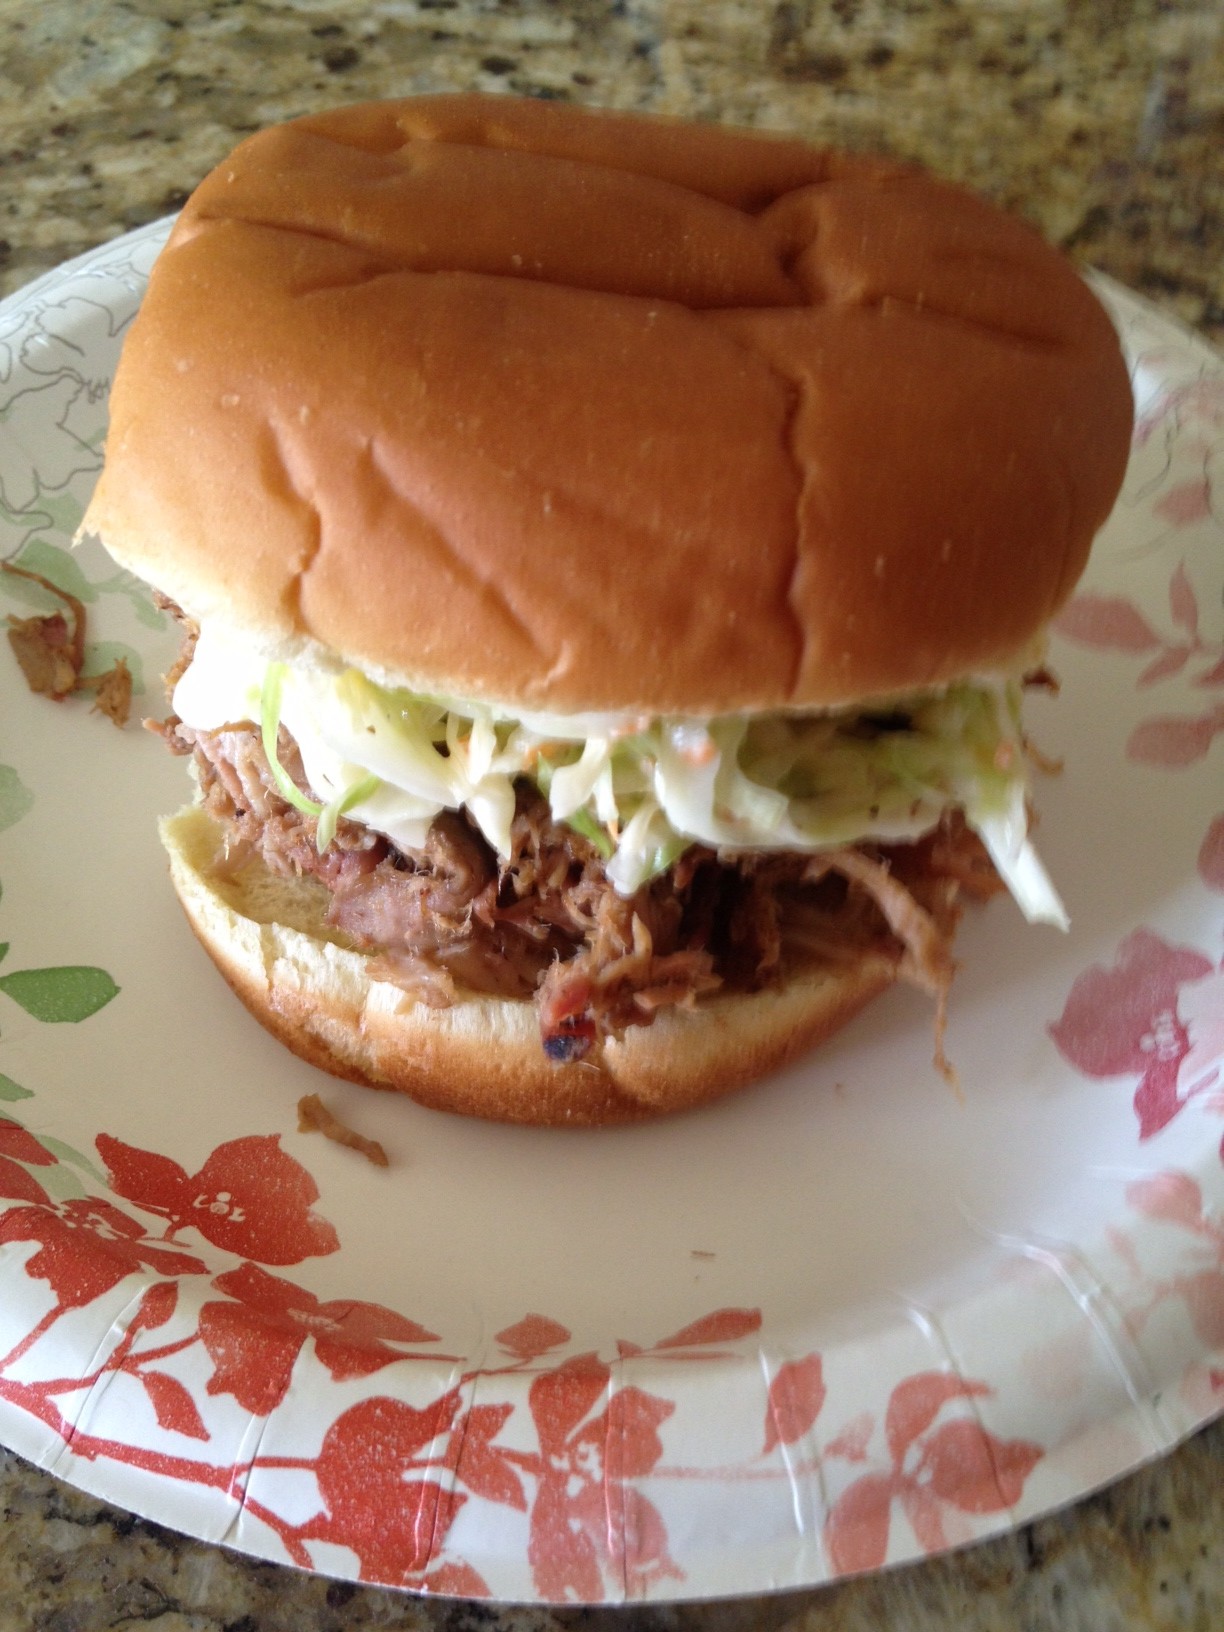
On the pulled pork entry that I wrote yesterday, I promised to post the coleslaw recipe. It works really well with the pulled pork: the little bit of crunch of the cabbage and the slaw sauce blends with the smokiness and seasoning of the pulled pork to make something epic. It is awesome! Even if you are not a huge coleslaw fan, you owe it to yourself to try these together!
Why? Because you have done something extraordinary in the past day or so and deserve something wonderful. Or you are about to do something really nice for one of your neighbors. Or you are an amazing person at heart. With slaw this good, you can become someone worth the awesomosity! (Ok, that may not be a real word, but it should be!)
I like a good coleslaw with pulled pork, so when I started making my own bbq pork it naturally became a challenge to make a slaw that would be worthy of it. Of course, to that point, the best slaw I had ever had was at Tony Romas, or Kentucky Fried Chicken. Ok, so they weren’t perfect, but that had that something that would work with smoked and fried meats.
My first attempt at coleslaw was a vinegar based one, and it was proof positive that we all have failures in the road to success. And it was nasty. I obviously had no clue how to make coleslaw. So I went on a research binge on the Internet. What makes a good slaw? Why? And I ended up with four recipes that were all considered great by different groups.
So we made all four. We quartered the recipes and then quartered a cabbage and made four different coleslaw. It was a fair amount of work, but I really wanted a great slaw on my pulled pork.
They were all good. We tasted them side by side, had friends try them, and I even took them to work and got various opinions. We ended up taking bits from several of them and blending them to get the recipe presented here (with several recipes overlapping, but the one from Heather Likes Food more dominant than the others). And we added more black pepper. It’s amazing how coleslaw really likes black pepper and still doesn’t turn out peppery.
We have since served this to many people, with about half claiming they don’t like coleslaw. I tell them to try it anyway, and many of them end up having more. It really is that good, to convince coleslaw naysayers to give it another try.
So give it a try. You really do deserve this.
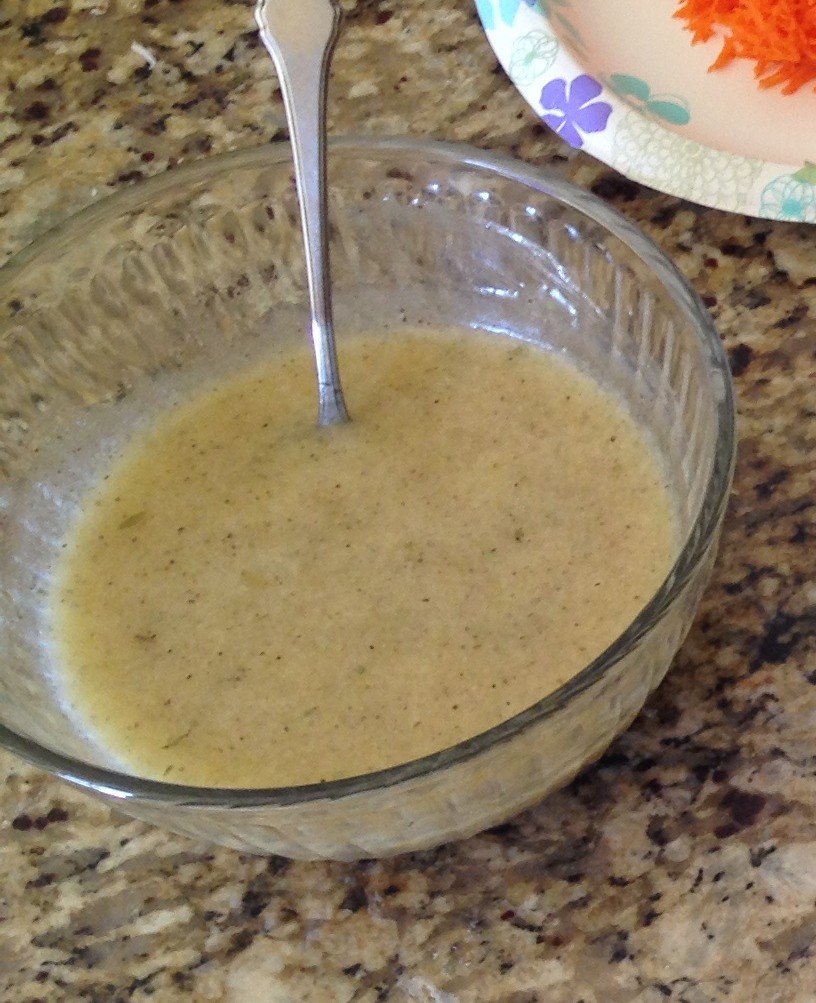
Start by making the sauce. Mix until combined the vinegar, oil, pepper, salt, mayonnaise, sugar, and tarragon. Set aside.
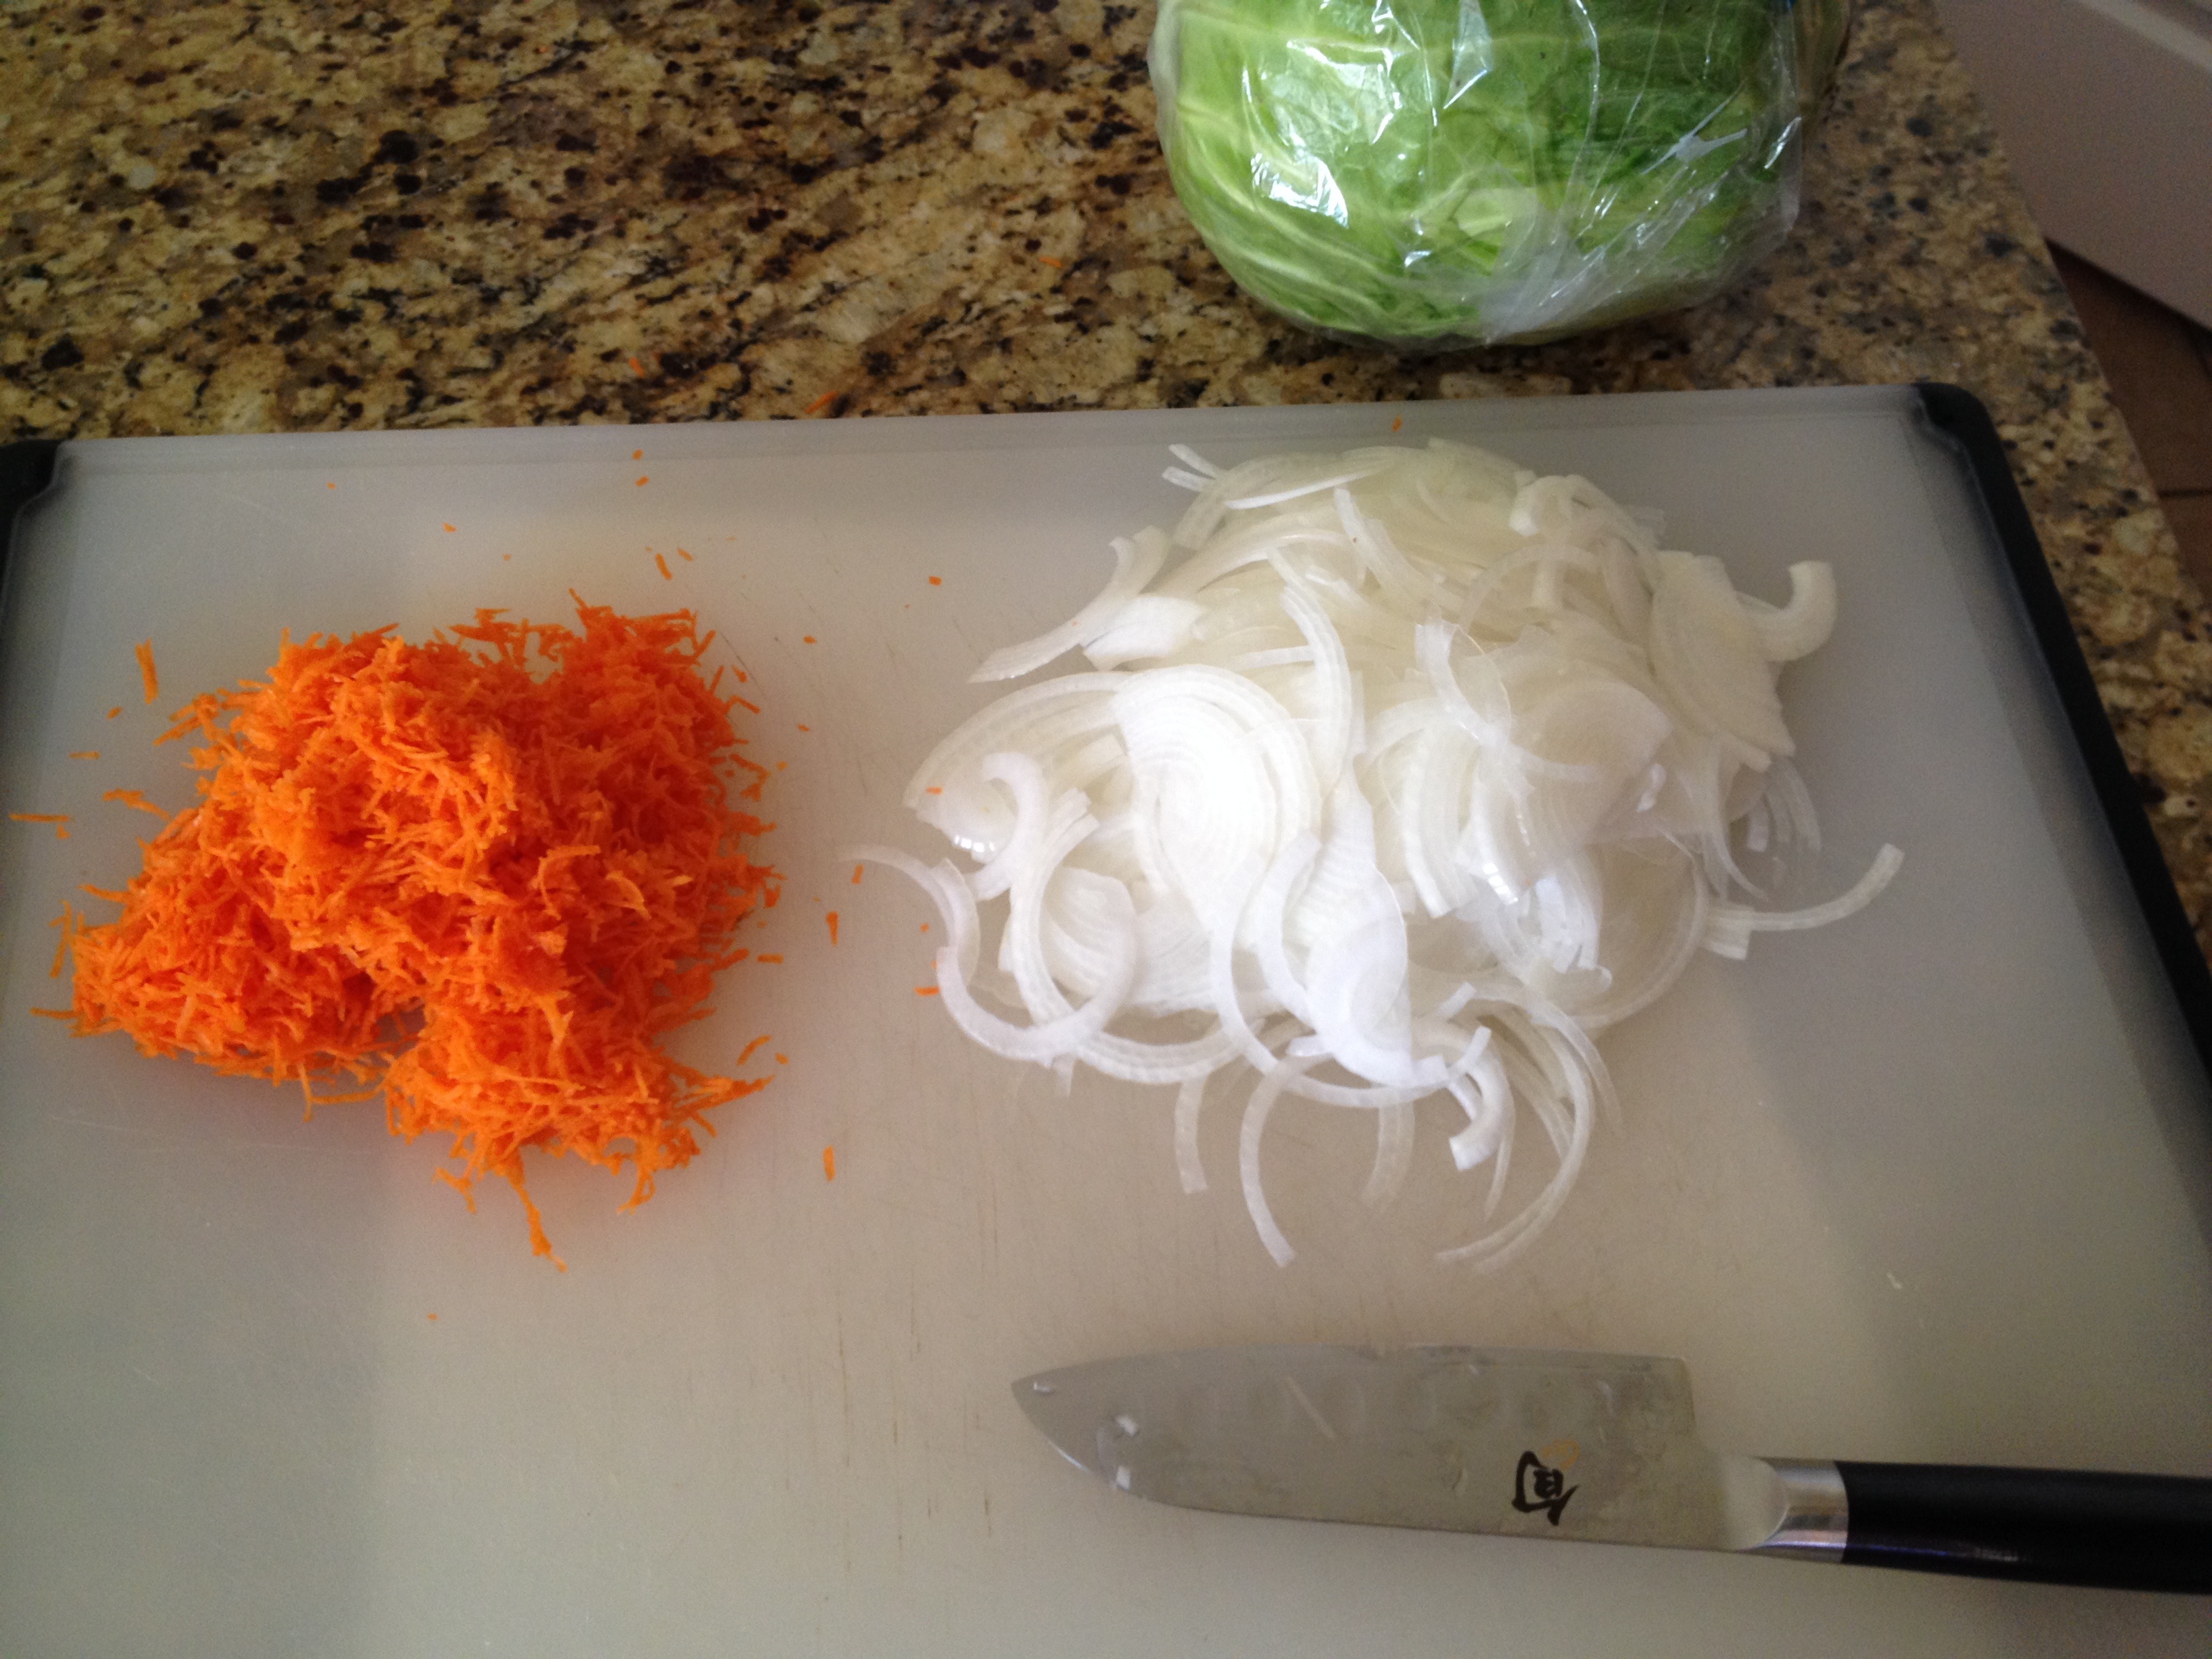
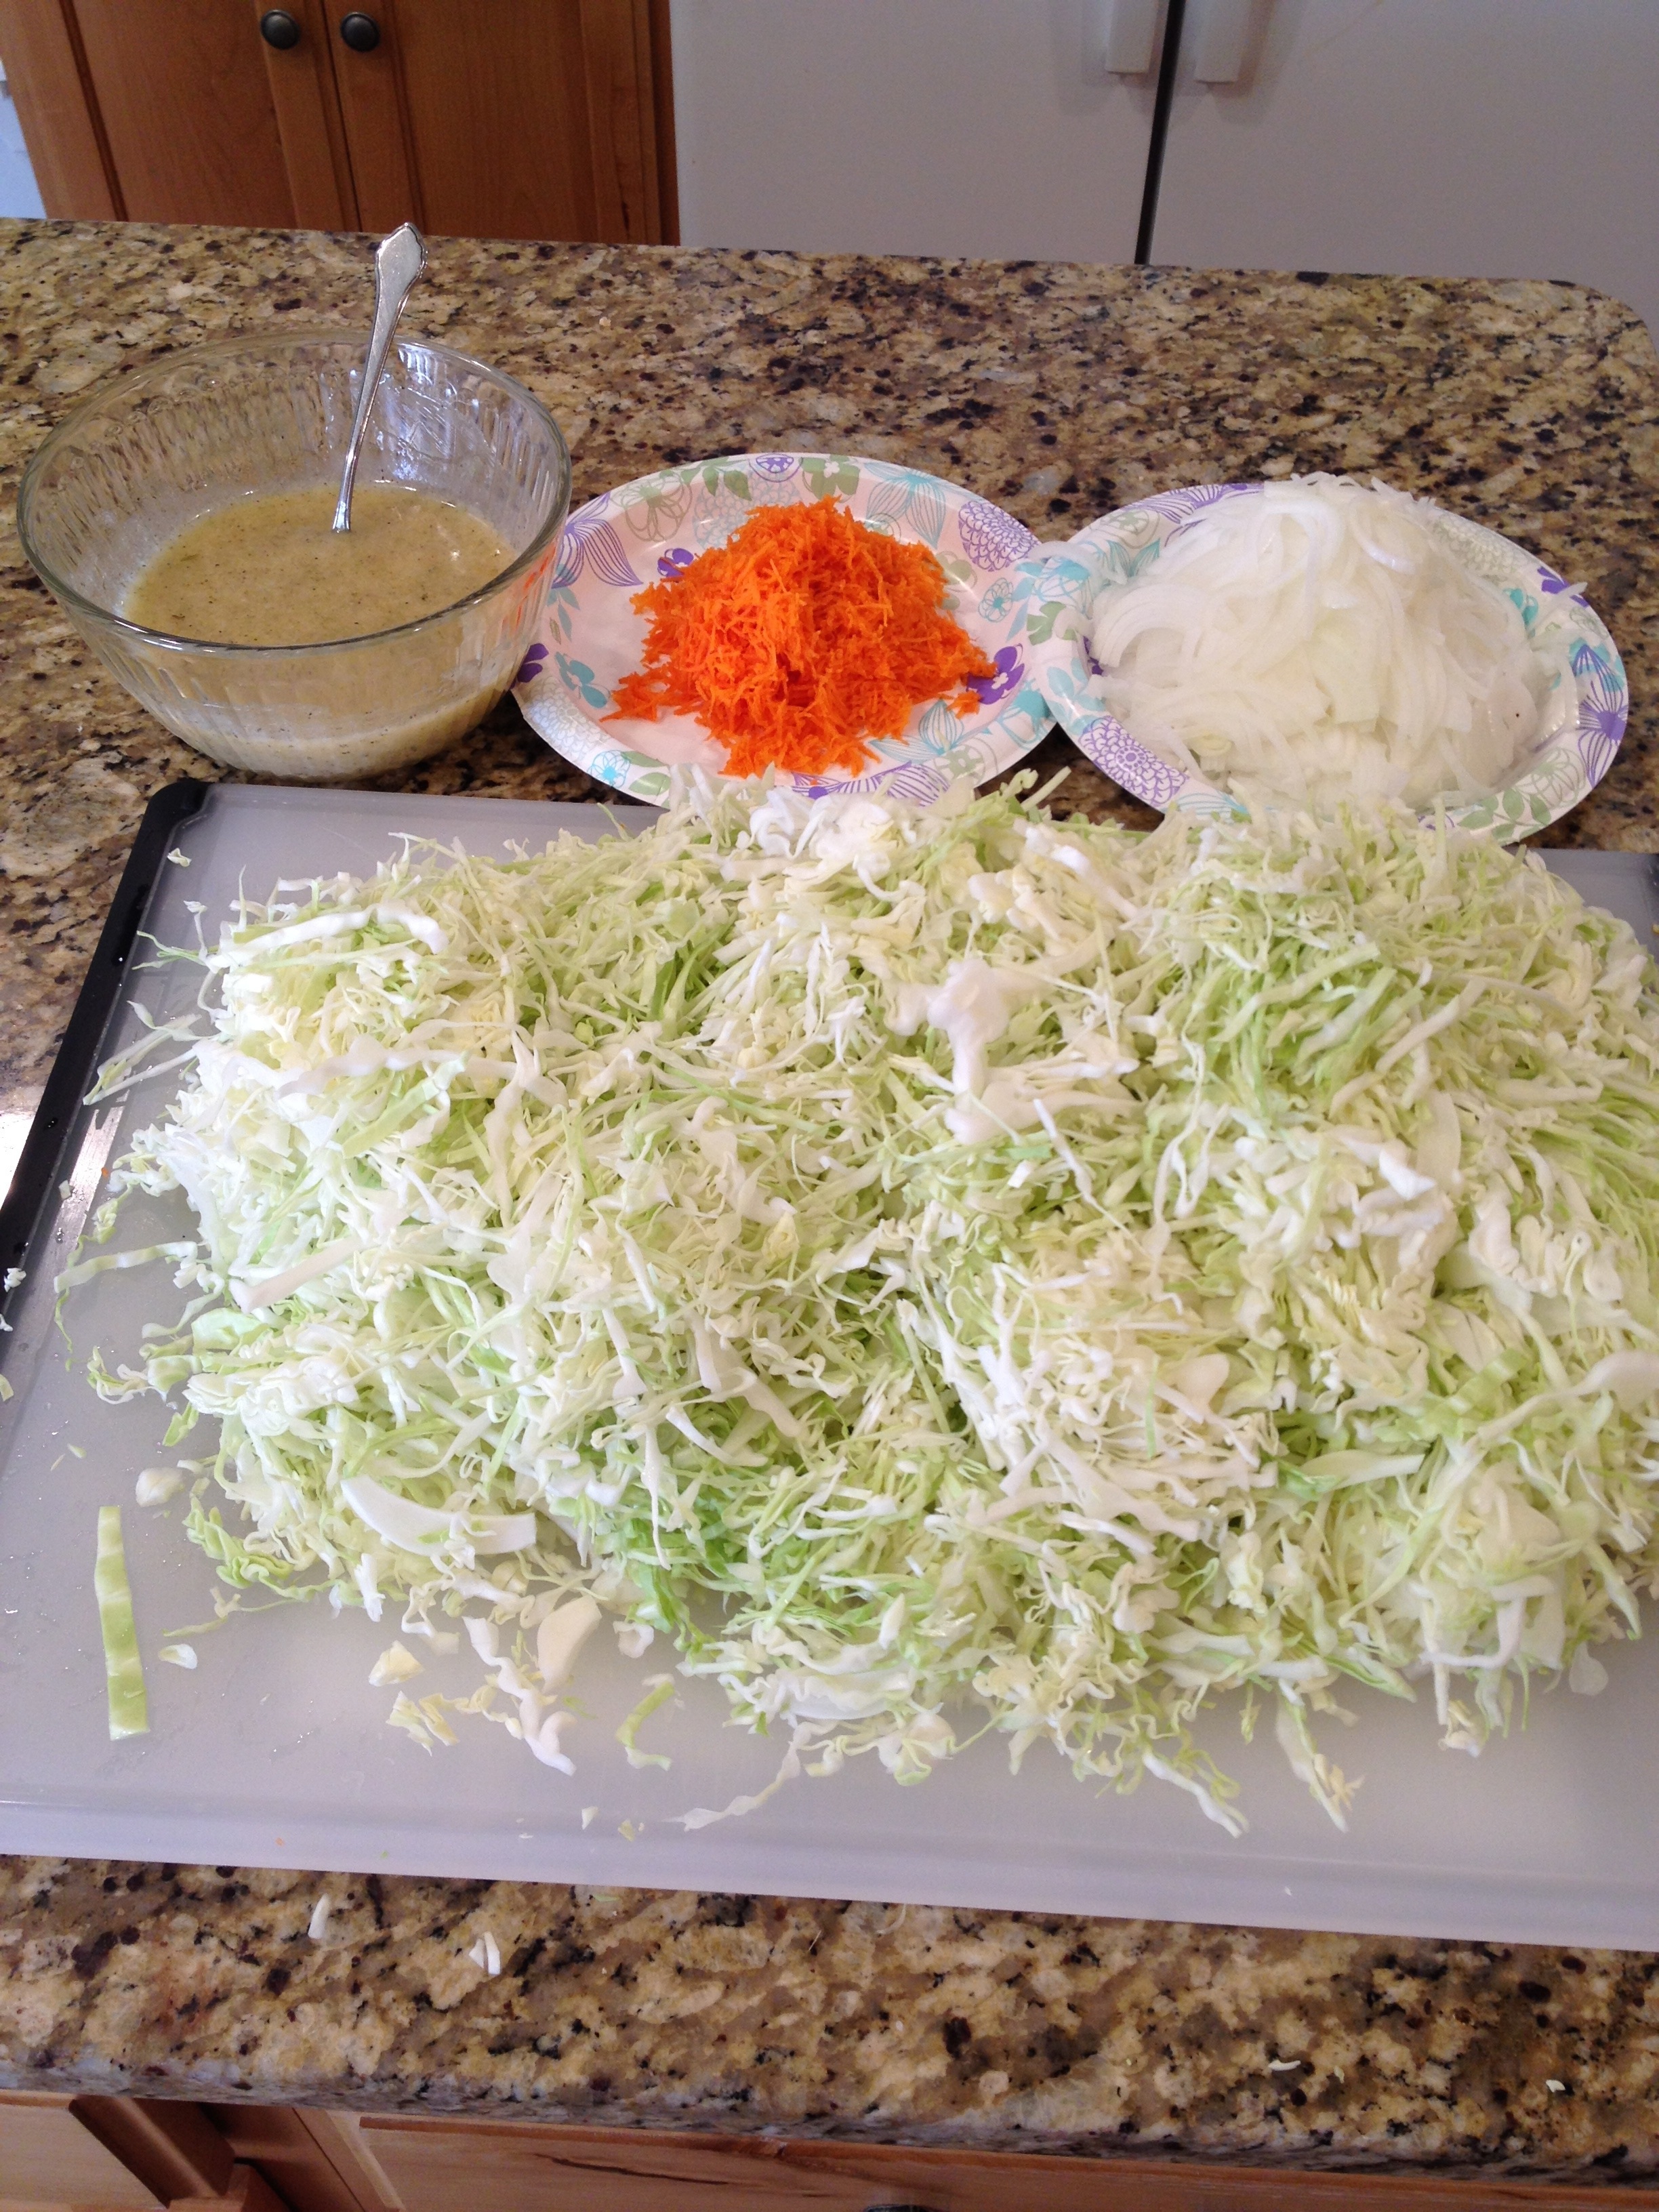
Prepare the vegetables. I like to finely grate the carrots, and very thinly slice the onions into quarter crescents. I then slice the cabbage until it is in small strips, about three quarter inch long and one eighth to three sixteenth inch wide. Don’t worry about it, though, as the sizes are very forgiving. You just want to aim for what will make a good sized bite in the final product.
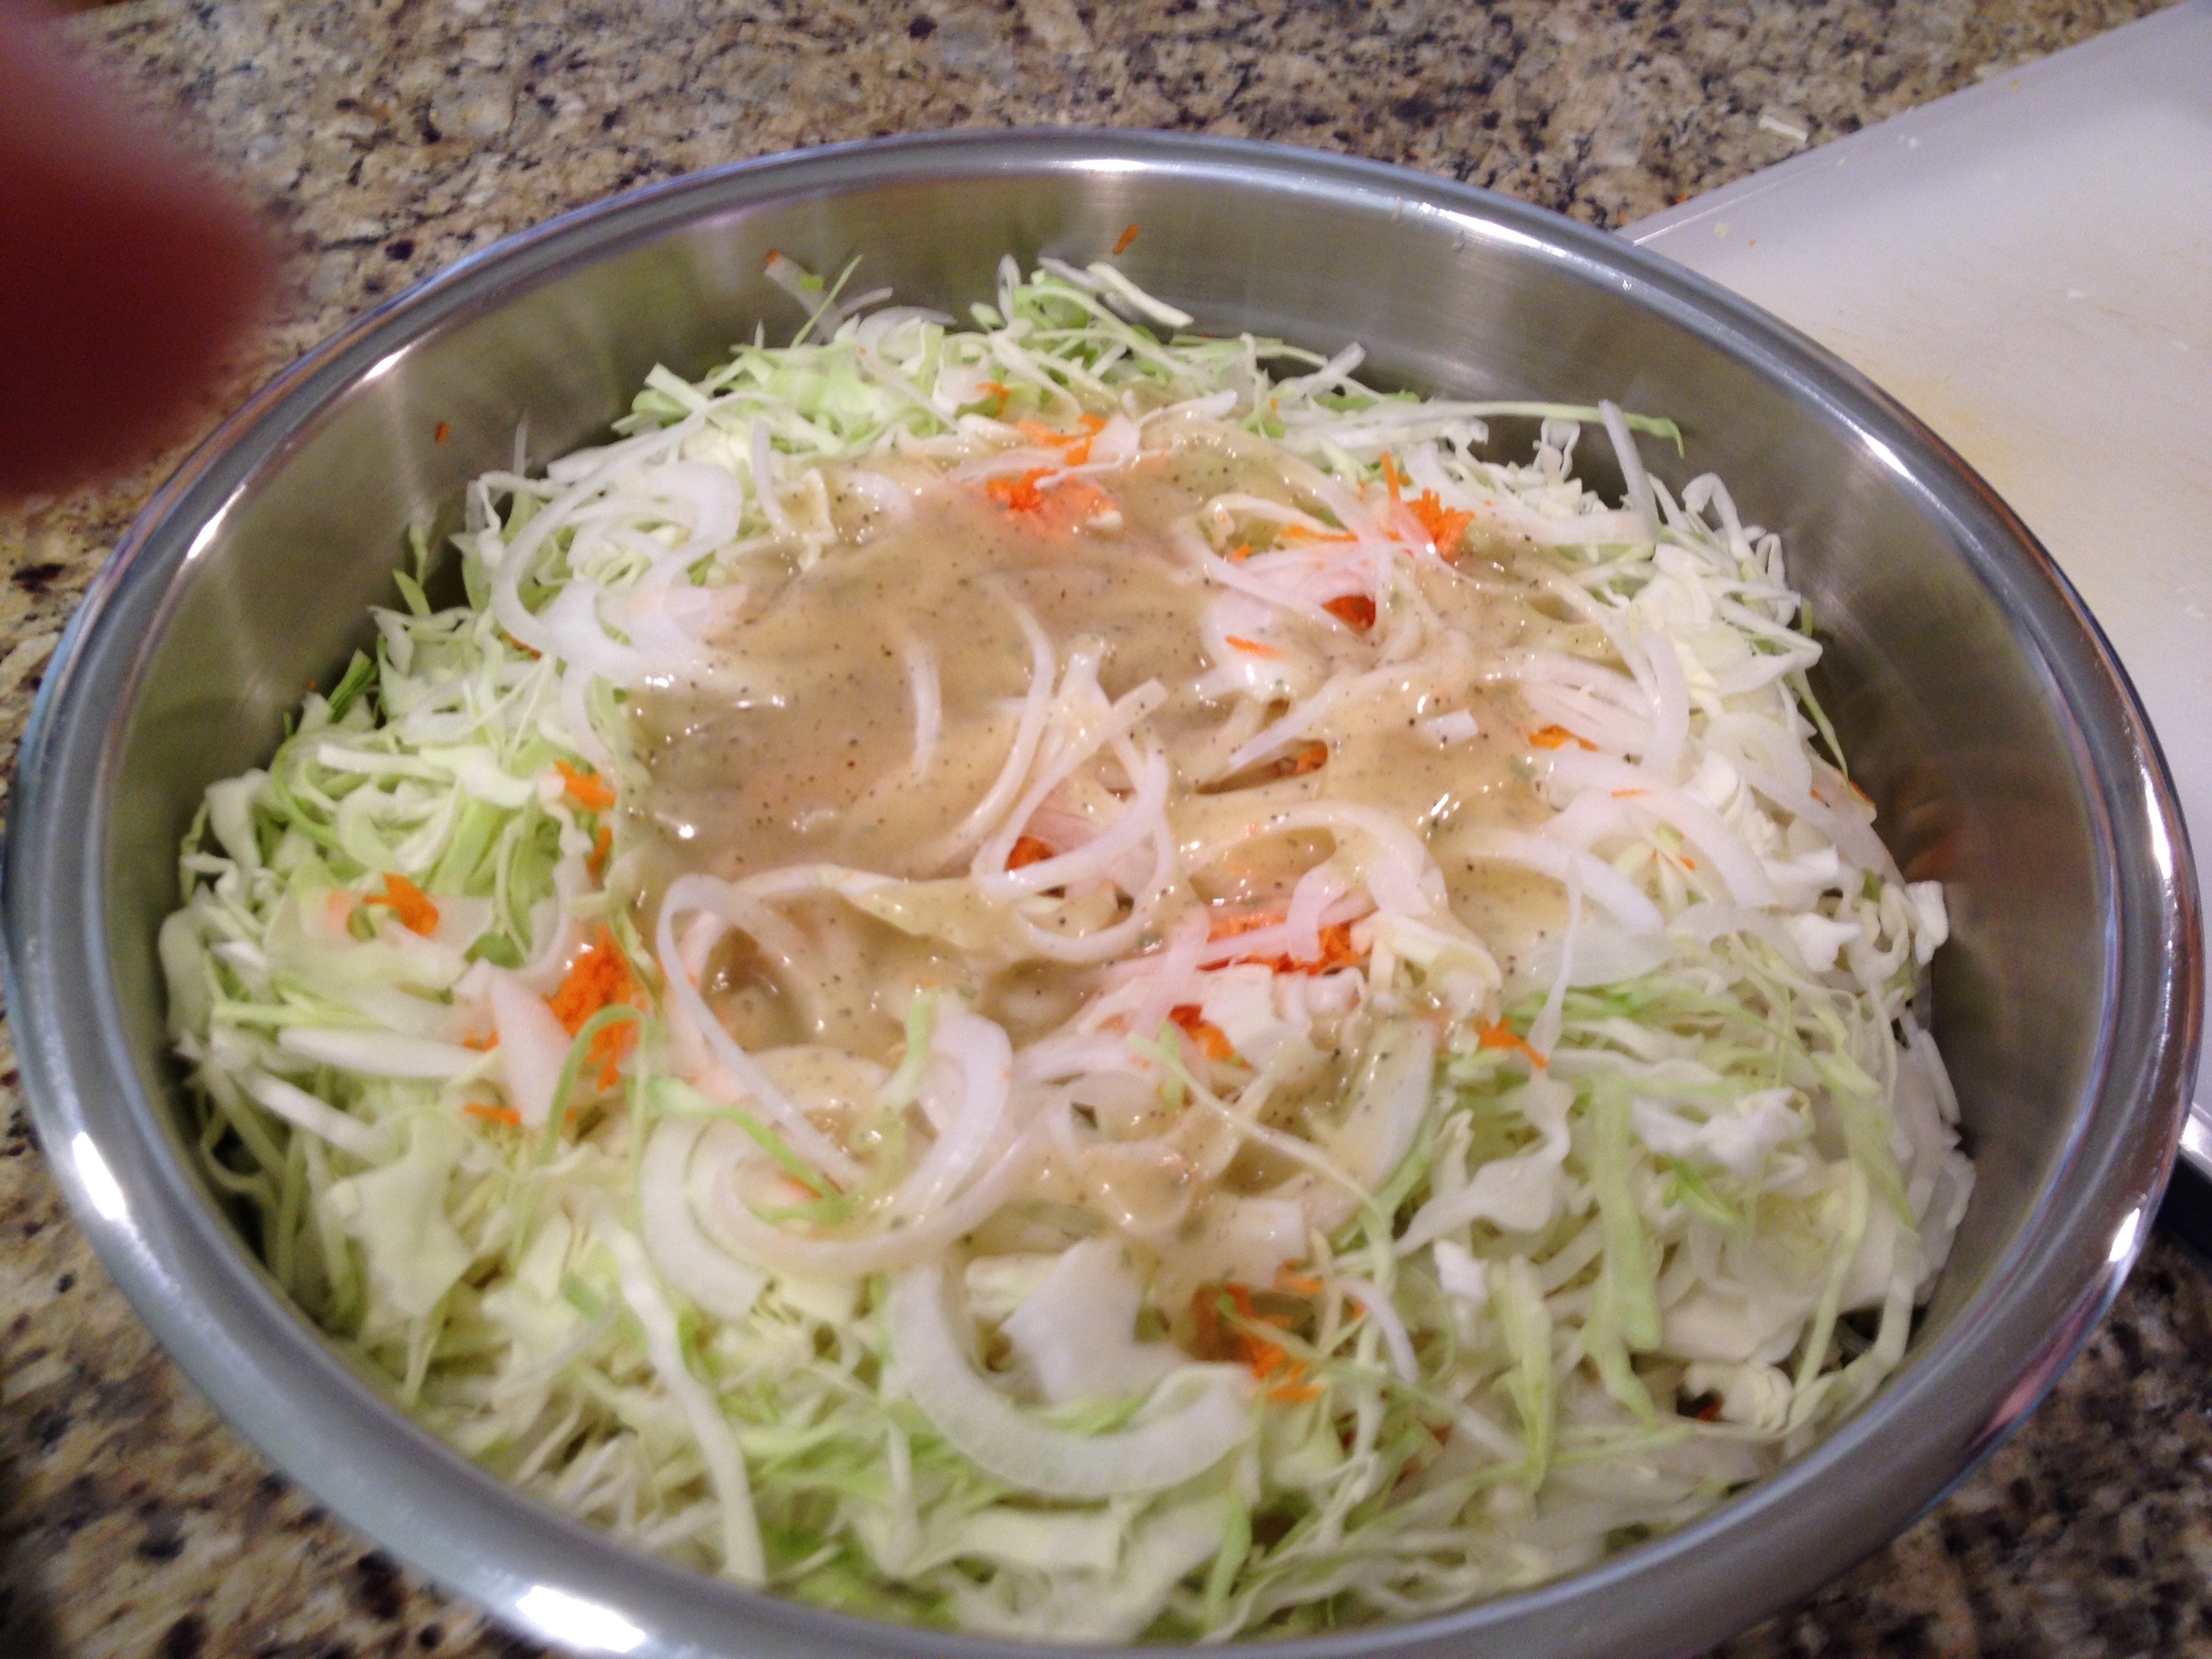
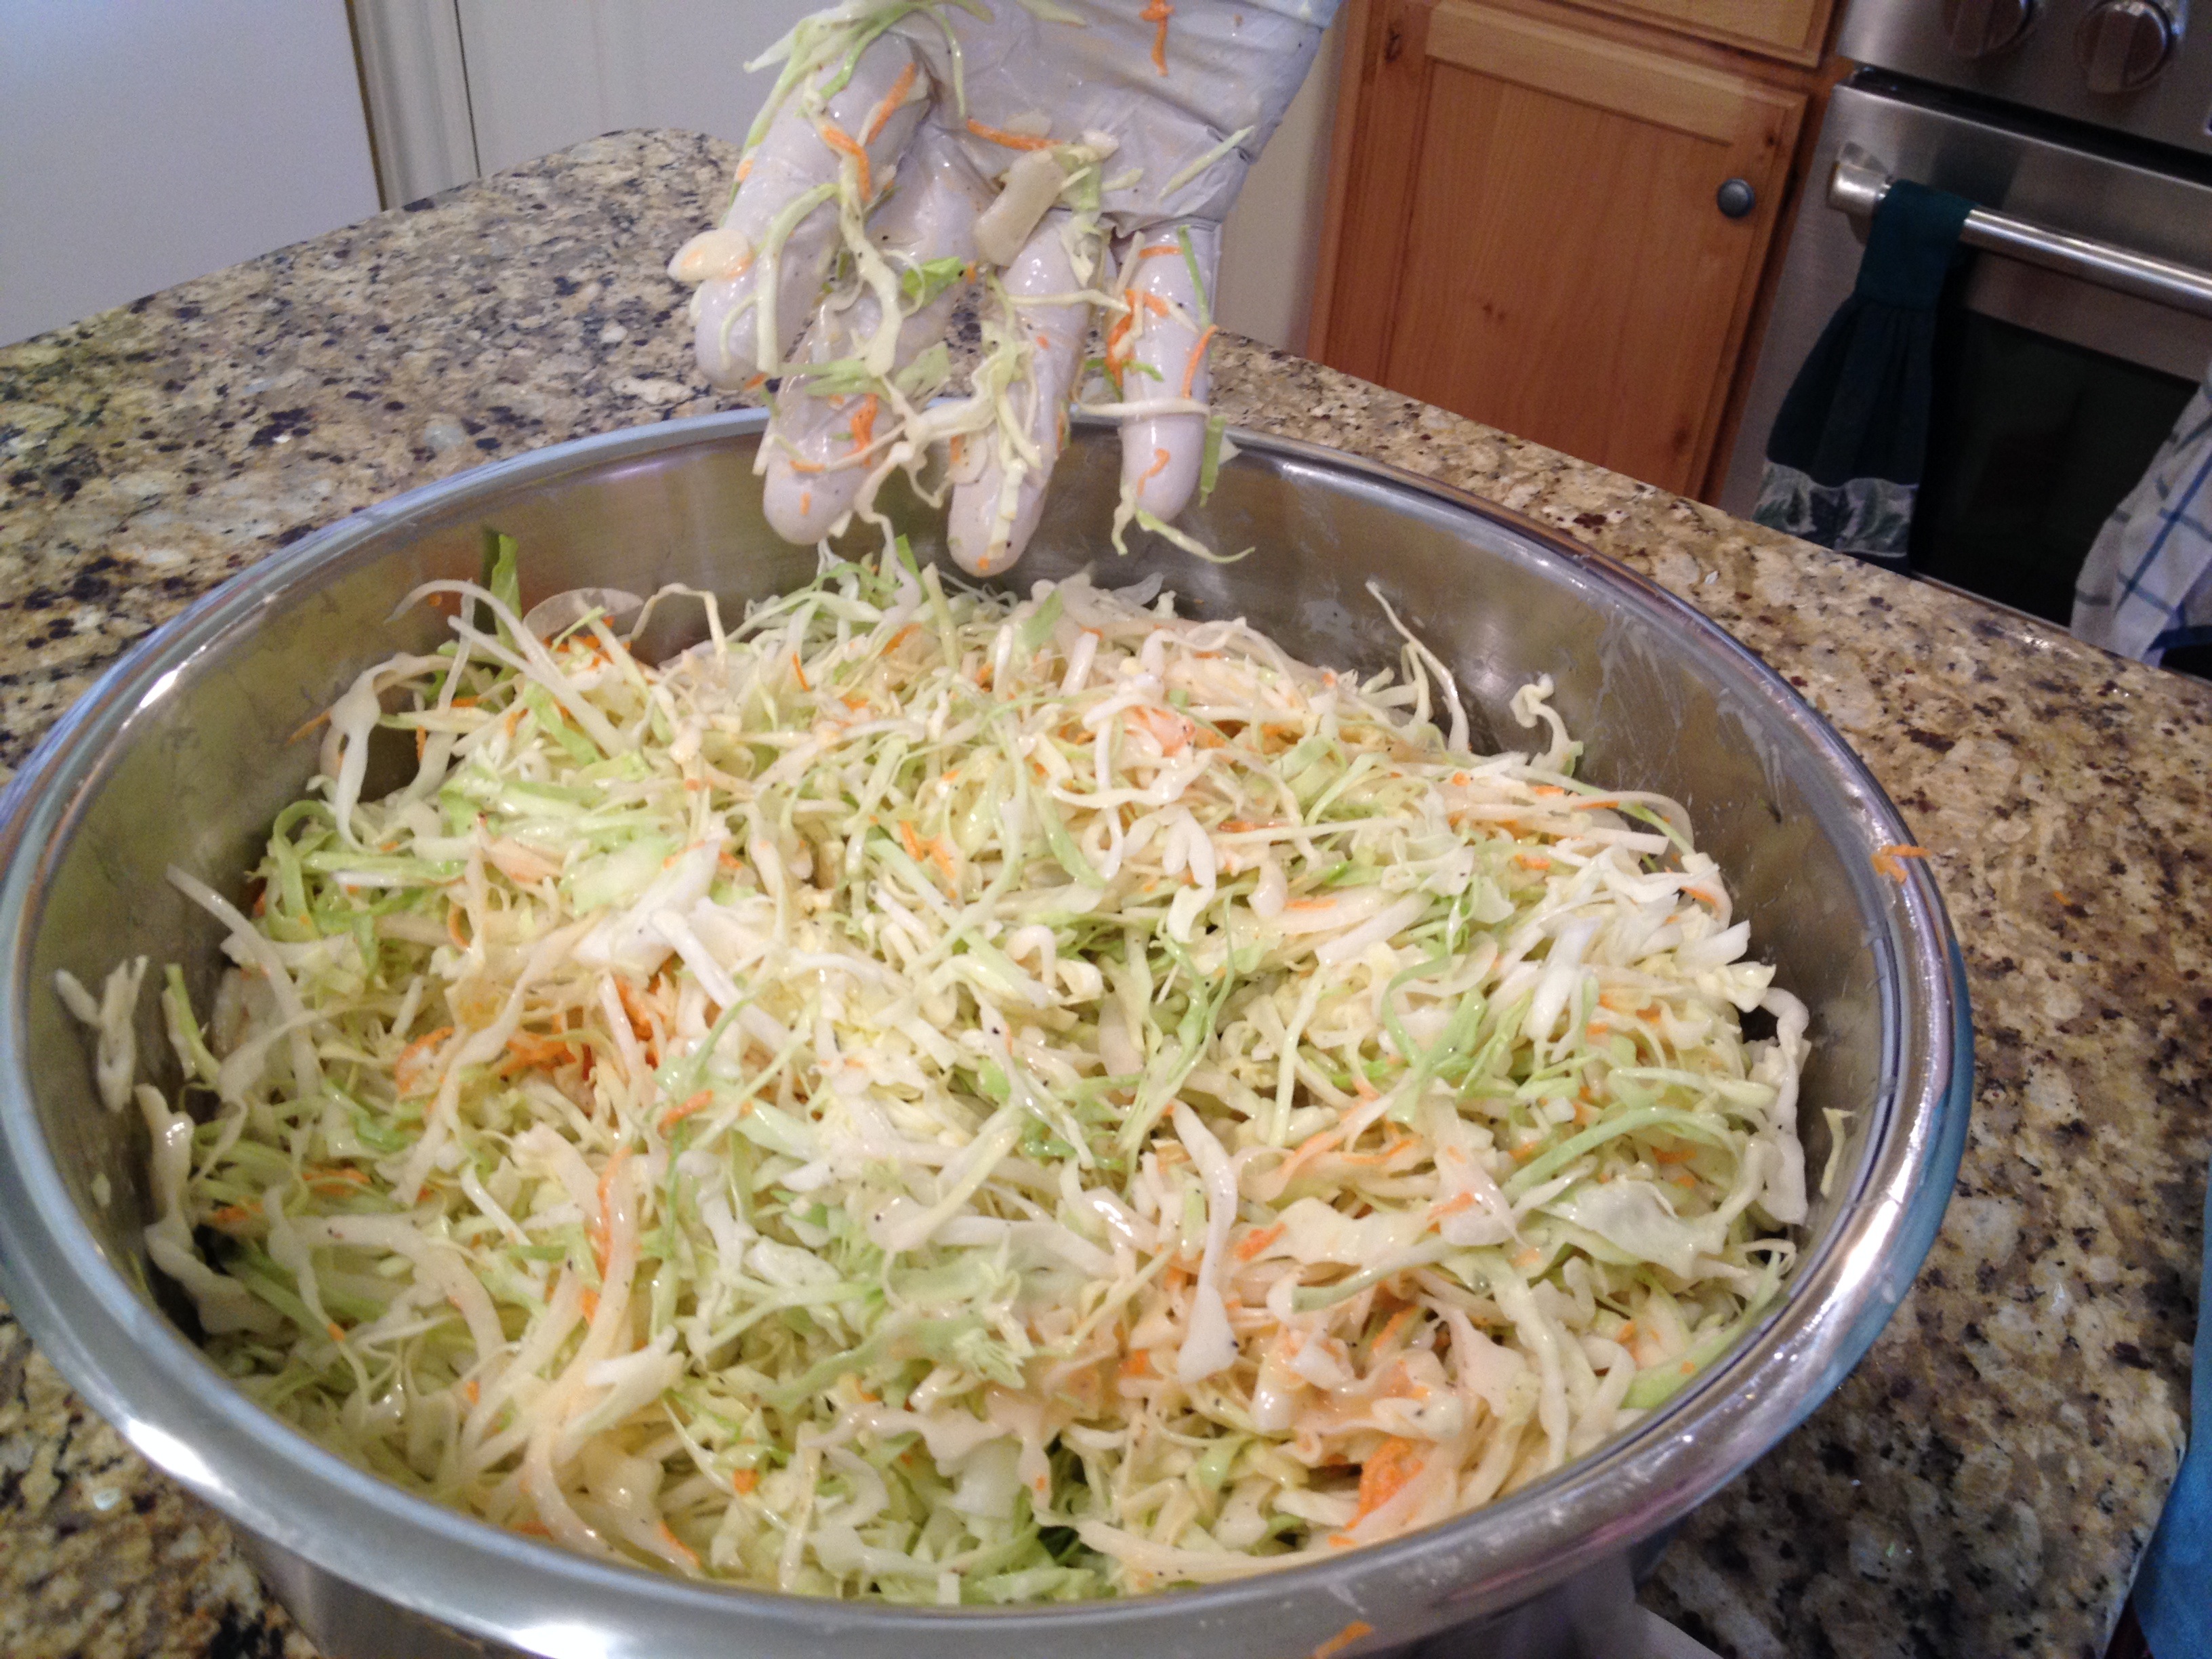
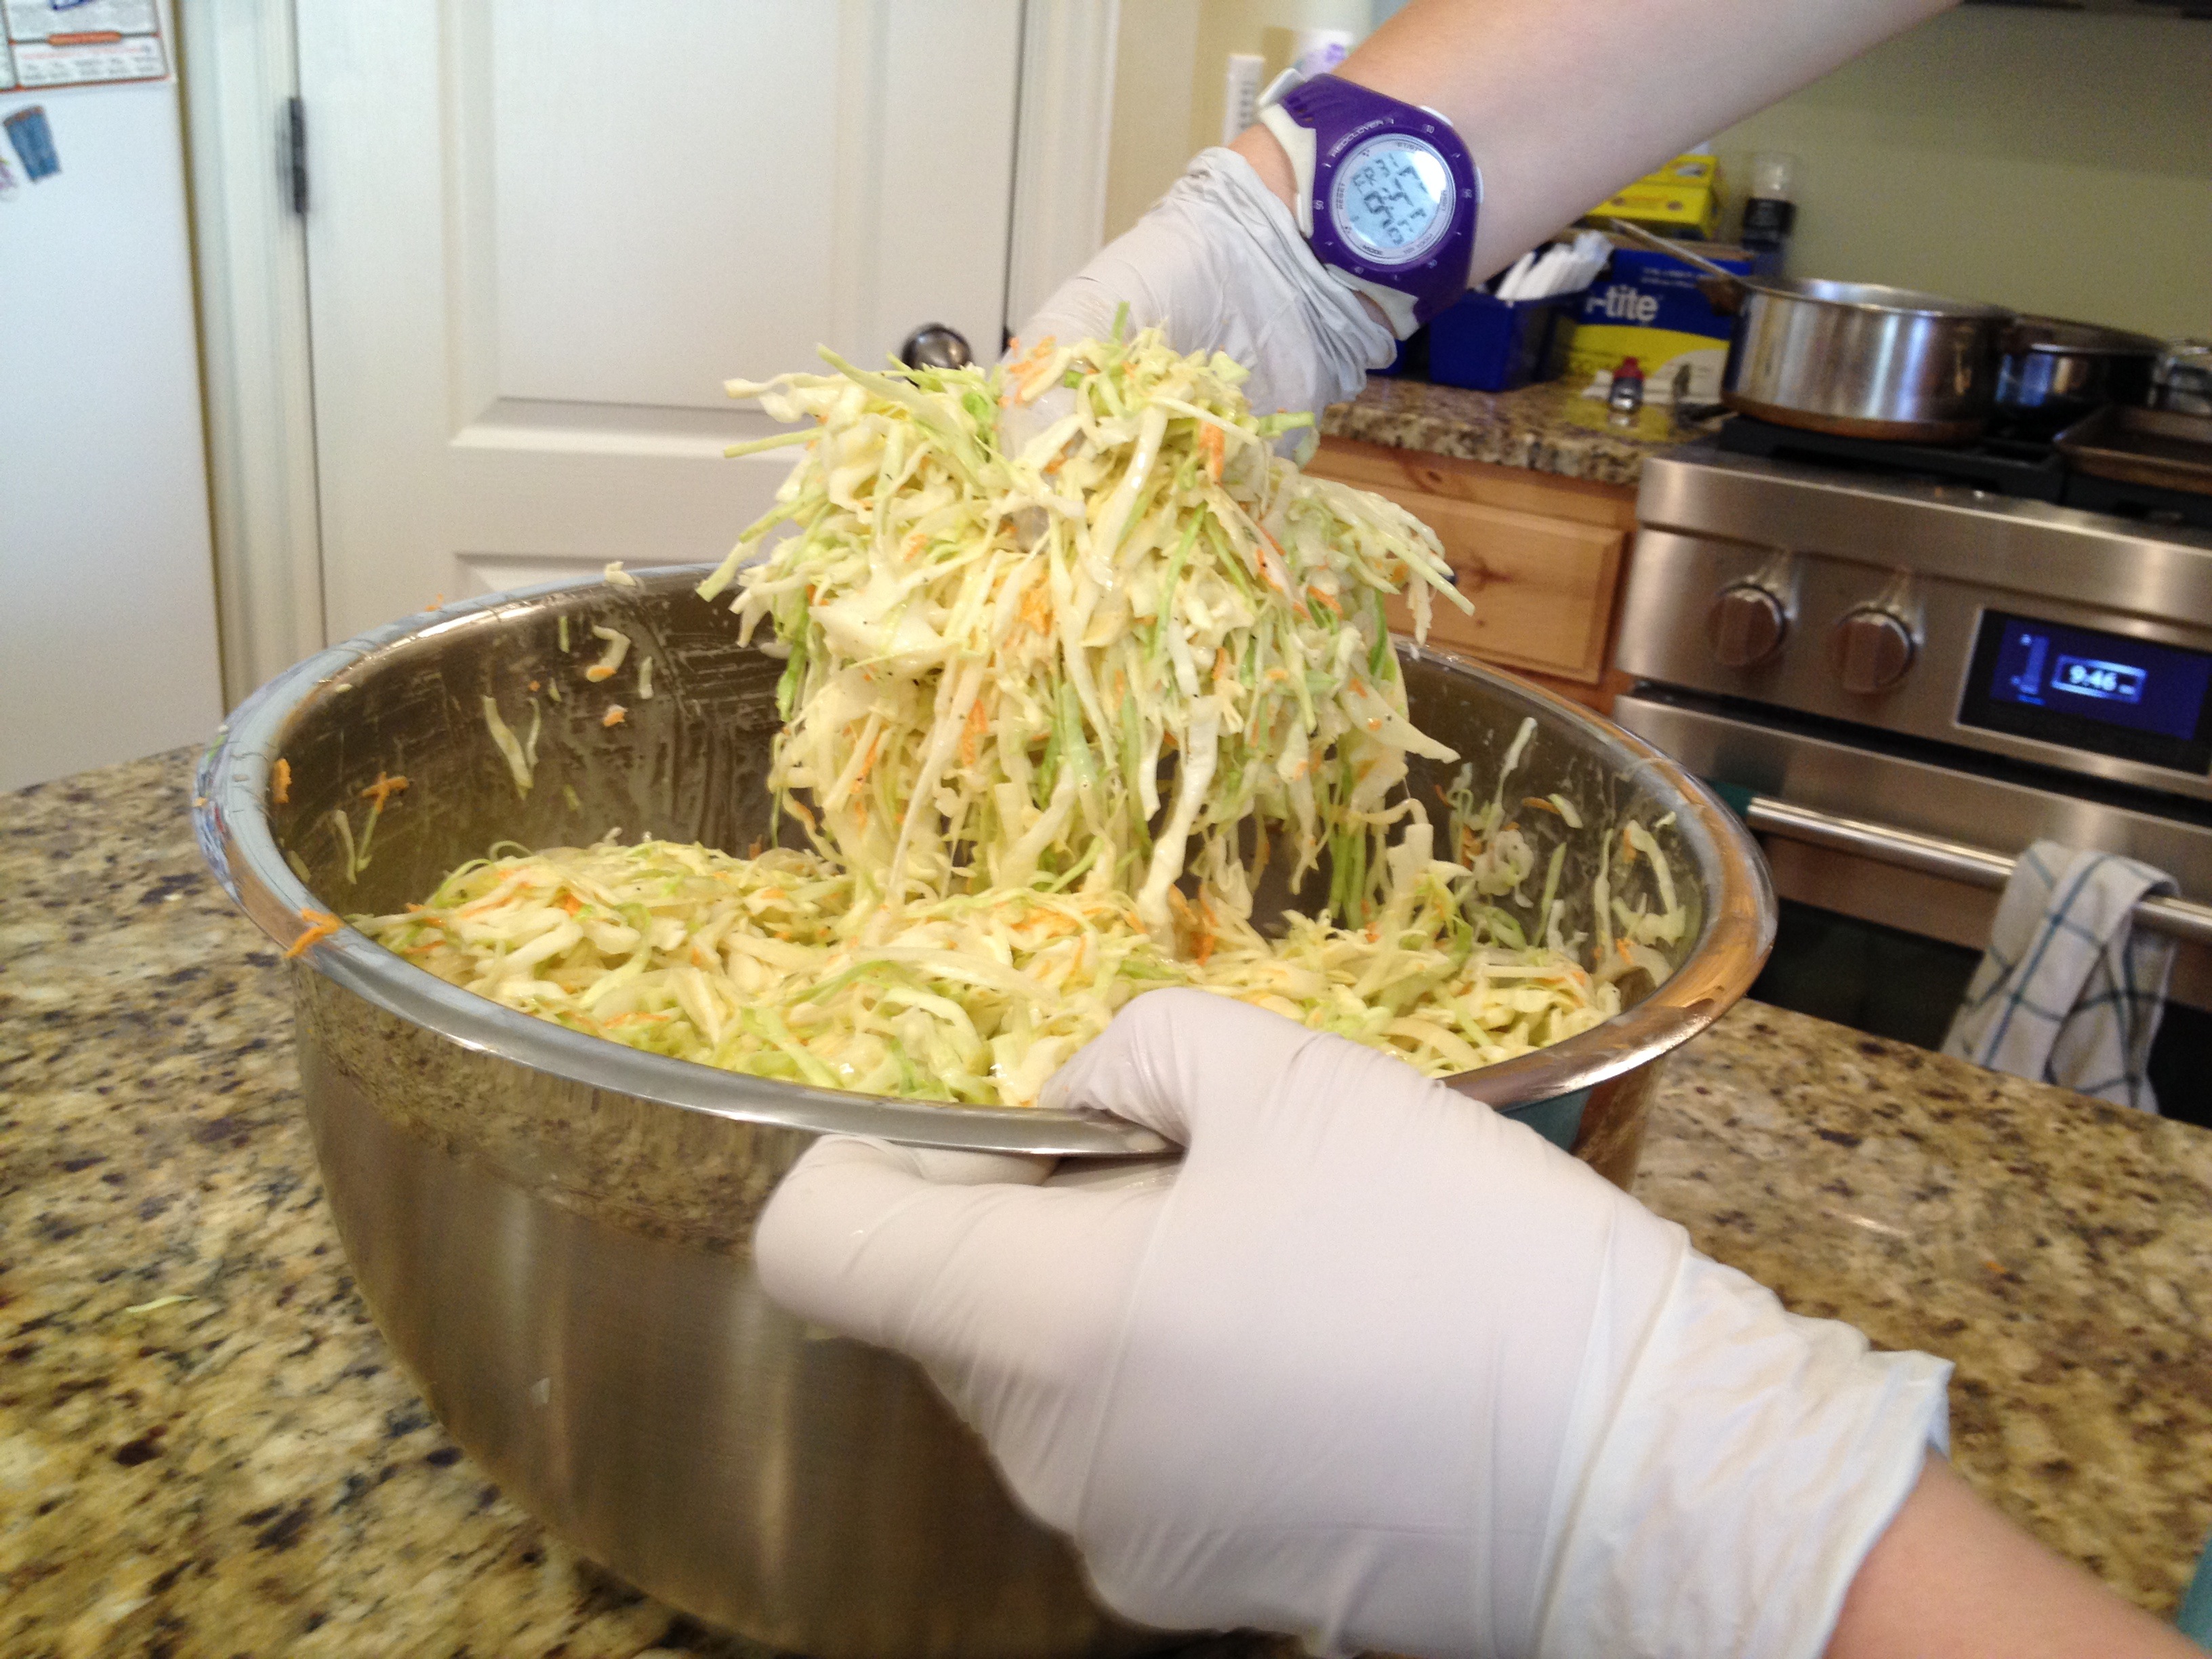
Once all the prep work is finished, layer the different vegetables and sauce in a large bowl. I find that layering in about three batches makes it easier to mix together, but feel free to just dump it all into a large bowl if that’s your style.
Now put on the gloves, and mix it all until everything is coated in sauce and you don’t have any clumps of any one kind of vegetable.
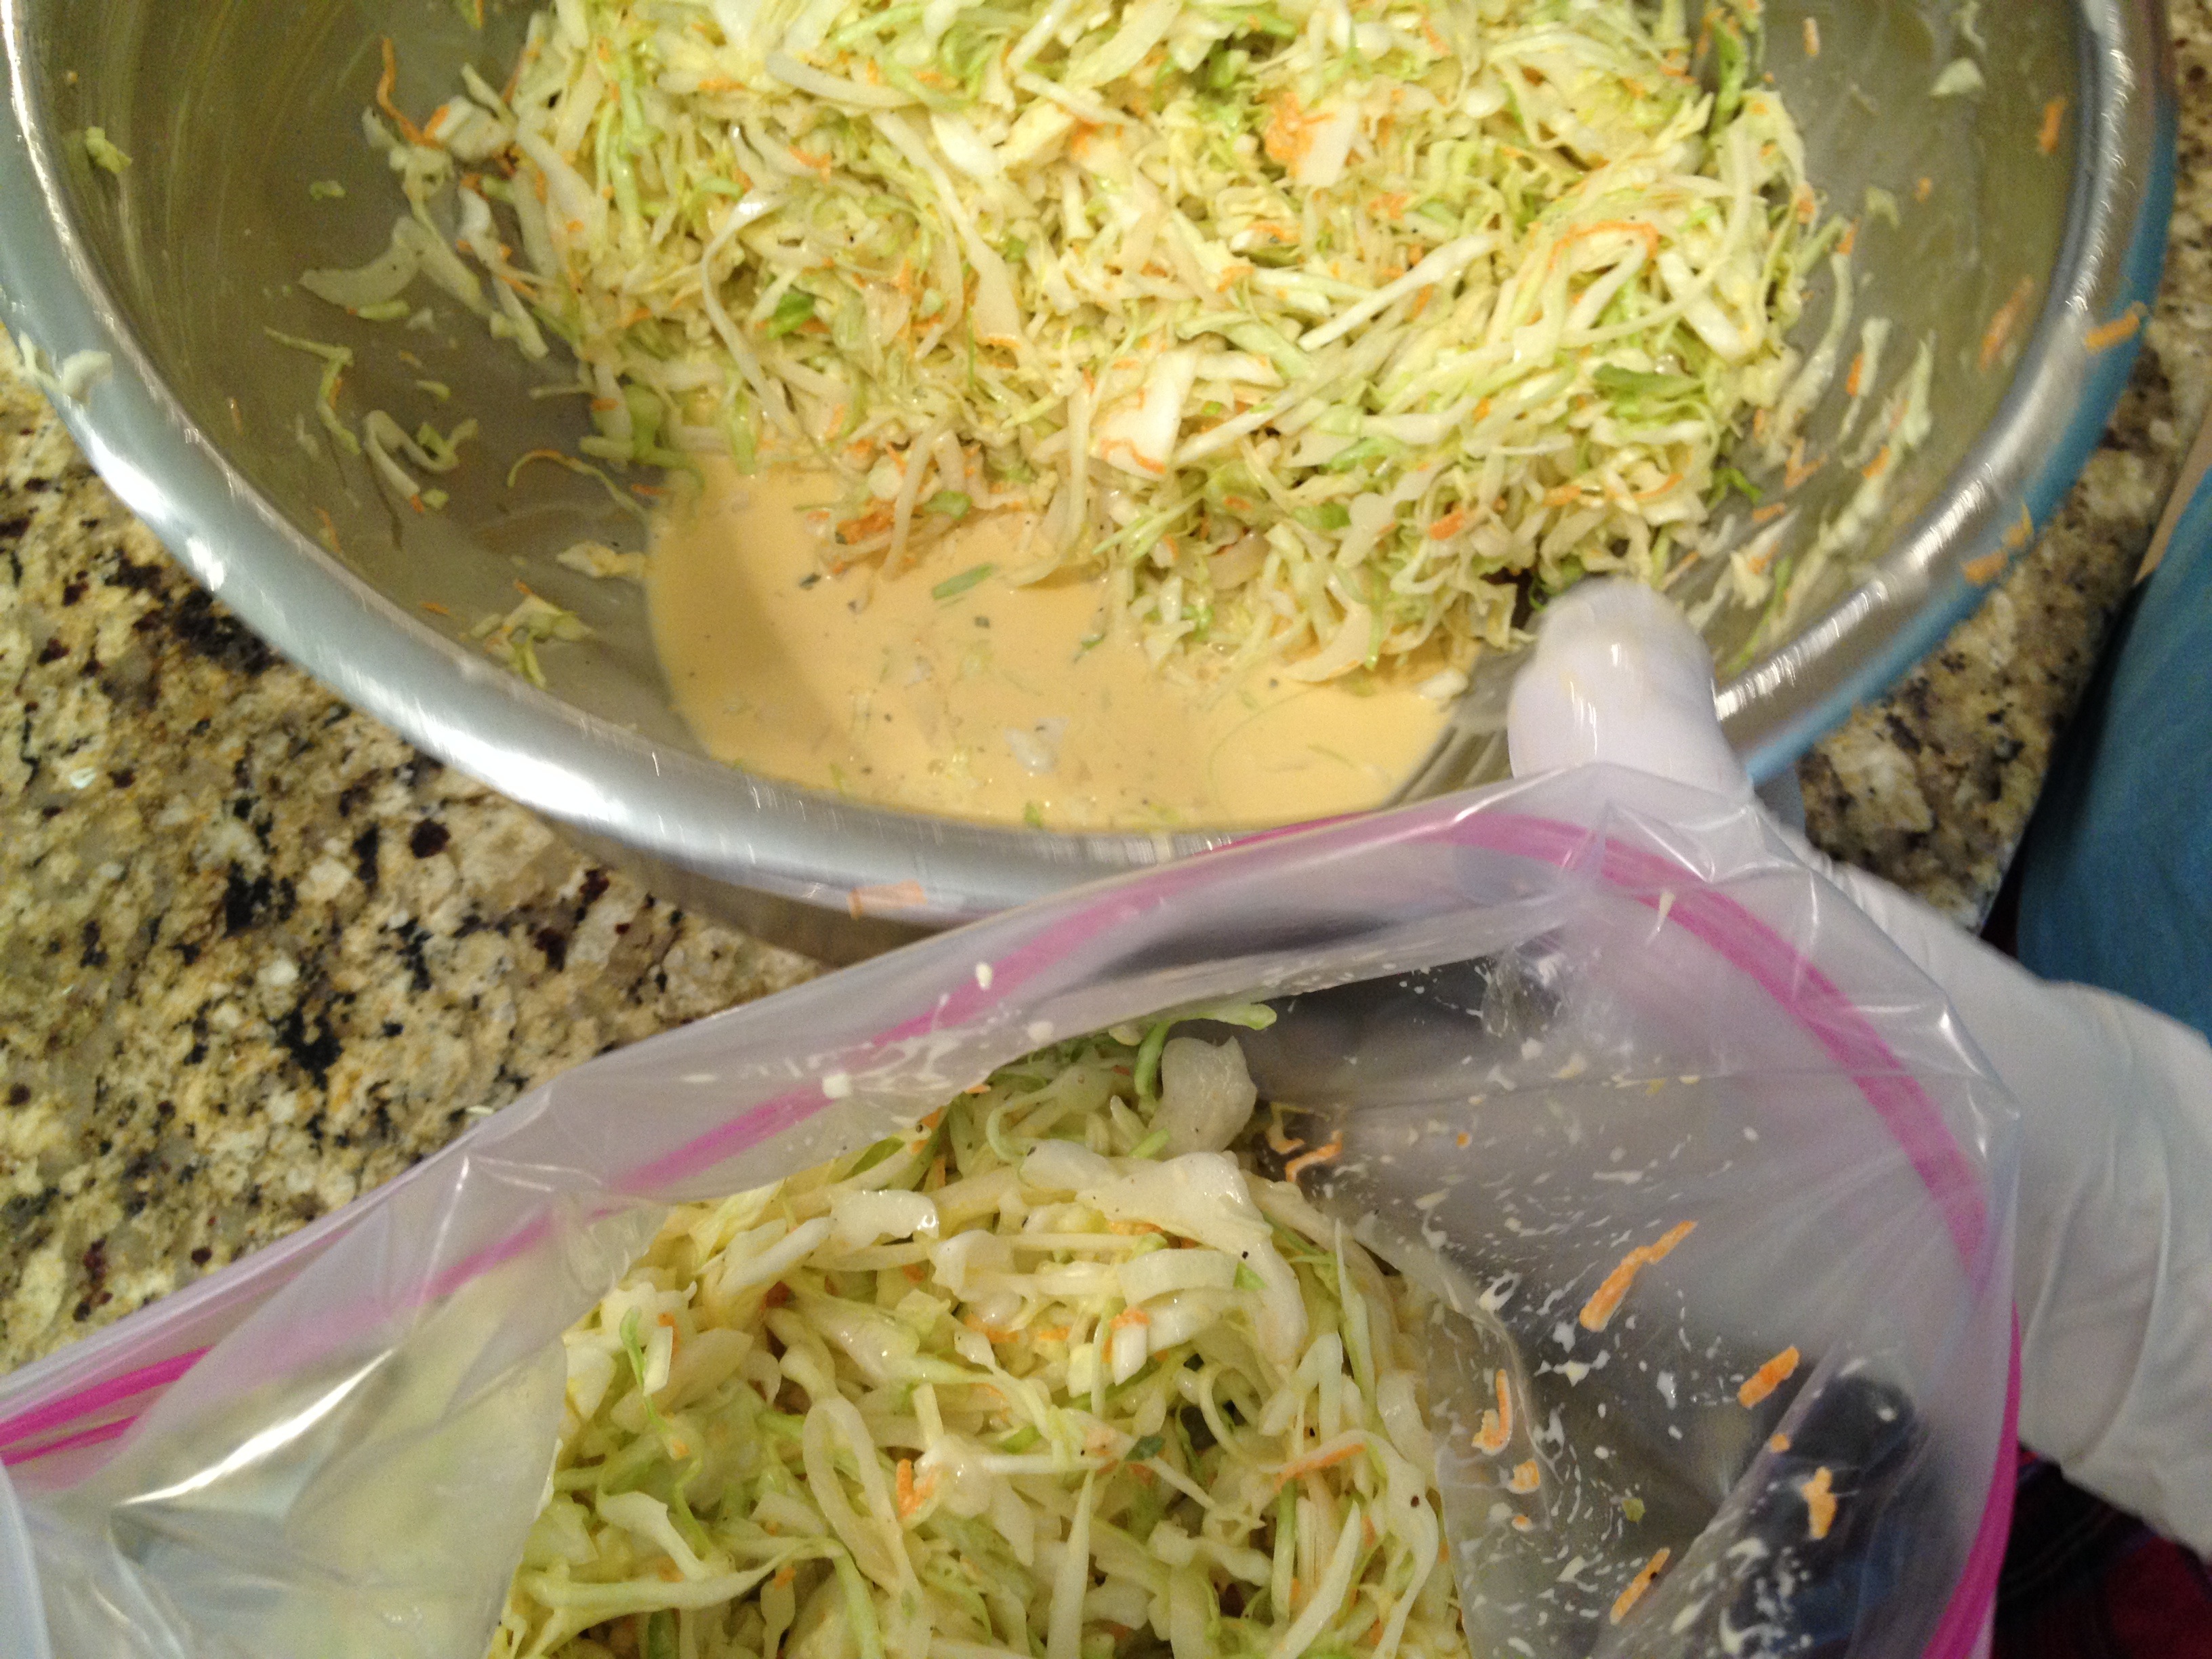
When it is mixed, put it into a gallon sized ziplock bag and into the fridge.
You can eat it in a couple of hours, but it is better the next day, and really great after two days.
It works really well on the Pulled Pork, as a side to many different foods, or just hanging over the sink with a fork and the bag. Not that I would do that. That would be silly. 🙂
I like barbecue. Beef Brisket, Smoked Chicken, Baby back Ribs, and most definitely Pulled Pork. When done right, it is moist, fall apart tender, without being mush. It should have the pink smoke ring, a great seasoning rub, and make you want to over eat. Not that I ever over eat. That would be silly. Ok, maybe just once or twice.
What I am not really keen on is stoking a fire every half hour for thirteen hours. And a good Pulled pork takes about thirteen hours to become excellent. Then a friend of mine introduced me to the Traeger pellet smoker. Basically, load it with pellets, prep your meat, put it on, and forget it. I added a barbecue thermometer to it (the Maverick is the one I got). This will let you monitor the smoker temperature as well as the internet temperature of the food, from anywhere in your home, and alarm when it gets to where you set it.
My desire for Pulled Pork and my laziness could finally co-exist!
And yes, some barbecue purists tell me that a pellet smoker isn’t true barbecue. it looses some of the art, the love, or the expression. And do you know what? Those same people are usually the ones eating all my pulled pork! I’ll let the results speak for themselves.
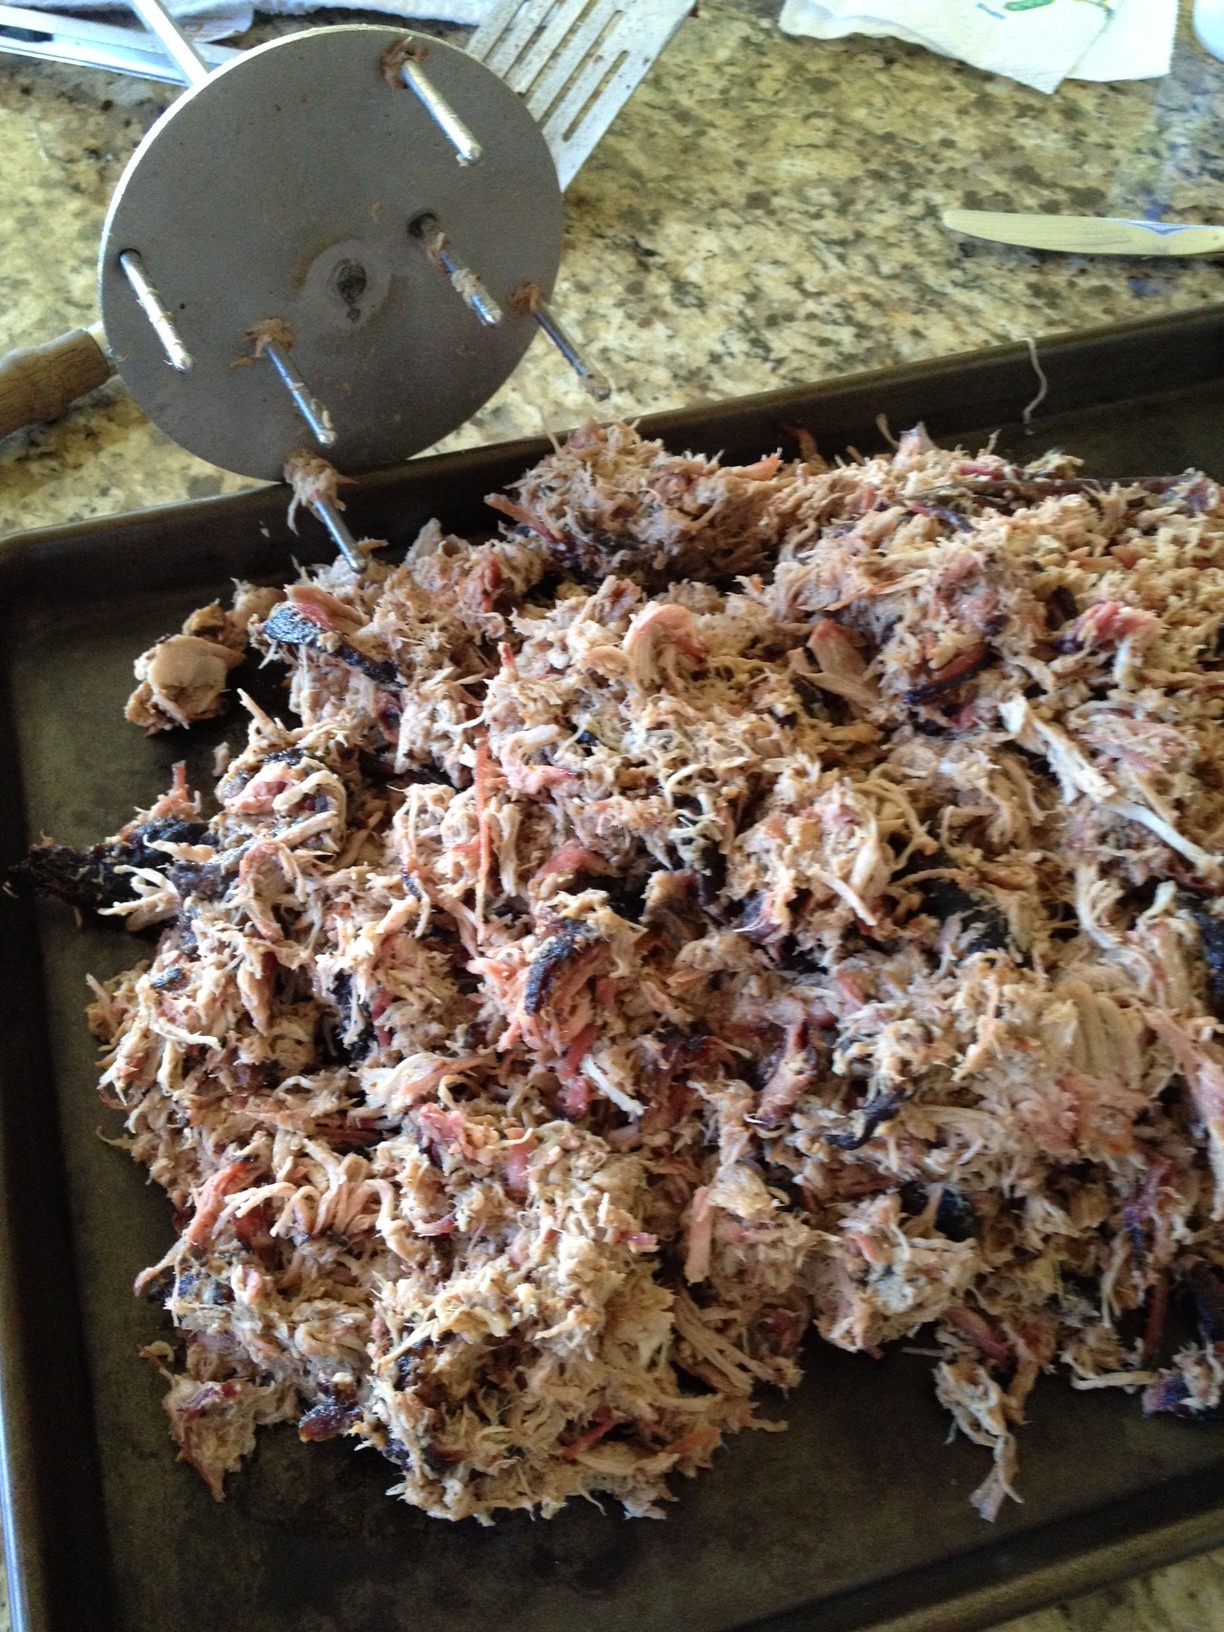
And one last product that made my Pulled pork life complete: The Pork Puller. It revolutionized the pulling. No longer do I spend 15 minutes per pork shoulder (Boston Butt) pulling it by hand with a couple of forks. Now I get to use power tools! Just be careful, as you can turn the meat to mush if you get too enthusiastic and go too far. Honestly, I only did that once. Meat paste is not what we are after here, though it was still tasty.
Ok., so the first step is to mix up a bag of rub (recipe below). The Pulled Pork rub is enough for two butts (pork shoulders), roughly 14 – 16 pounds each.
Once the rub is ready, get the butts out of their packaging, and rinse them off to make sure to remove any bits of bone or unwanted packaging sludge. Pat them dry, then put on a pair of food gloves, and slather them with yellow mustard (if you don’t use gloves, your hands will be yellow and smell of mustard for days). And yes, the kind of mustard that goes on hot dogs and broccoli. (OK, so most people don’t put it on broccoli; if you don’t, you should try it.) Prepared yellow mustard is mostly water with a little vinegar and ground mustard seed. It mostly will hold the rub on well, but it also adds just a little something to the rub.
Once the mustard is on there, evenly spread the rub all over it. It should look something like this.
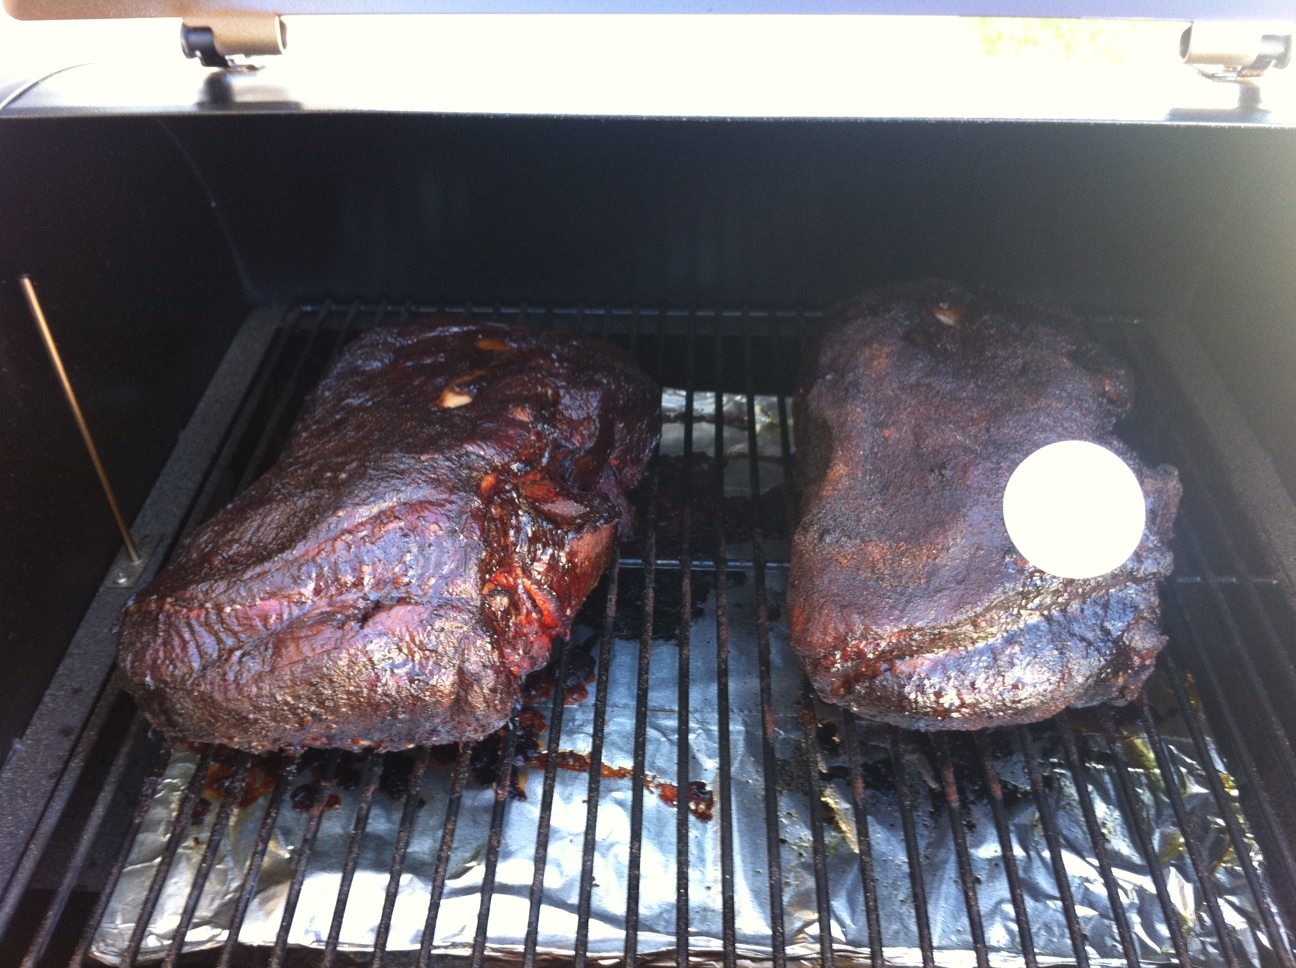
Once that is done, get the smoker ready using whatever instructions came with your smoker. Then (if you are using a barbecue thermometer) stick the meat thermometer into the meat in the thickest part (avoid fat deposits for the probe, they will read improperly) and the grill probe on a smoker section next to the meat (but not in a hot spot). If you don’t have a barbecue thermometer then first go order one. I’ll wait. For today you’ll have to time it and use a hand held meat probe to test occasionally.
Close up the smoker and let it do it’s thing. On the Traeger, set it to “smoke”, everyone else aim for 160 degrees. Leave it for three hours to get that joyful pink smoke ring. Then go turn up the smoker to 225 degrees. Set the food alert to 190 degrees, internal temperature.
Also, one quick note about stalls. You will think the meat is increasing in temperature really quickly for a bit, then it will stop and stay there for an hour. This is normal; it is when the water in the meat is boiling and we all know that boiling water stays the same temperature until it’s done boiling.
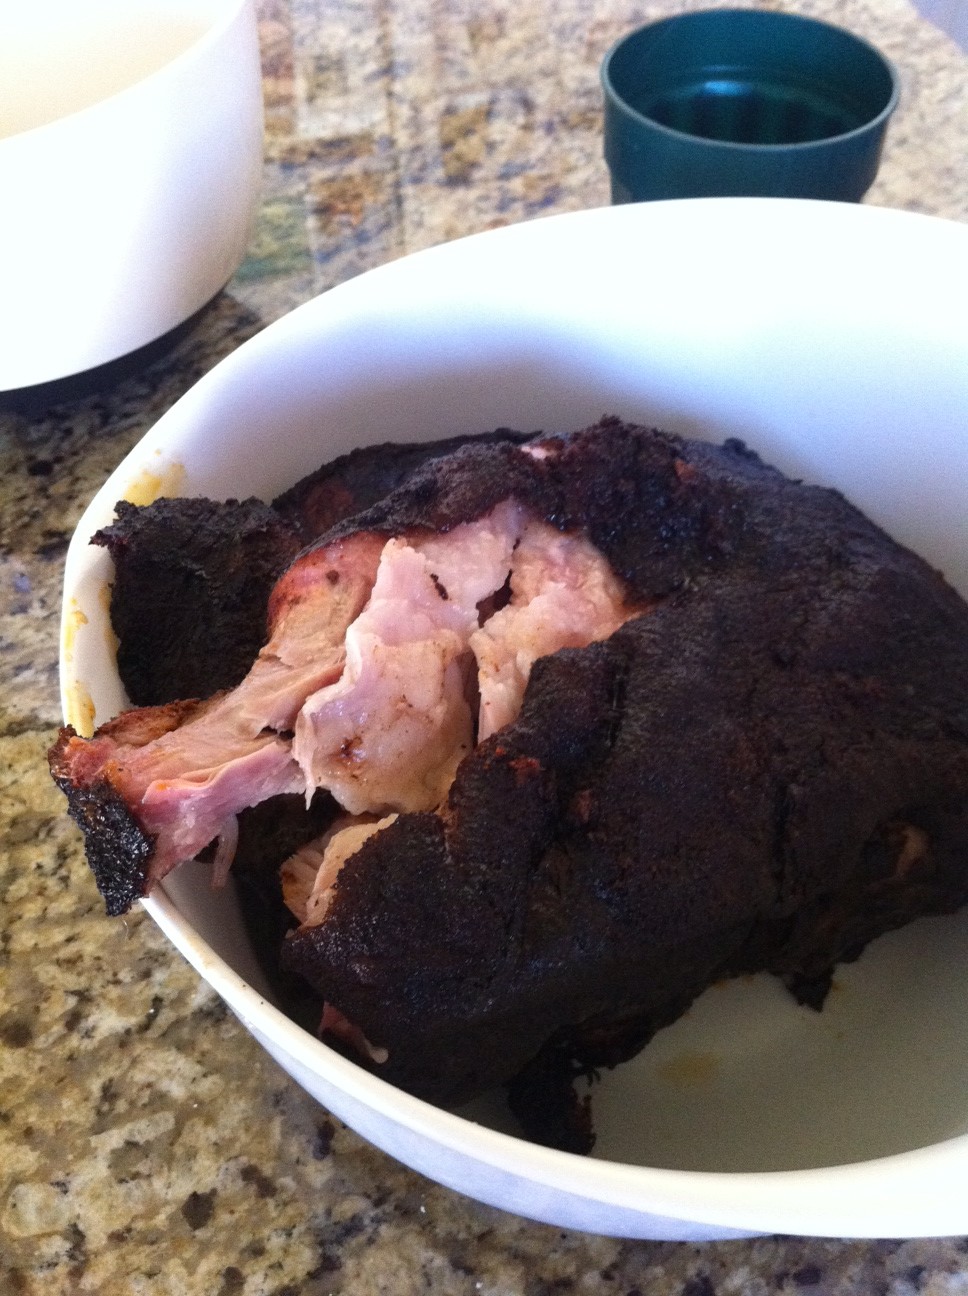
Now you have a choice to make. You can leave it on the smoker until it gets to the 190 degrees. It will turn out well, and have a slightly hard, crunchy bark (the dark, smoked exterior). After you pull it, it will mix in and you will get a really good Pulled Pork.
I personally like it to be more moist, so it comes off the smoker at 150 degrees internal temperature. I then wrap it in aluminum foil (heavy duty, extra wide), and put it in my oven at 225 degrees until it gets to the 190 degrees internal temperature. Why, you ask. Why bother with it and sidetrack all that wonderful laziness when I could just leave it alone? Three reasons. 1) I am a little cheap (frugal?) and pellets cost more than natural gas. 2) The Pulled pork doesn’t take much more smoke after that point. and 3) wrapping it makes the juices redistribute rather than cook off, so it ends up more moist. The disadvantage is that it has a soft bark. I can live with that, especially since it softens on it’s own after it’s pulled and sits with the rest of the meat.
If you went the route of keeping it on the smoker the entire time, then once it’s done, pull it off the smoker, bring it inside, put a little aluminum foil over the top (tent it) and let it sit 20 minutes before pulling.
If you went the oven route, then when it is done, pull it from the oven, wrap it in towels and put it in a cooler. You know the kind, you usually put drinks in it to keep them cold? Well, this time you are keeping the meat warm. For one to two hours. Don’t worry, it will have plenty of heat to keep it above the Danger Zone for that time. This gives it the chance to tenderize a little more, redistribute the juices, and gives you a time margin of error while waiting for the guests to arrive. Your patience will be rewarded.
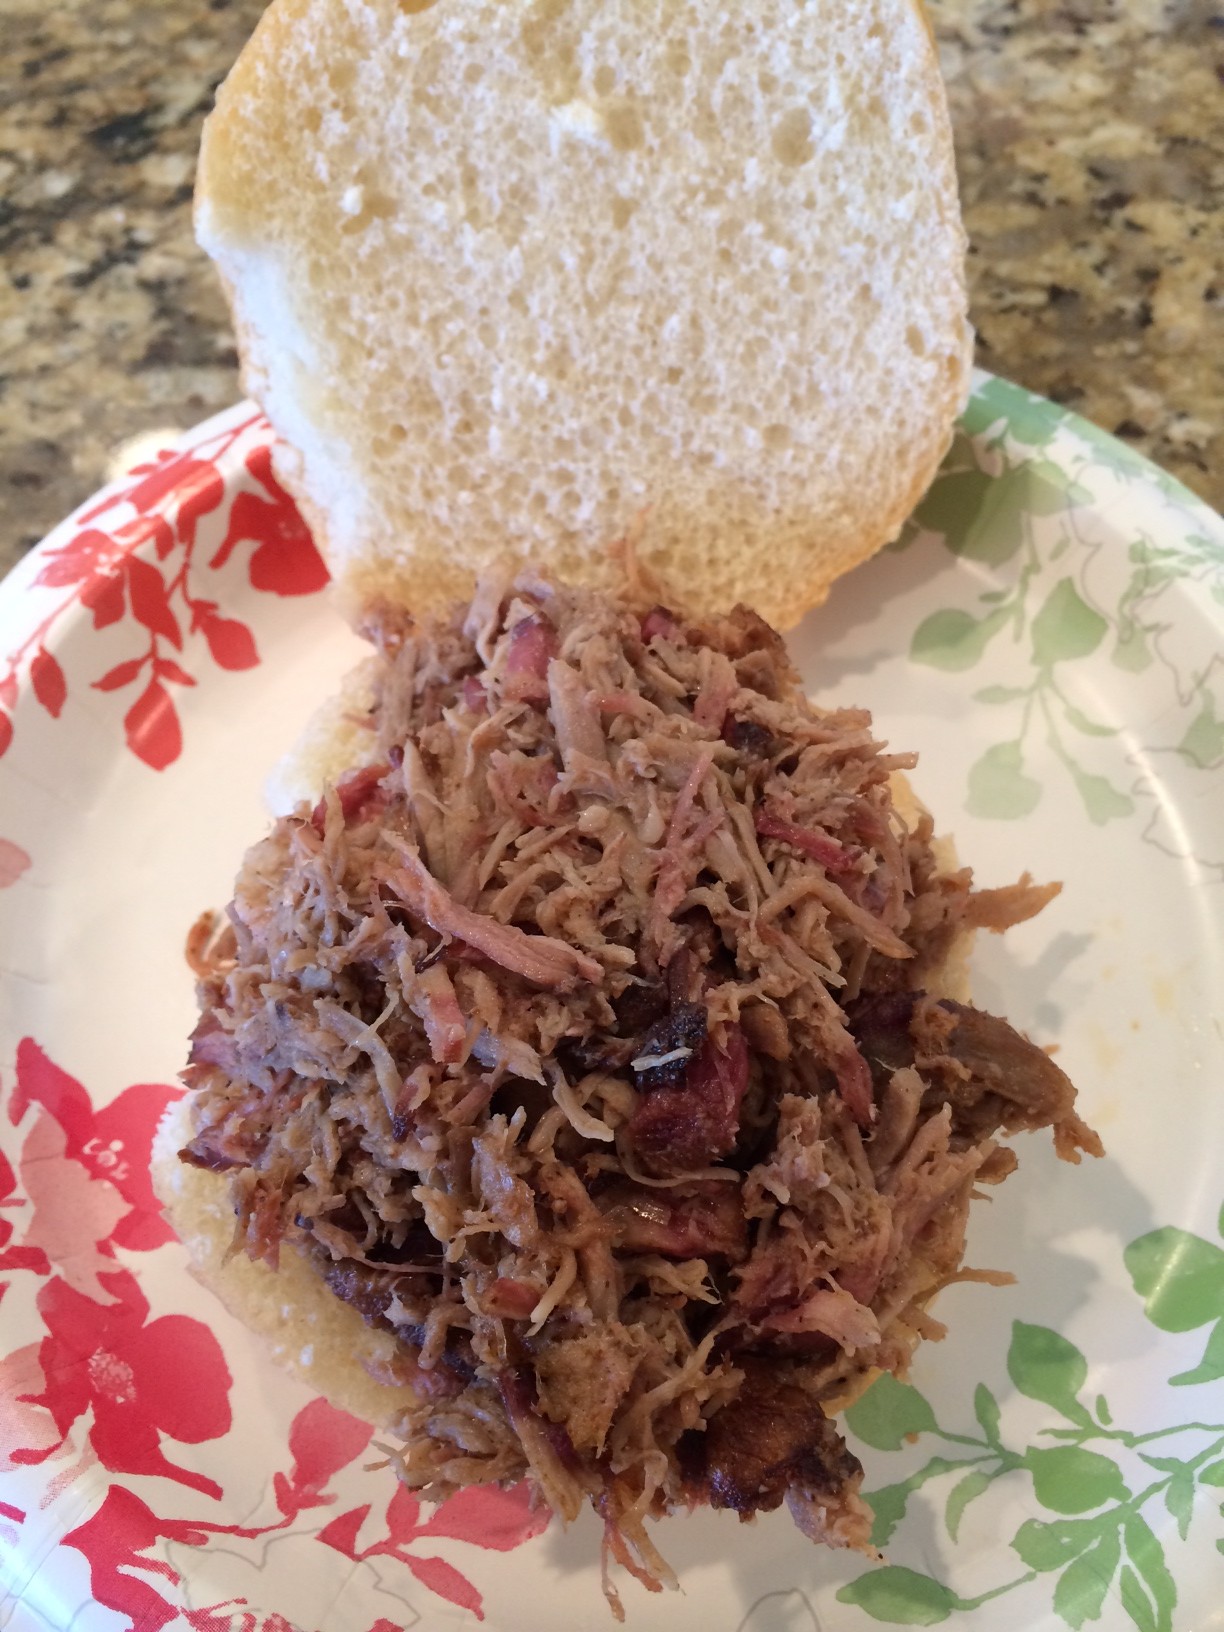
Now comes the fun part. Unwrap the butt, put it in a large metal pan (and a cloth under it to keep it from spinning), and get your drill out! The pork puller really does pull the meat effortlessly. I should have gotten it years earlier. Oh, and if you don’t have one, you can use two forks to pull apart the meat.
And let’s not forget the bun, and Cole Slaw (which is another post entirely).
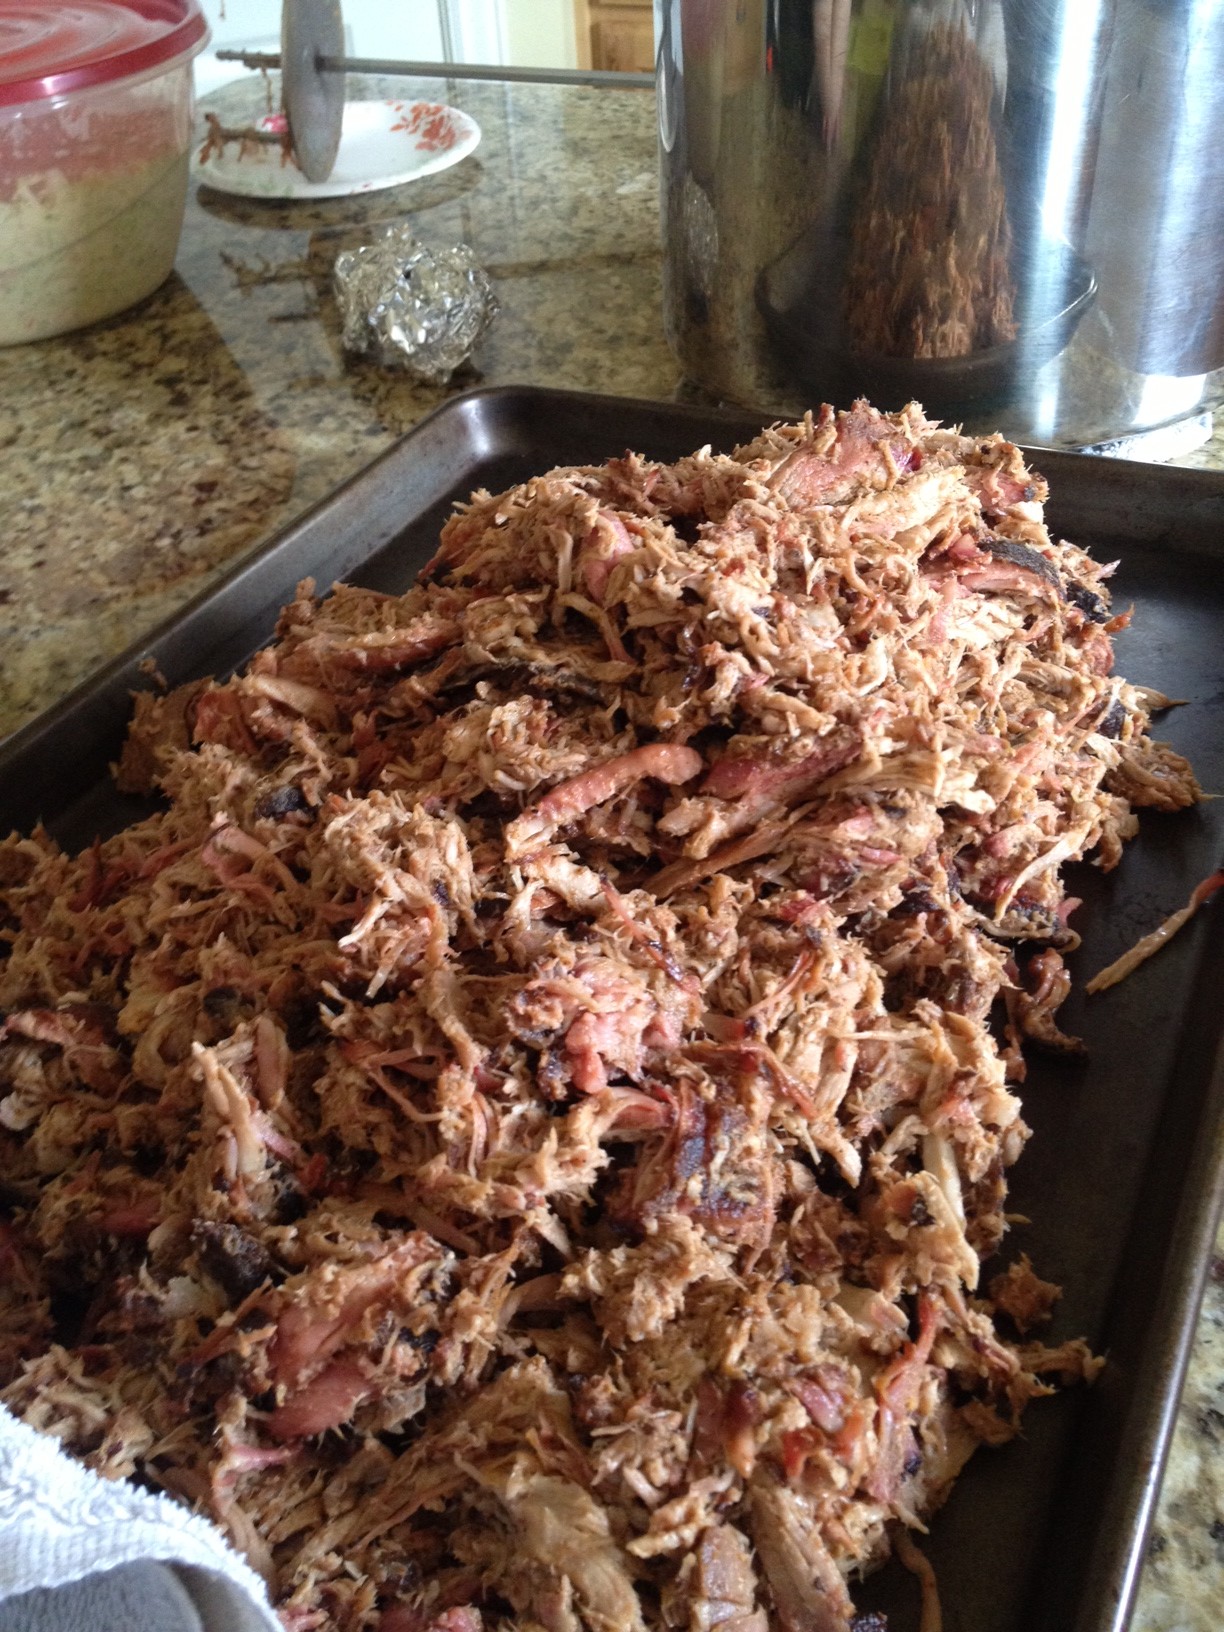
This really is good stuff. And it will ruin you for other people’s Pulled Pork. You will never again get it at a barbecue place again without thinking “I can do better!” It’s that good!
Edit: And I now do better.
Follow the directions above, but at 150 degrees internal temperature, take it off the smoker, and tightly wrap it in extra wide heavy duty aluminum foil. Put it on a cookie sheet, and into the oven at 225 degrees until the internal temperature it 290 degrees, then wrap them in towels (still in the foil) and put into a cooler chest (“faux Cambro”) for one to two hours. Once the guests show up, dump the entire contents of the foil into a large pot, juices and all, and pull it in front of them. This way, it is extra moist and tender, and will keep them returning for more!

 I think if we are to be honest with ourselves, most of us have had a love of a basic Red Sauce since we were too young to put a name to it. I was enamored with Spaghetti-O’s, Chef Boy-R-Dee Beef Ravioli, and even those way too cheaply made pizzas sold in the deli section of the local grocery store. You know the kind not really frozen pizzas, but may have once been? I could not get enough of them.