 I have talked multiple times about barbecue, and what some may or may not agree it actually is. My take on it is that if everyone you know chows down on it and eats anything and everything you make on your smoker, you are doing it right. This is my take on Smoked Beef Brisket. Mouth watering, beefy taste that melts in your mouth. it truly is awesome to eat when done right, and tough as nails when done wrong.
Everyone has their own method for this, and every single one of them swears it is the best way possible. That’s just normal for the barbecue world. My take on it follows the advice of many different people, which I have taken and mixed together to get what I like. Try it out, and as always, feel free to change it to make it yours.
Start by making the rub. You can buy them, but what fun is that? I call this one Beef Rub #4. It is the fourth tweak I made to my beef rub. I actually got up to #9, and realized it was good but not great, and #4 was great, so I went back to it. It works really well on all manner of beef, even things not smoked (though it is different without the smoke, it is still awesome). Go make a bag of it. I’ll wait.
https://average.ninja/beef-rub-4
Now you need to buy and prep your brisket. Lately the Costco near me has been stocking Prime Beef briskets (full packer) for $3.50/lb. Amazing price for prime beef, but it is the full packer, which is the flat and the point still together. They weigh between 12 and 16 pounds, so it isn’t a cheap piece of meat, but it will feed a small party or large family, with some leftovers. You can buy a smaller flat to get it around 5-8 pounds and still have this turn out well. Anything smaller starts to get more difficult due to the reduces times involved (remember, smoking brisket is about low temperatures for a long time, ie Low and Slow, or it can toughen up.)
Speaking of timing, I have found that a 13 lb full packer brisket takes about 12-14 hours, from first on the smoker until cutting to serve. A six pound flat takes about 7 hours.
When you are ready, get the brisket out of it’s plastic wrapping and into a clean sink. Rinse it to get off any of the butchery bits, and put it on a large baking pan. Pat it dry with paper towels (both sides). At this point, I trim the fat to about 1/4″ thick all over the place. My friend tells me that is terrible, the fat is all the flavor and the best part. I smile and nod my head, but I still do it, because you want people to eat the food, and 1/4″ is about what I like with the rest of it all together with it’s run still on it. If people are trimming off huge chucks of fat, they are also trimming off the rub. I don’t suggest anything less than 1/4″, as low and slow needs the fat to keep it from drying out.
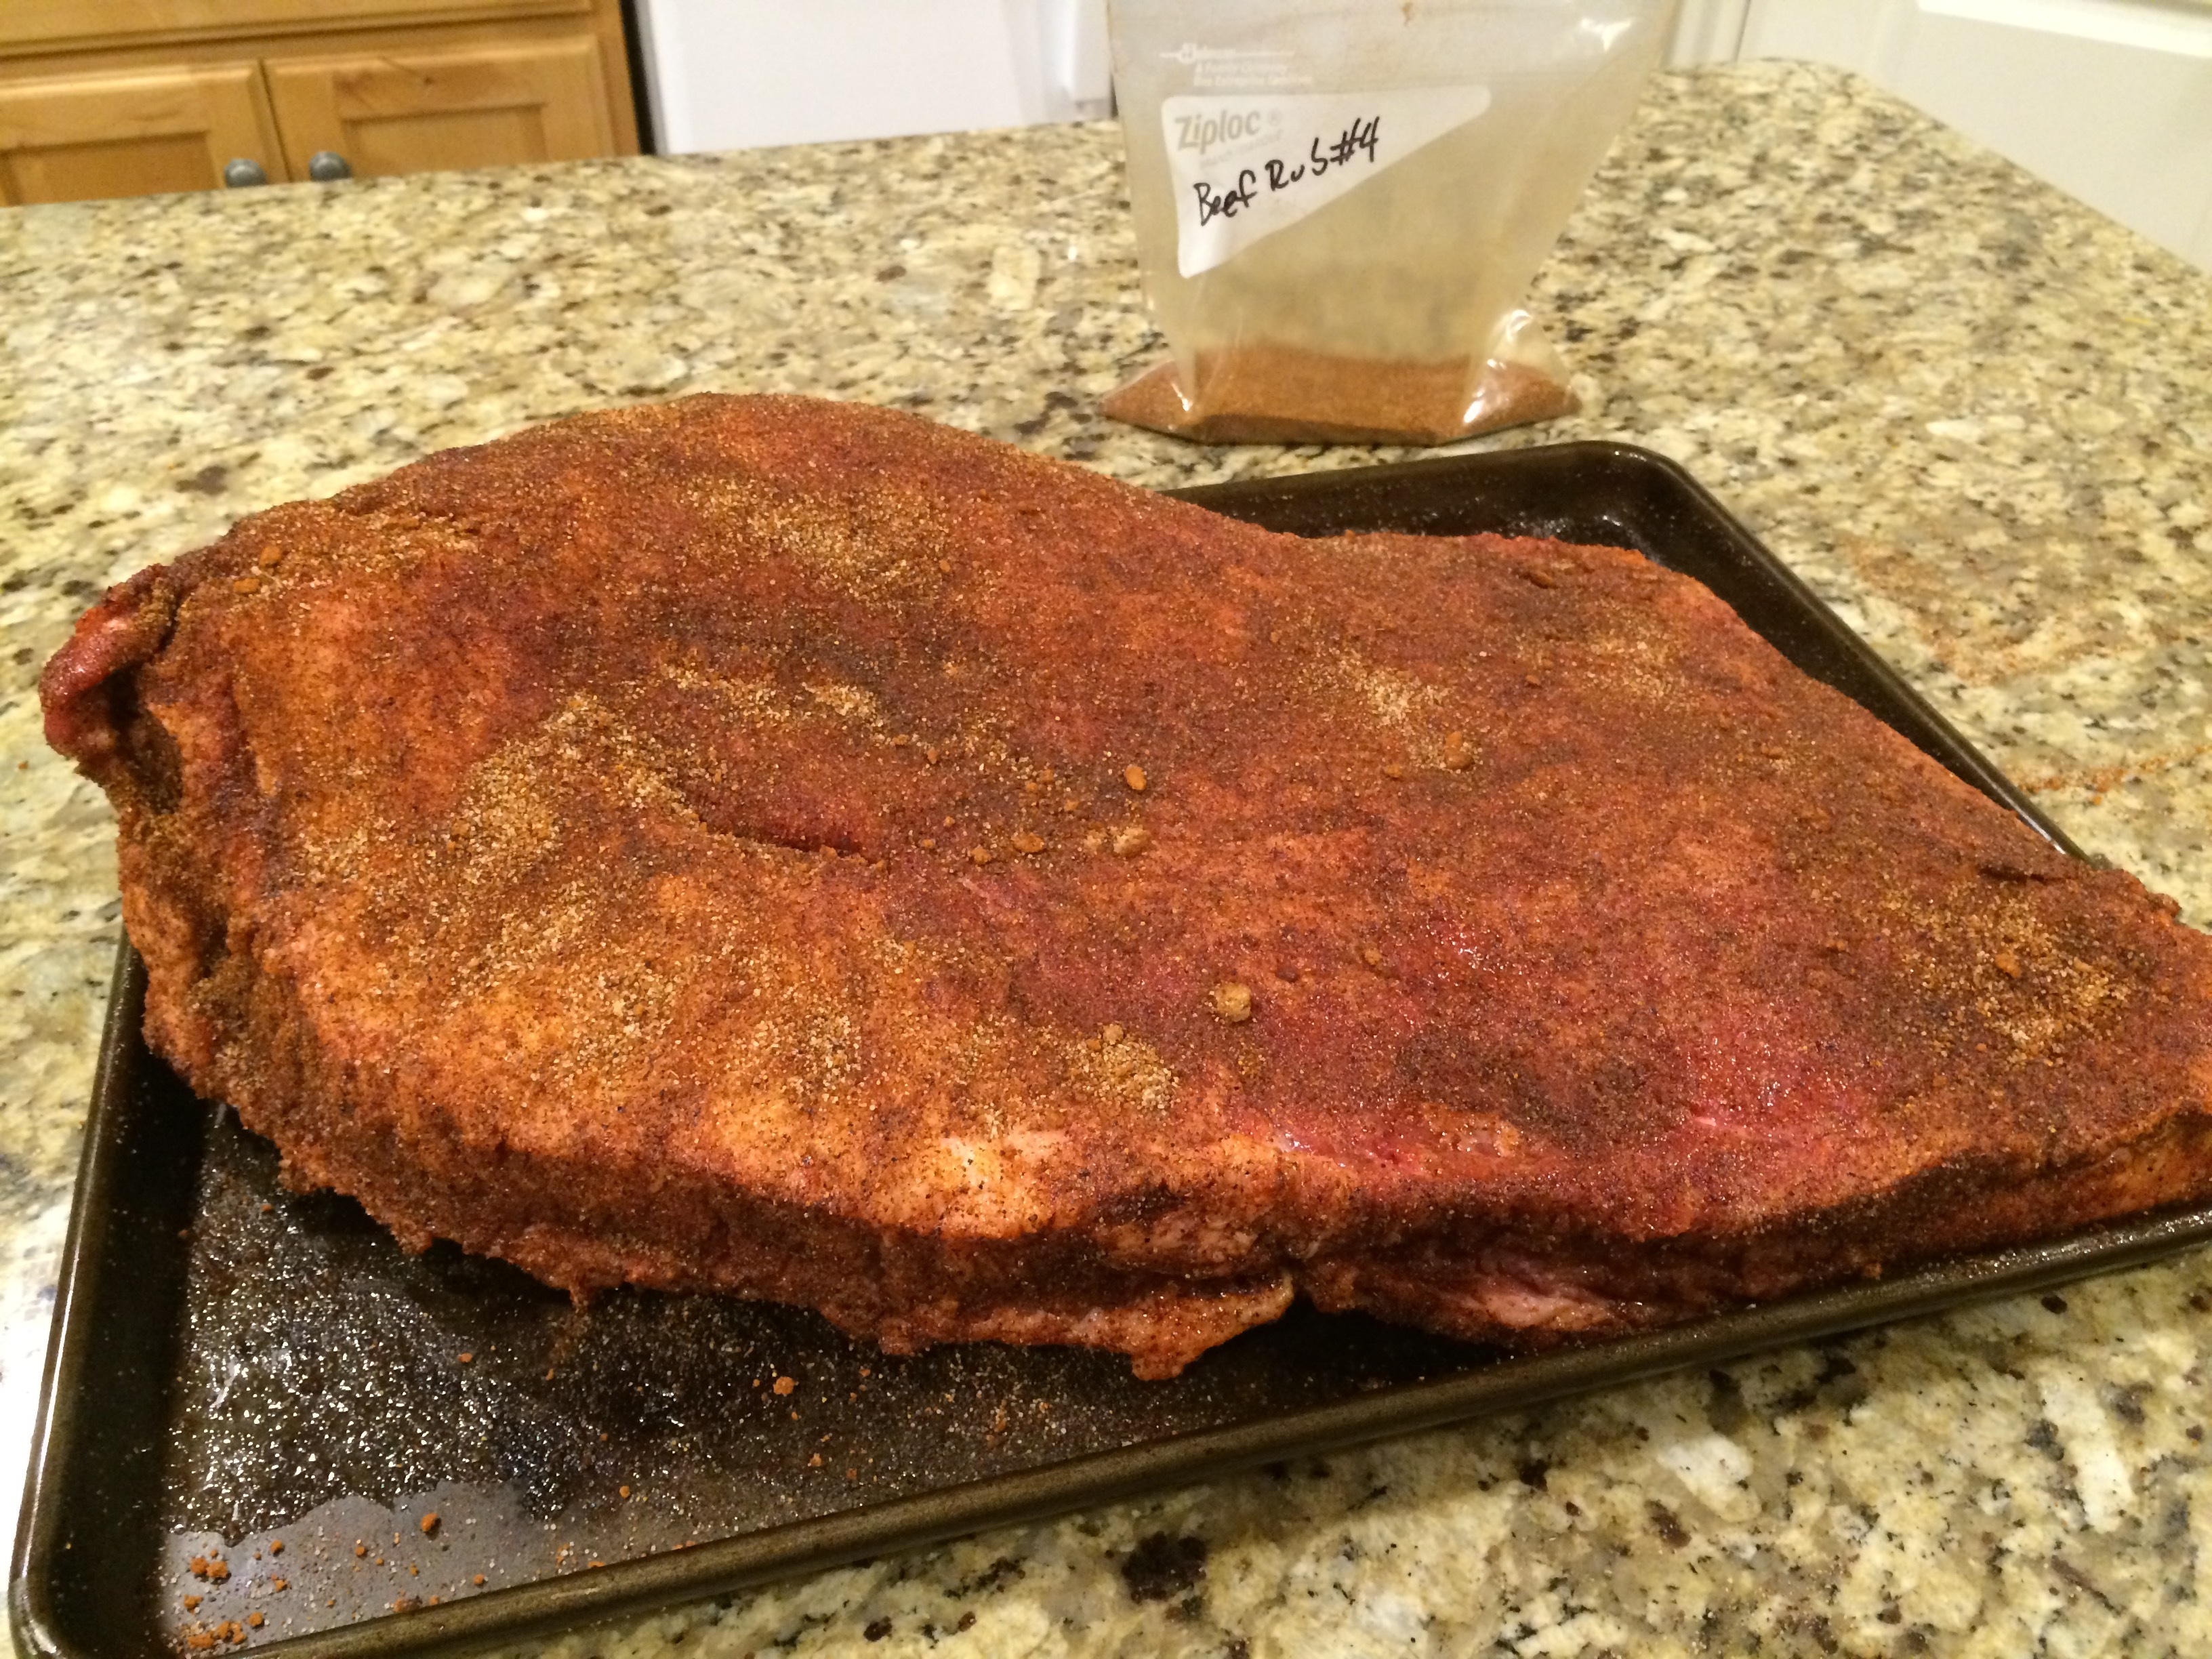
Then you rub it with some vegetable oil, and add the rub (and rub it in a bit, like the name says. i tend to use food grade disposable gloves when I do this, so my hand doesn’t smell like the rub for a week). On a full packer, I use about 2/3 of a batch of Beef Rub #4, so adjust accordingly with different sized briskets.
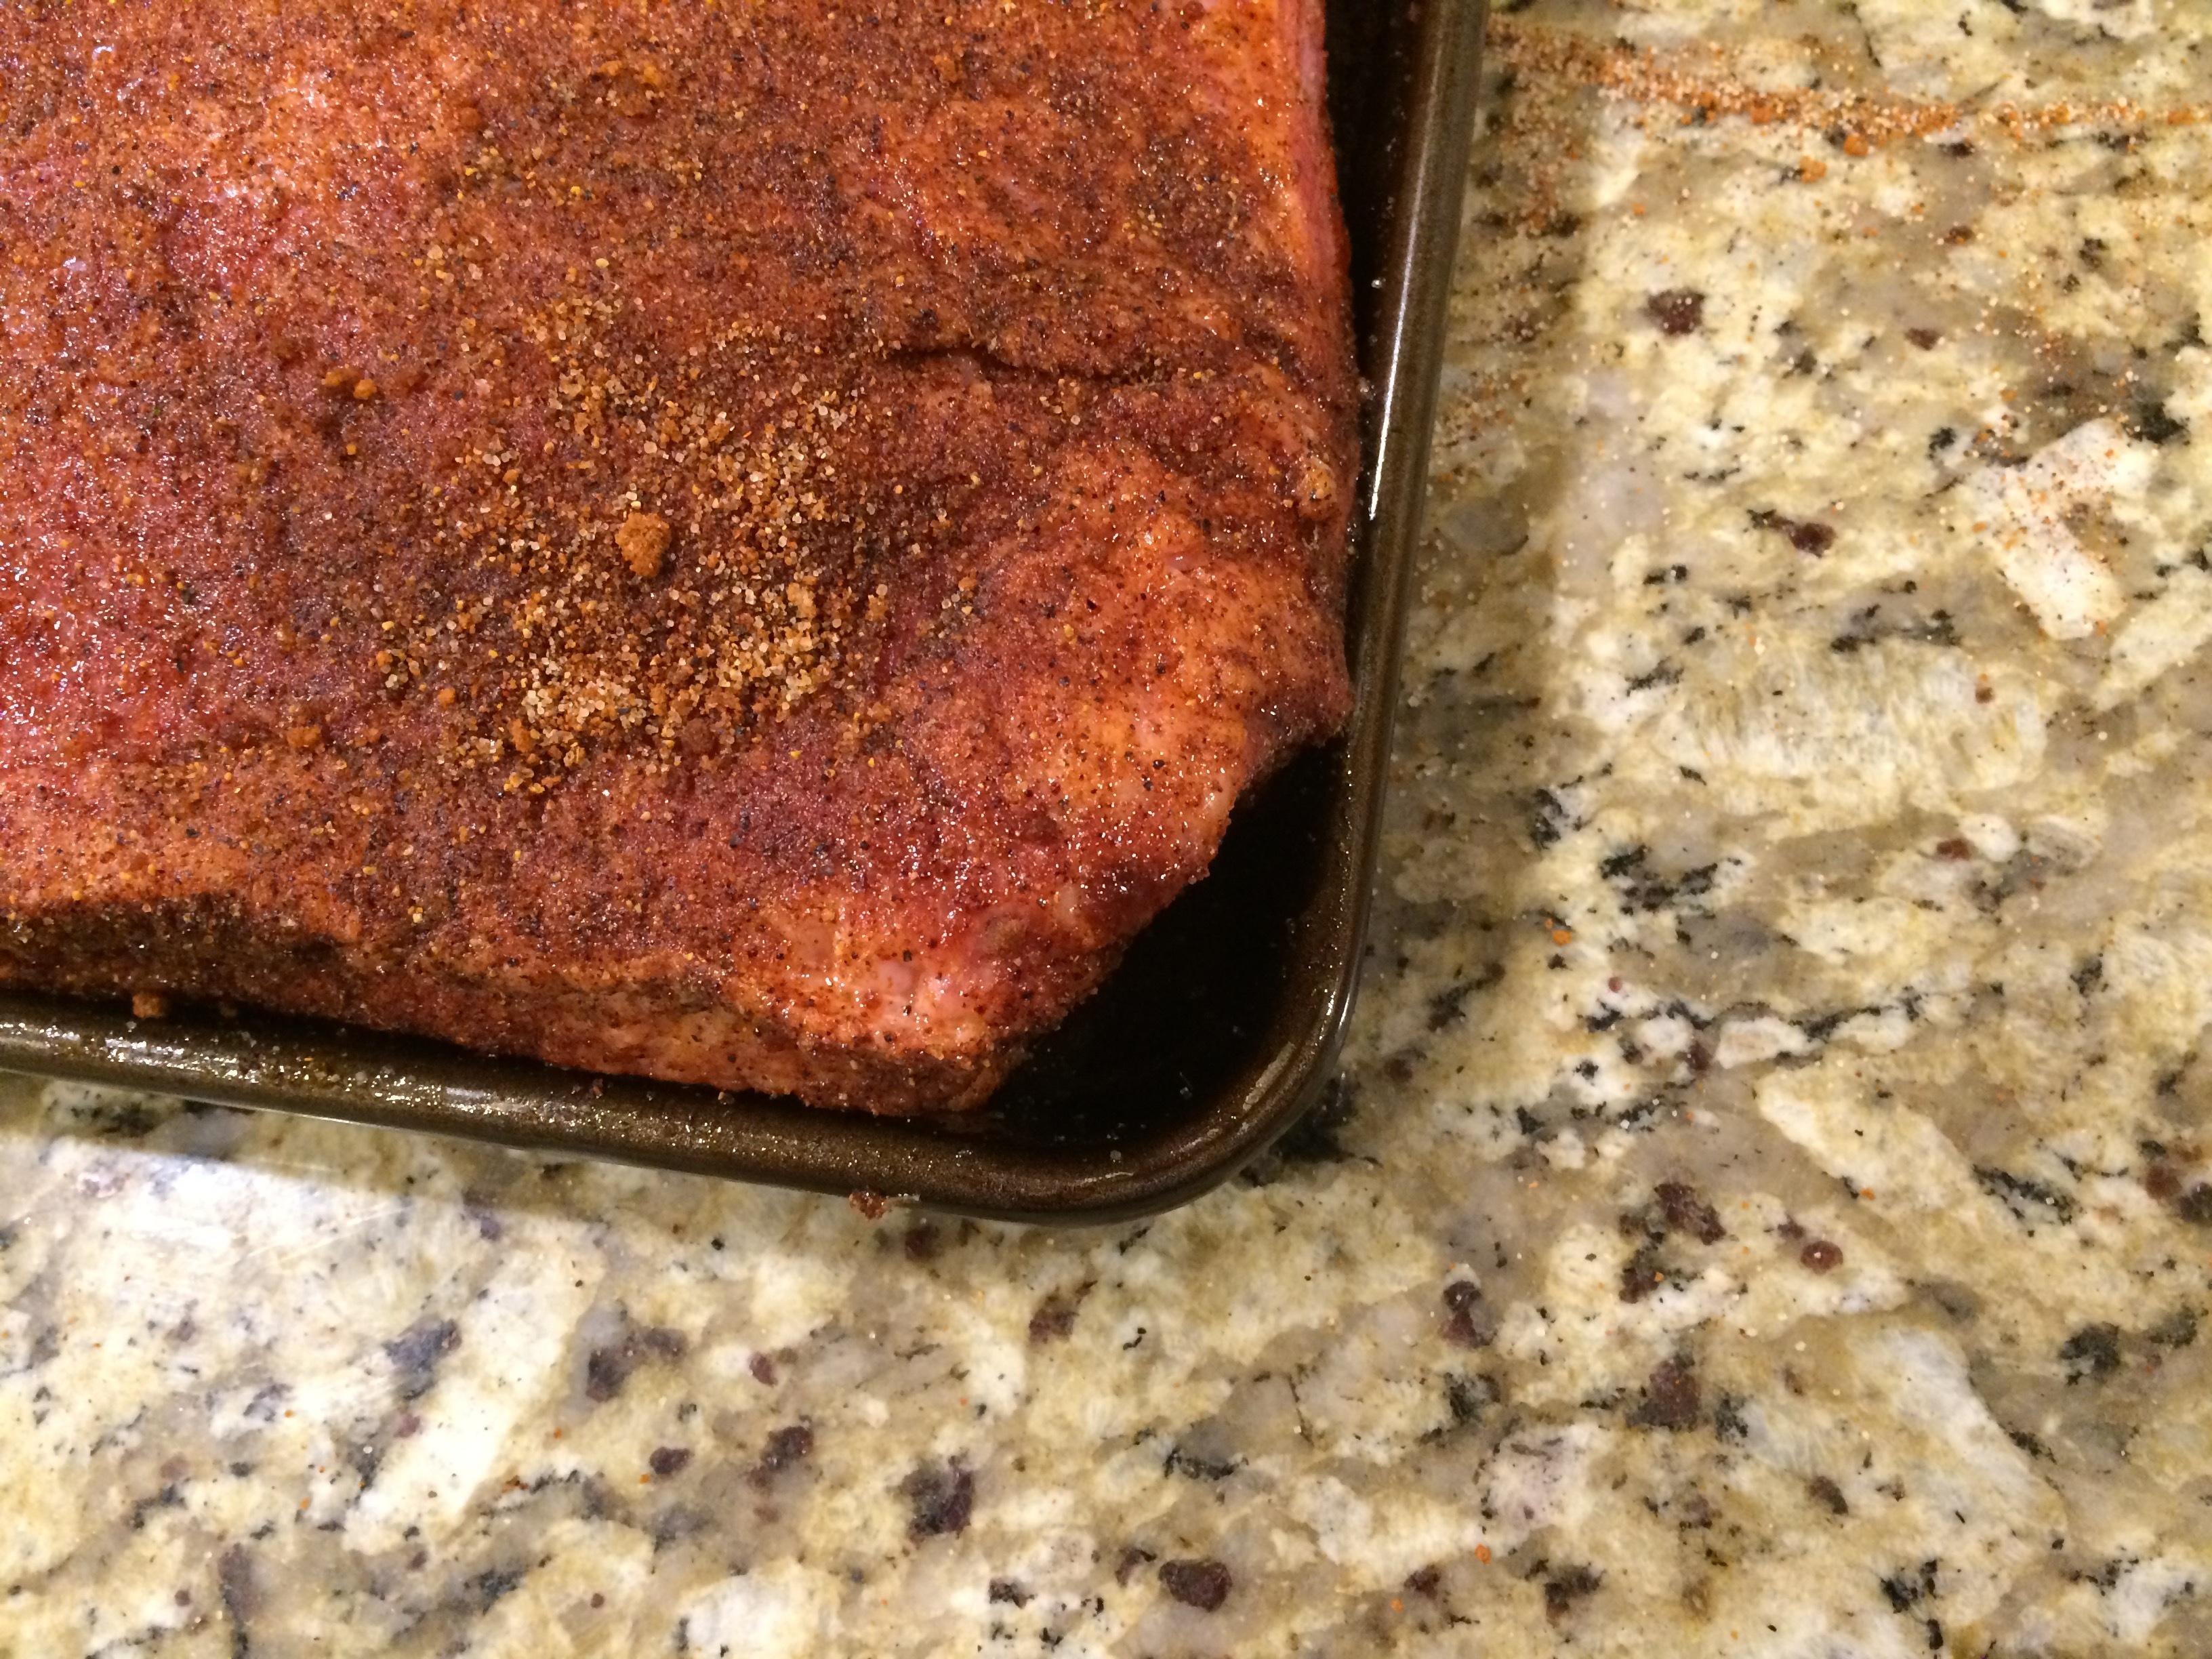
Once it is rubbed down and ready for the smoker, it looks like this:
I also find the grain either at this stage, or before I add the rub. You will eventually want to cut perpendicular to the grain of the meat to get it the most tender, and it can be difficult to see that once it is smoked, so I cut a small flat spot off the far end that is perpendicular to the grain, so I can just make cuts parallel to my flat bit once it is done.
 Since a full packer can take up to 12-14 hours from the time you put it on the smoker until it’s ready to eat, I usually put the rub on at night before bed, cover the brisket and stick it in the fridge. I then get up at 3am to put it on the smoker, and go back to bed for a few more hours.
So after the rub is on, and you are ready to cook it, put it on the smoker (fat side up is the school of though i belong to) and put a probe into the thickets part, trying to avoid putting the probe end right into a large fat deposit, as that will give you inconsistent results. You want it to measure the temperature of the meat, not the fat. As the fat melts, it lets off water in the form of steam, which will show a temperature spike, then a cool down as it evaporates, repeated over and over. That is not a good way to measure the meat. I use a warm smoke method, about 160-180 degrees. Let it smoke that way for three hours.
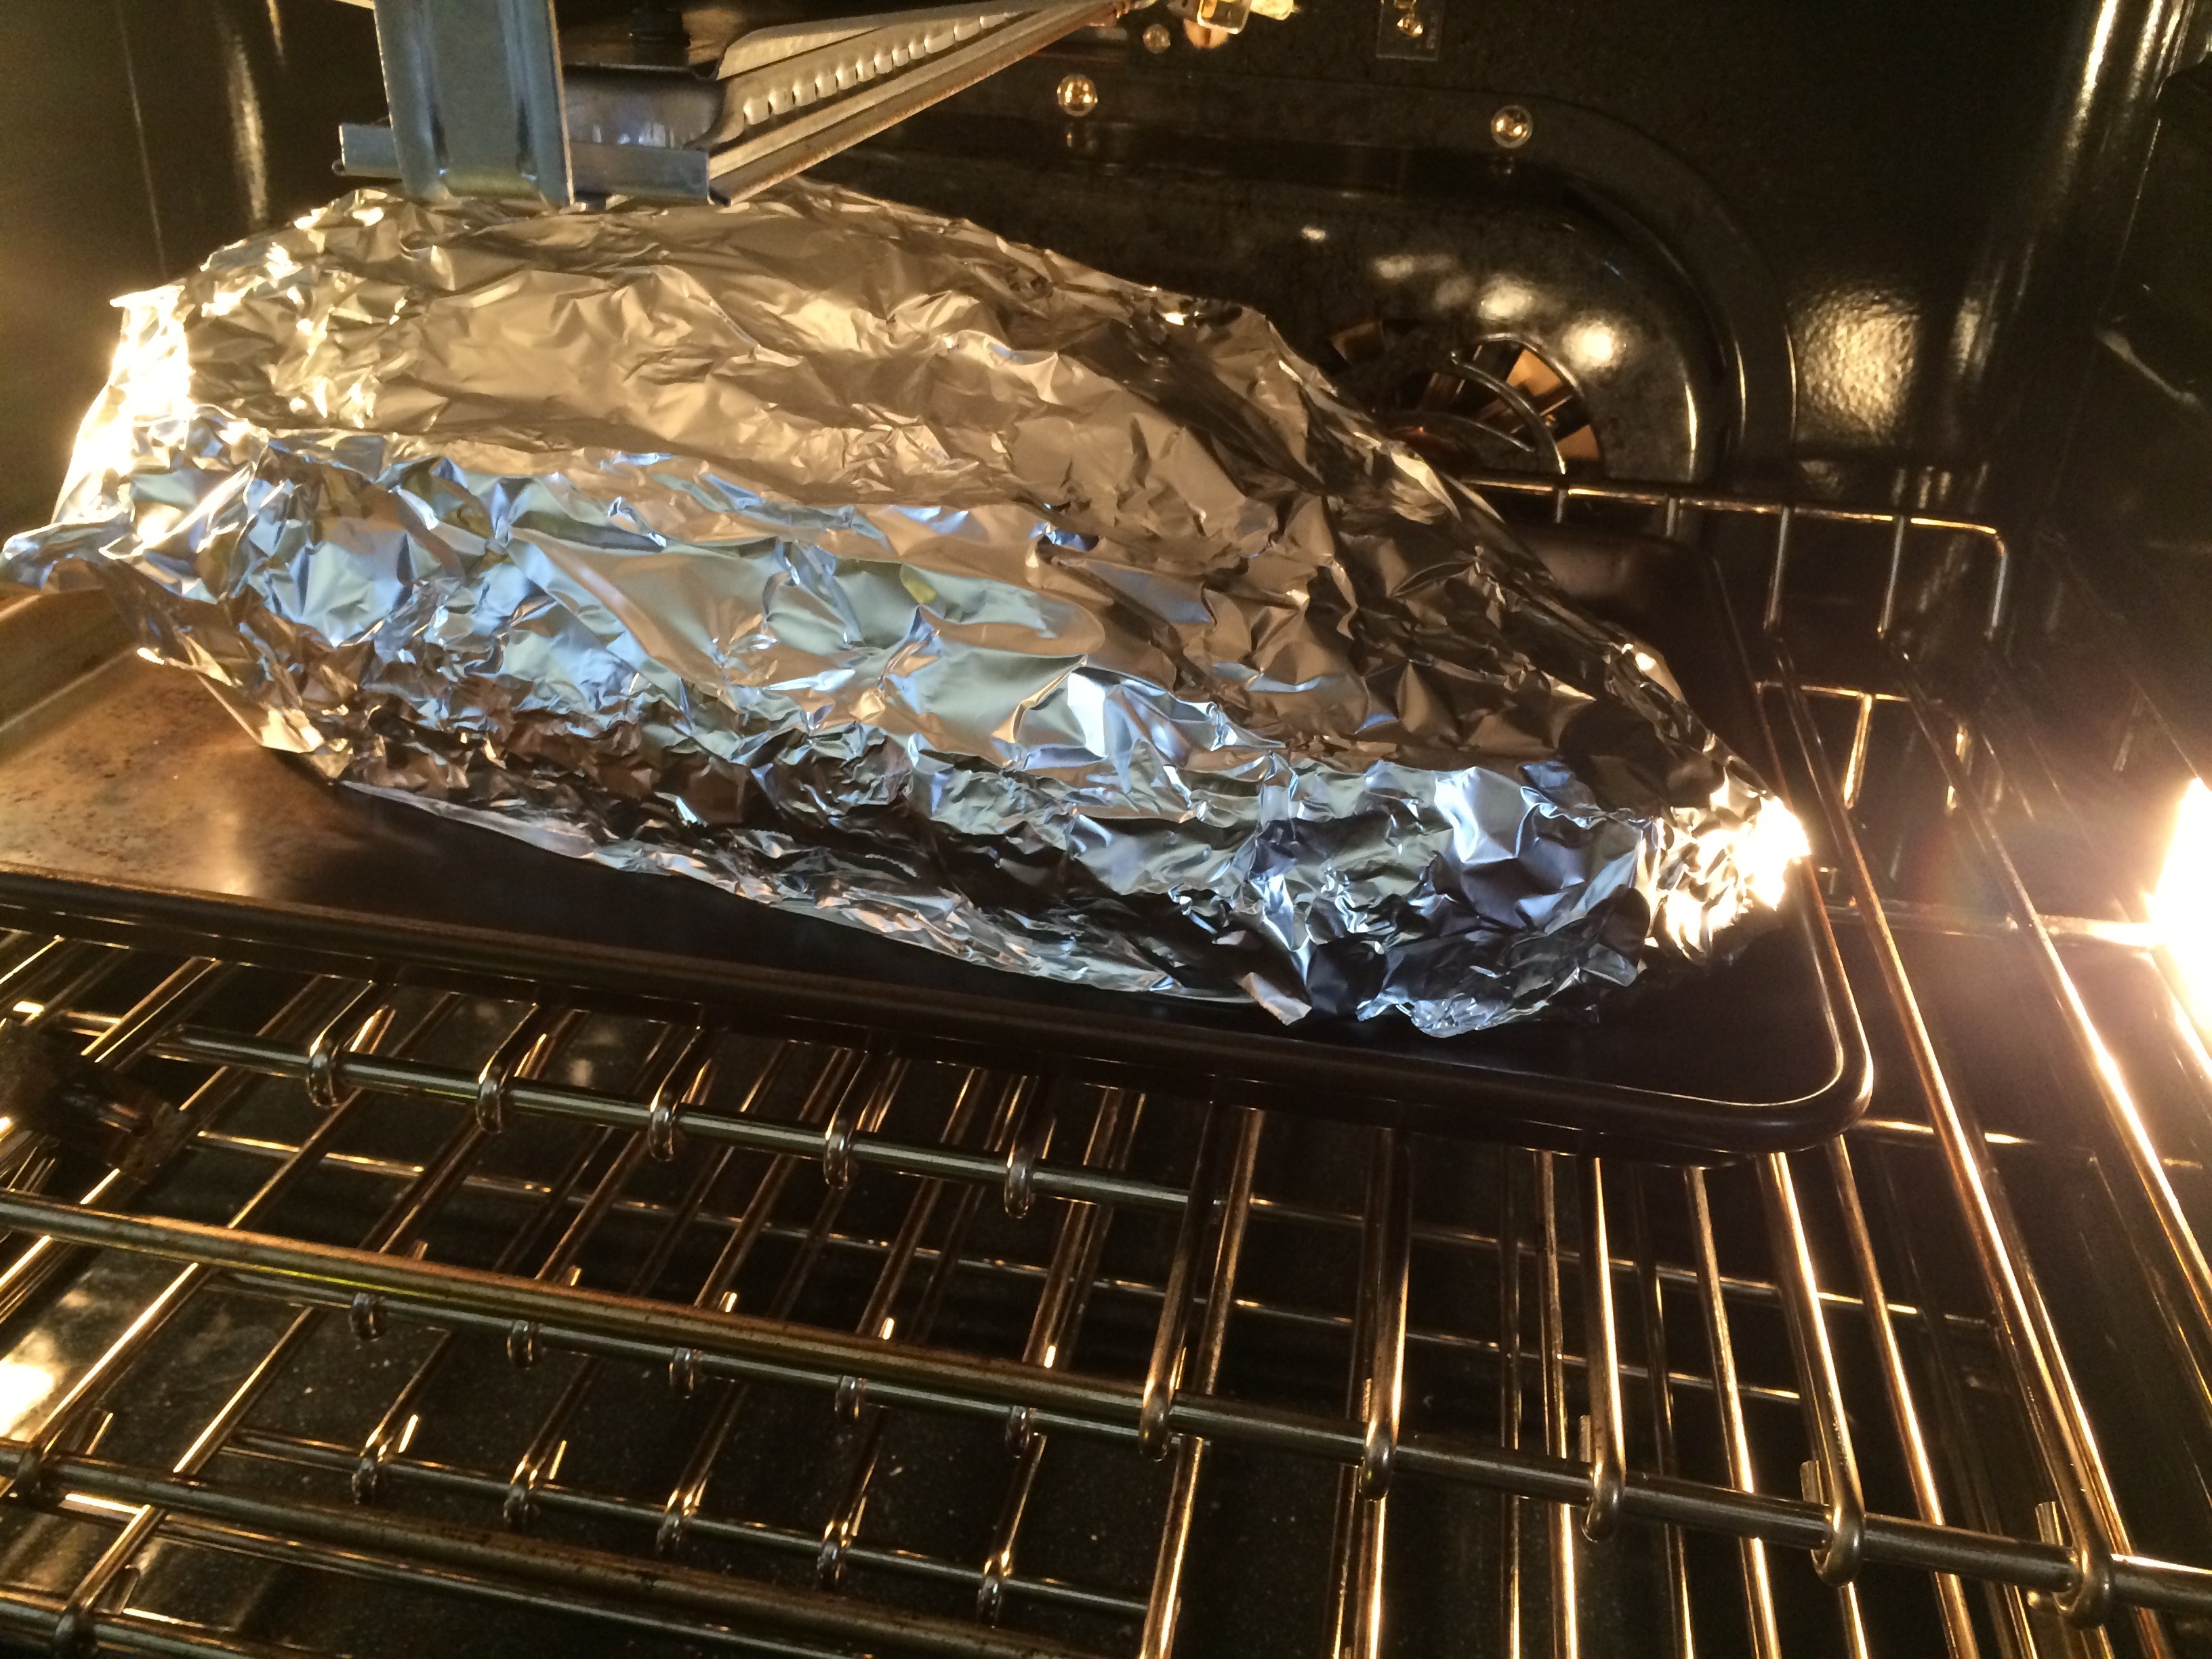
Once you hit the three hour mark, turn up the heat to 225 degrees, and keep smoking it. Smoke it until the internal temperature of the meat is 150 degrees. At this point you will start into multiple stall periods. Some people will just leave it alone to power through it, and some are temped to raise the smoker temperature. Leaving it alone will work, but can add hours of cook time as the water boils off and evaporation cools the meat. Raising the temperature will toughen up the meat. What I do is called a Texas Crutch. Wrap the meat tightly in aluminum foil, heavy duty extra wide. You will want to use one large piece at least for the entire bottom half, so you don’t loose all the juices while it cooks. Also at this point, I put it in the oven, as smoking aluminum foil doesn’t do much, and costs more than my gas oven.
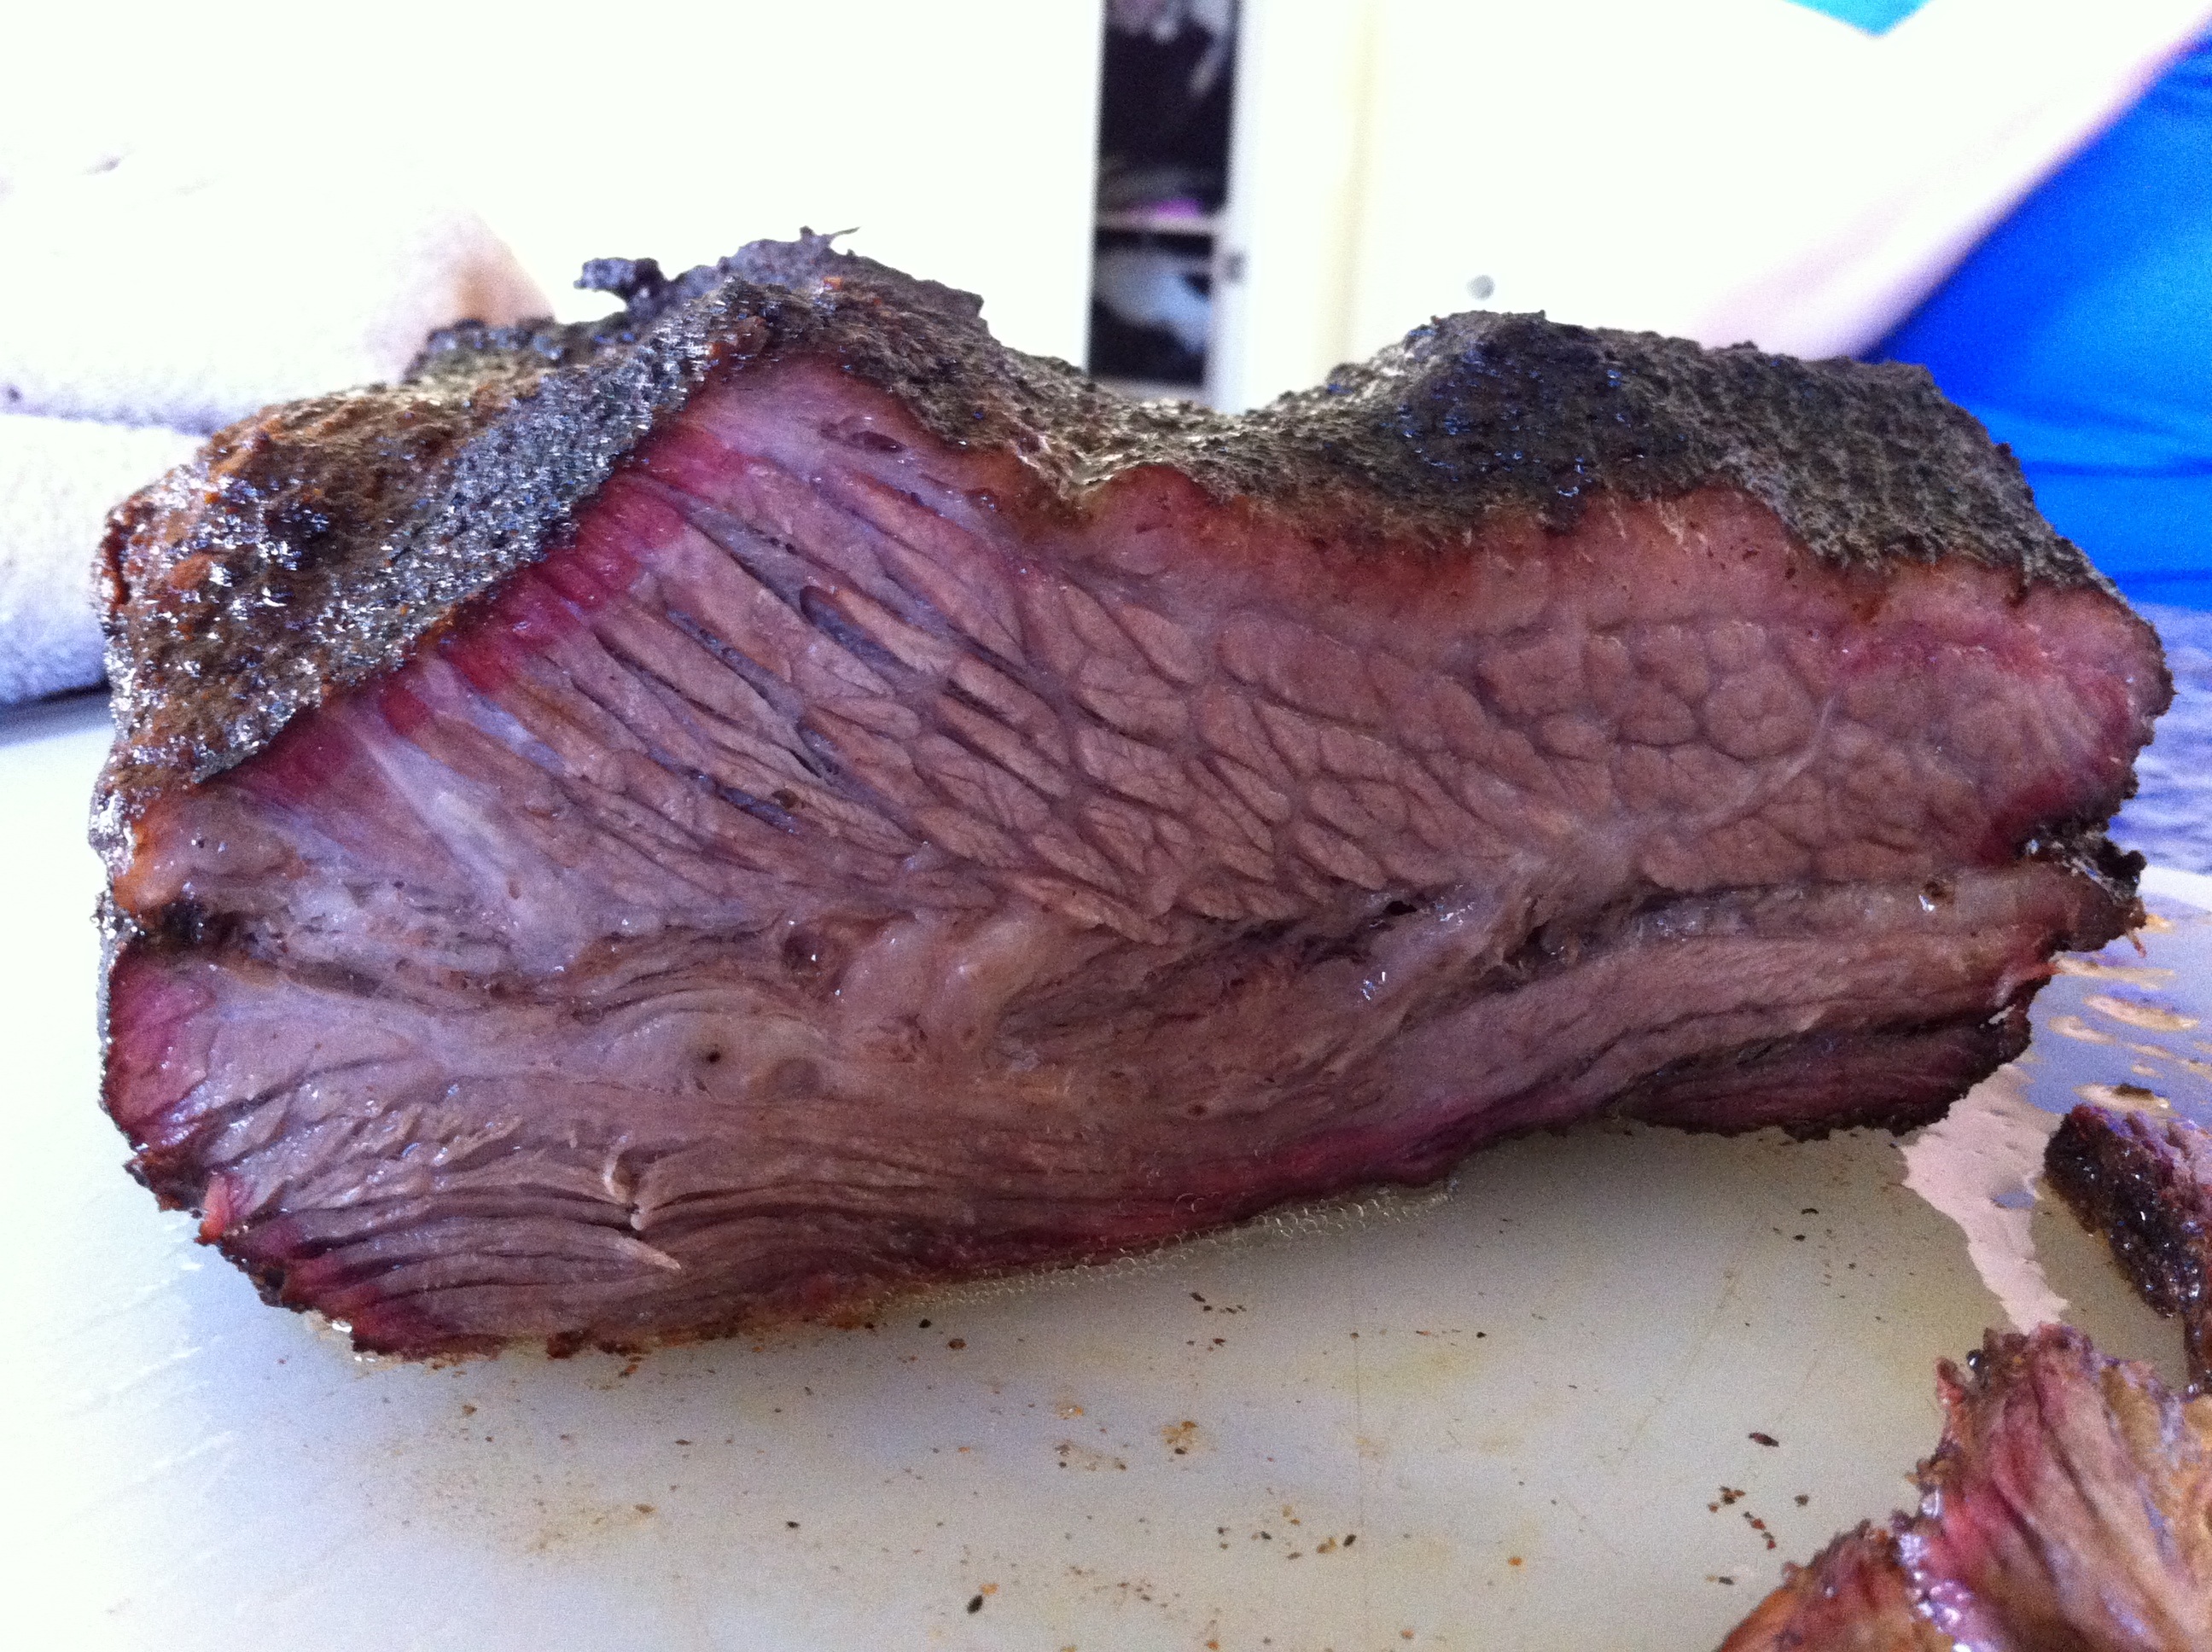
 Leave the probe in the meat, and continue cooking at 225 degrees until the internal temperature of the meat is at 203 degrees. I find that a higher temp dries it out more, and a lower temp isn’t as tender. Once that is done, you will want to use a Faux Cambro, which means to leave it in the aluminum foil, and wrap some old towels around it, and put it into a camp or drink cooler. Leave it there for one to two hours and it will continue to cook, tenderizing the entire time. This also allows you some leeway in timing when your guests will arrive.
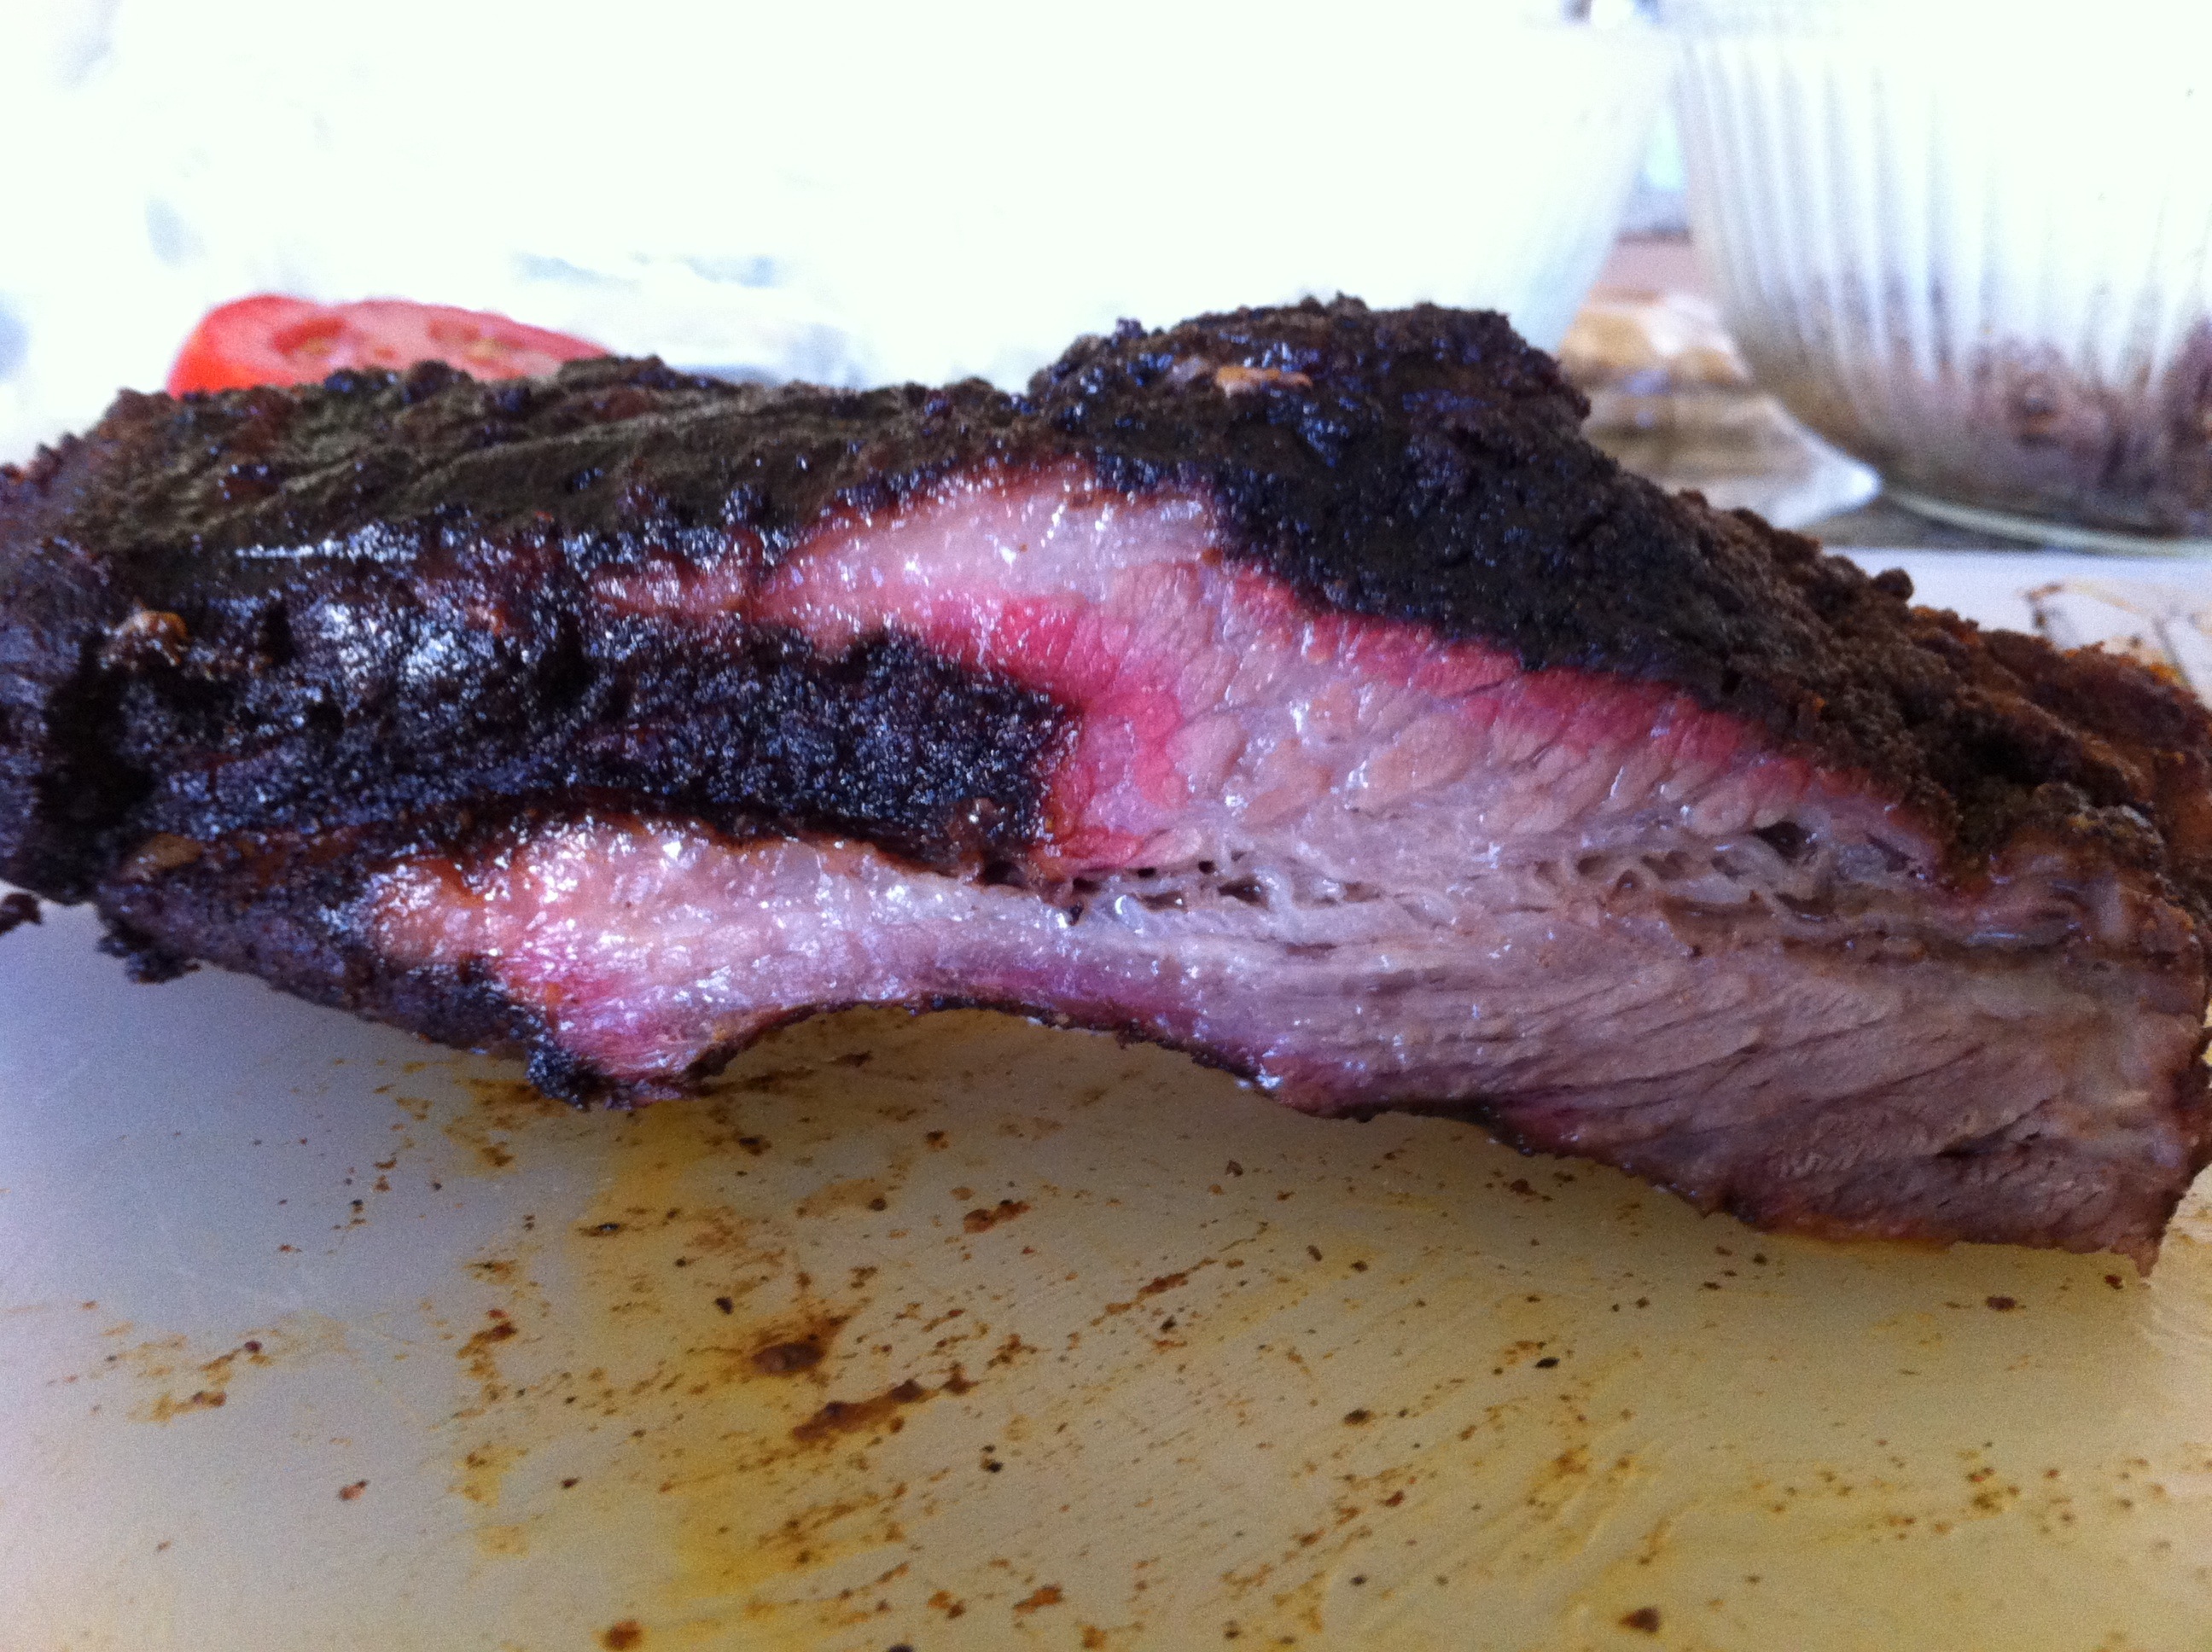
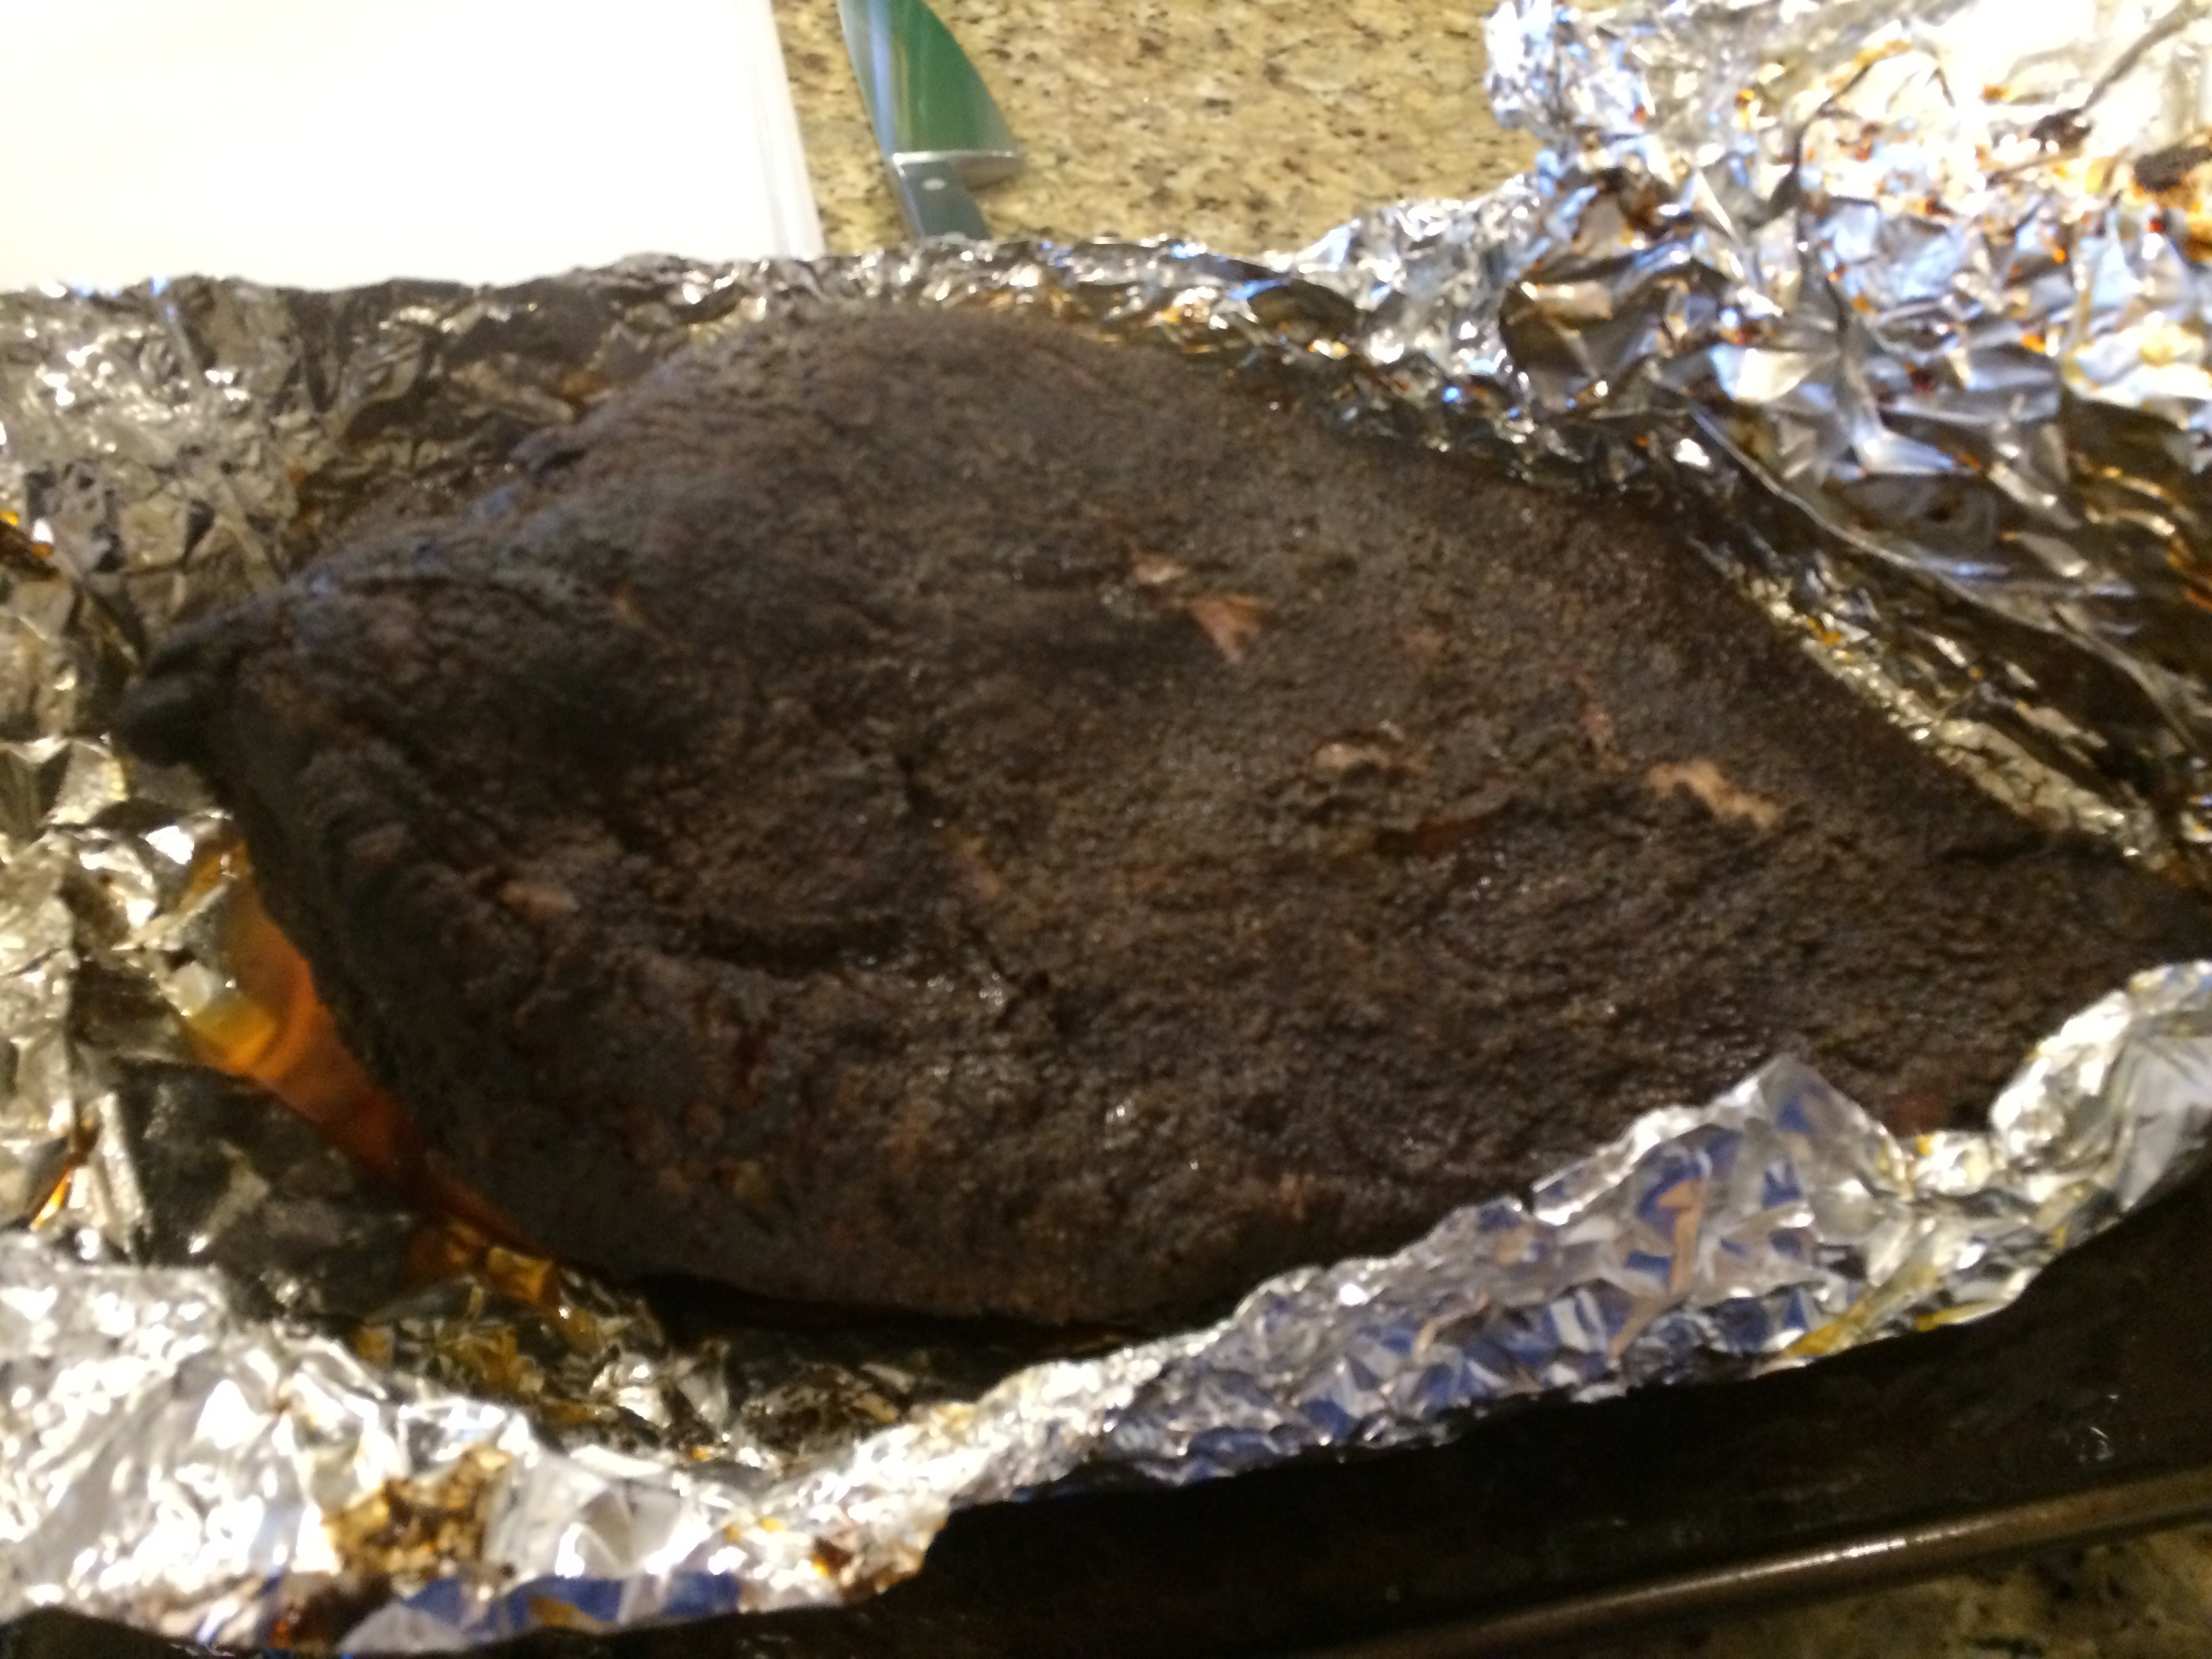
Once everyone is ready to eat remove the brisket from the cooler. Believe me, after hours and hours of smelling it cooking they will be ready to eat. Unwrap it and drain the juices into a large bowl or cup. I find this is easiest if I put the entire foiled brisket on a large cutting board, unwrap one end of it, and gently tip it to the counter’s edge, pouring the liquid into the container. After that, gently move it to the cutting board.
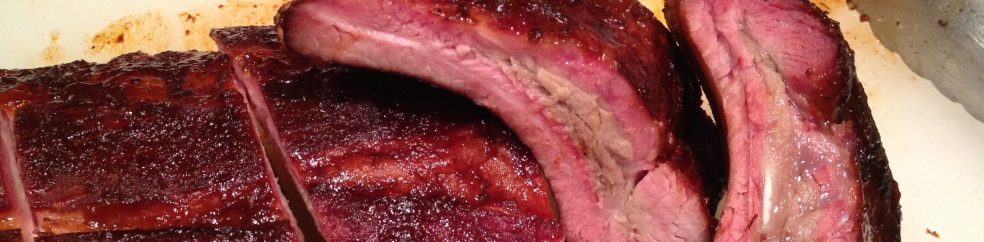
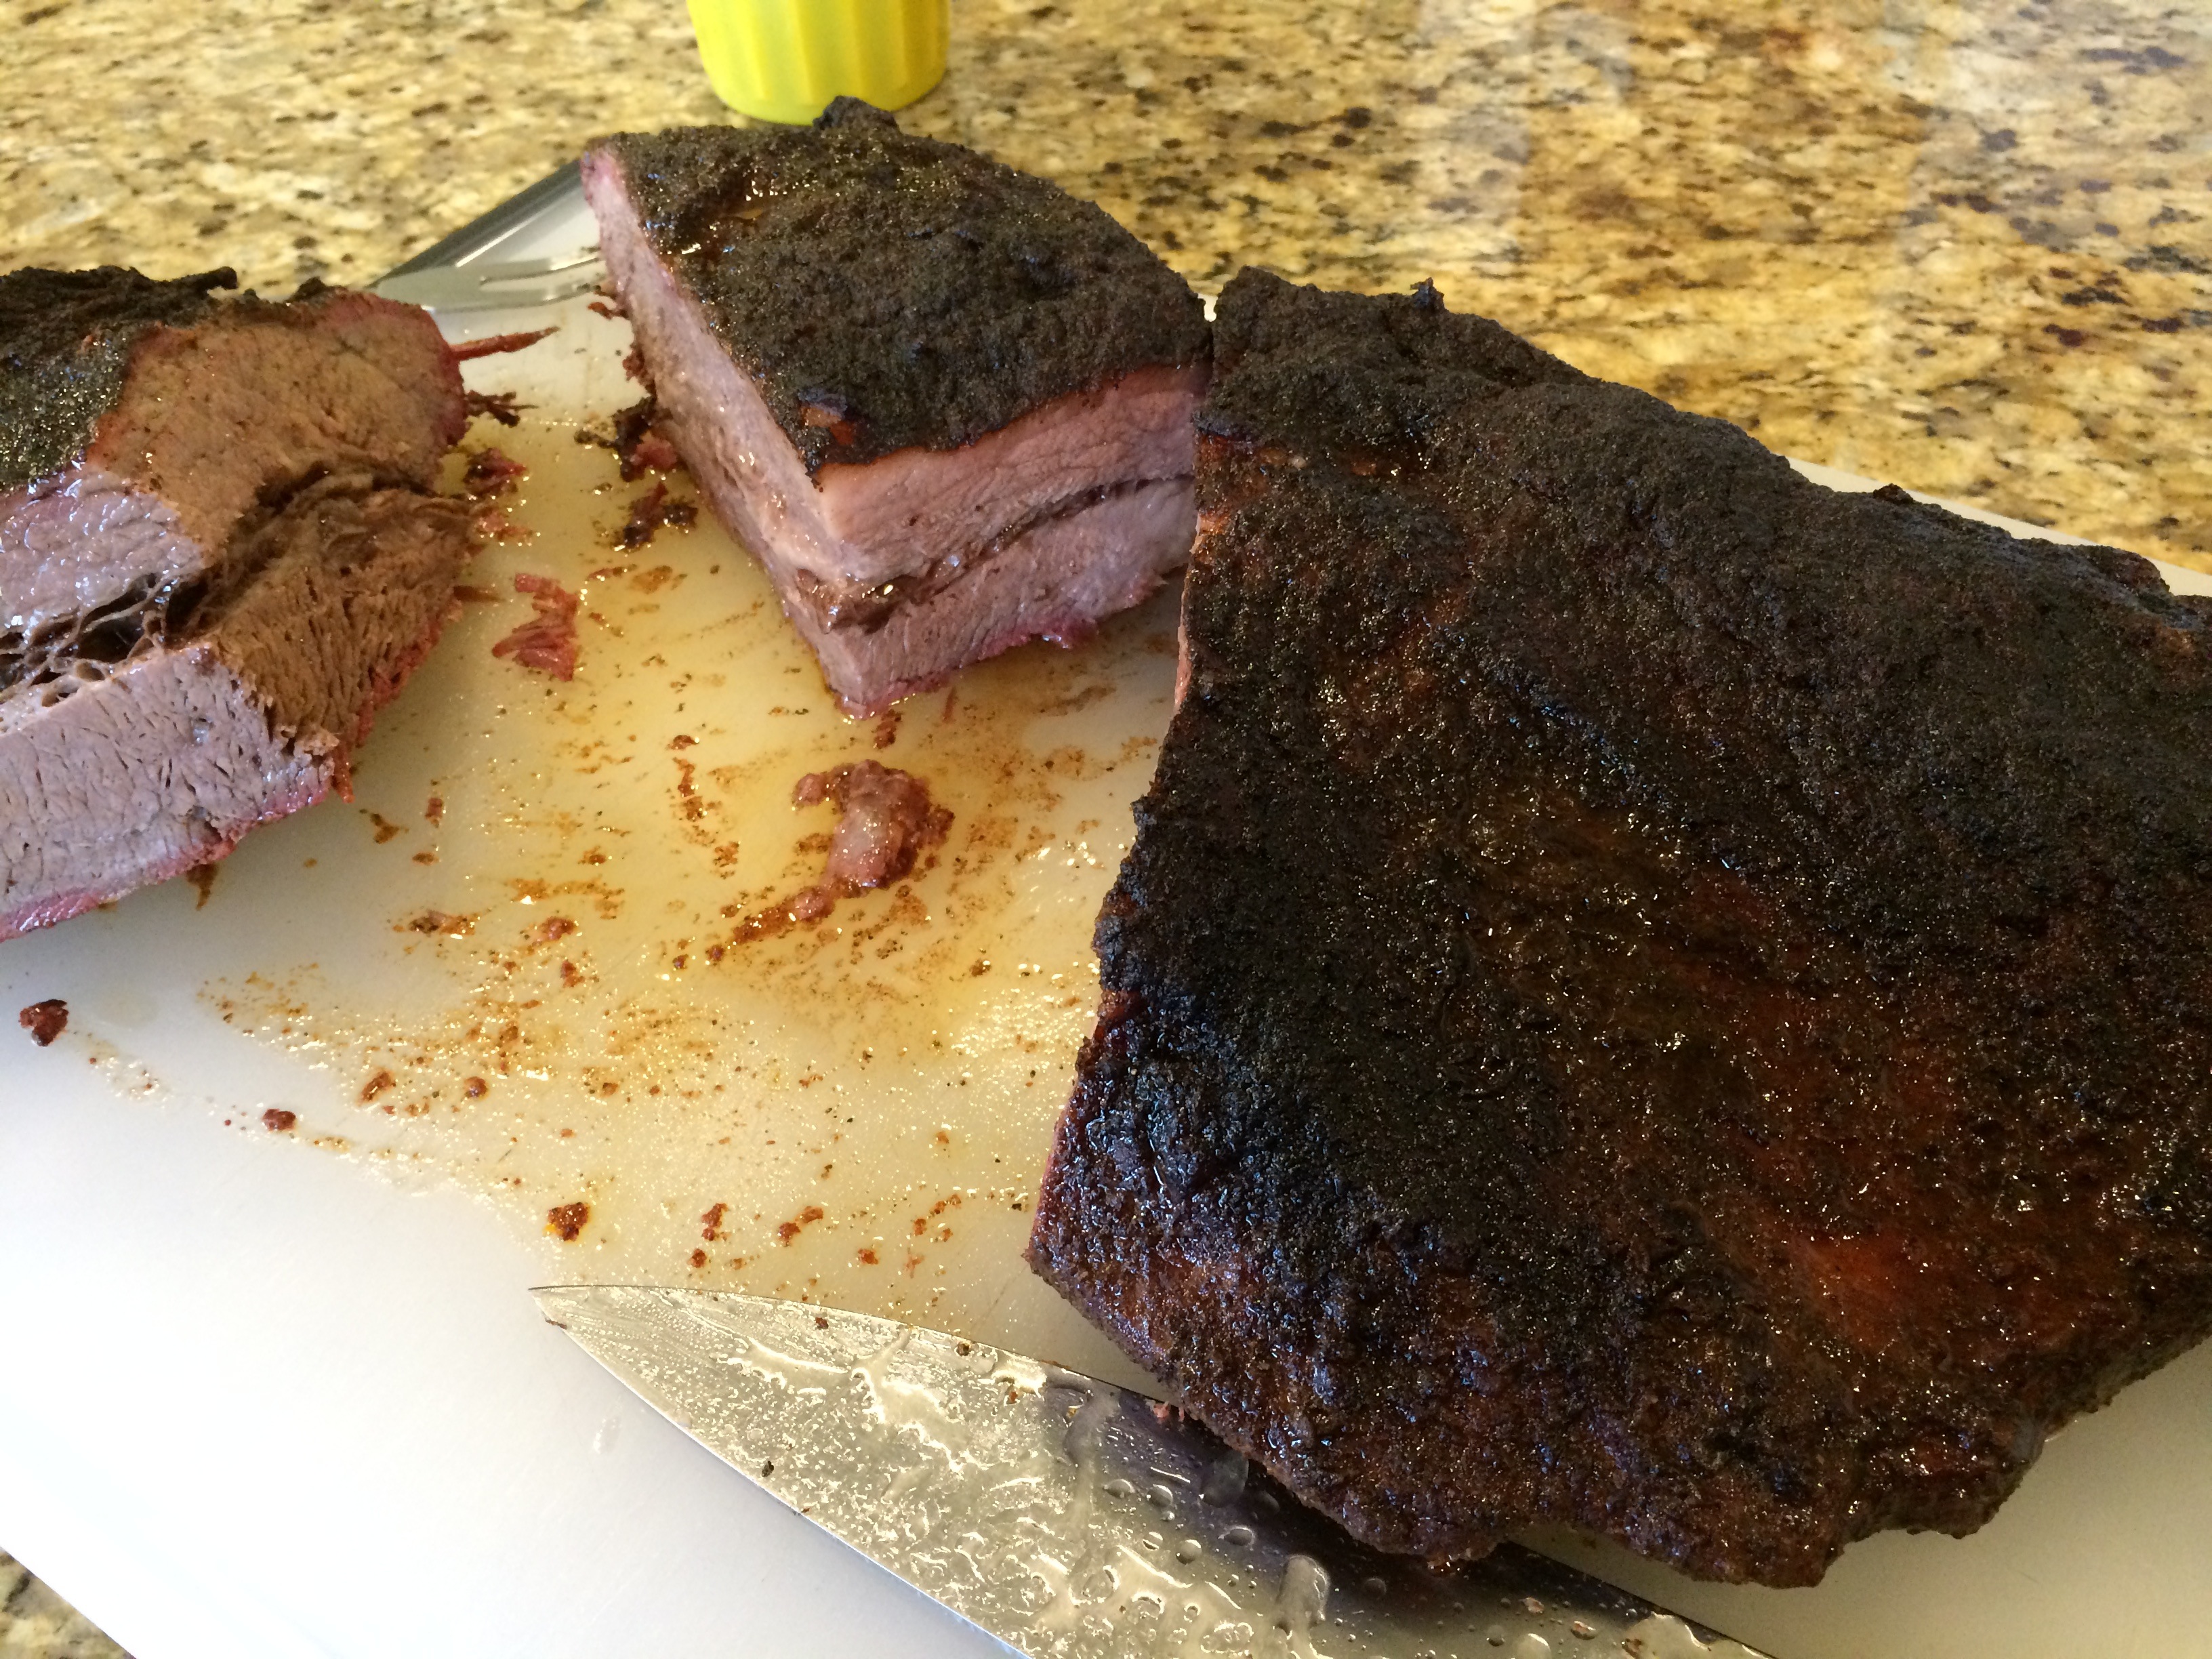
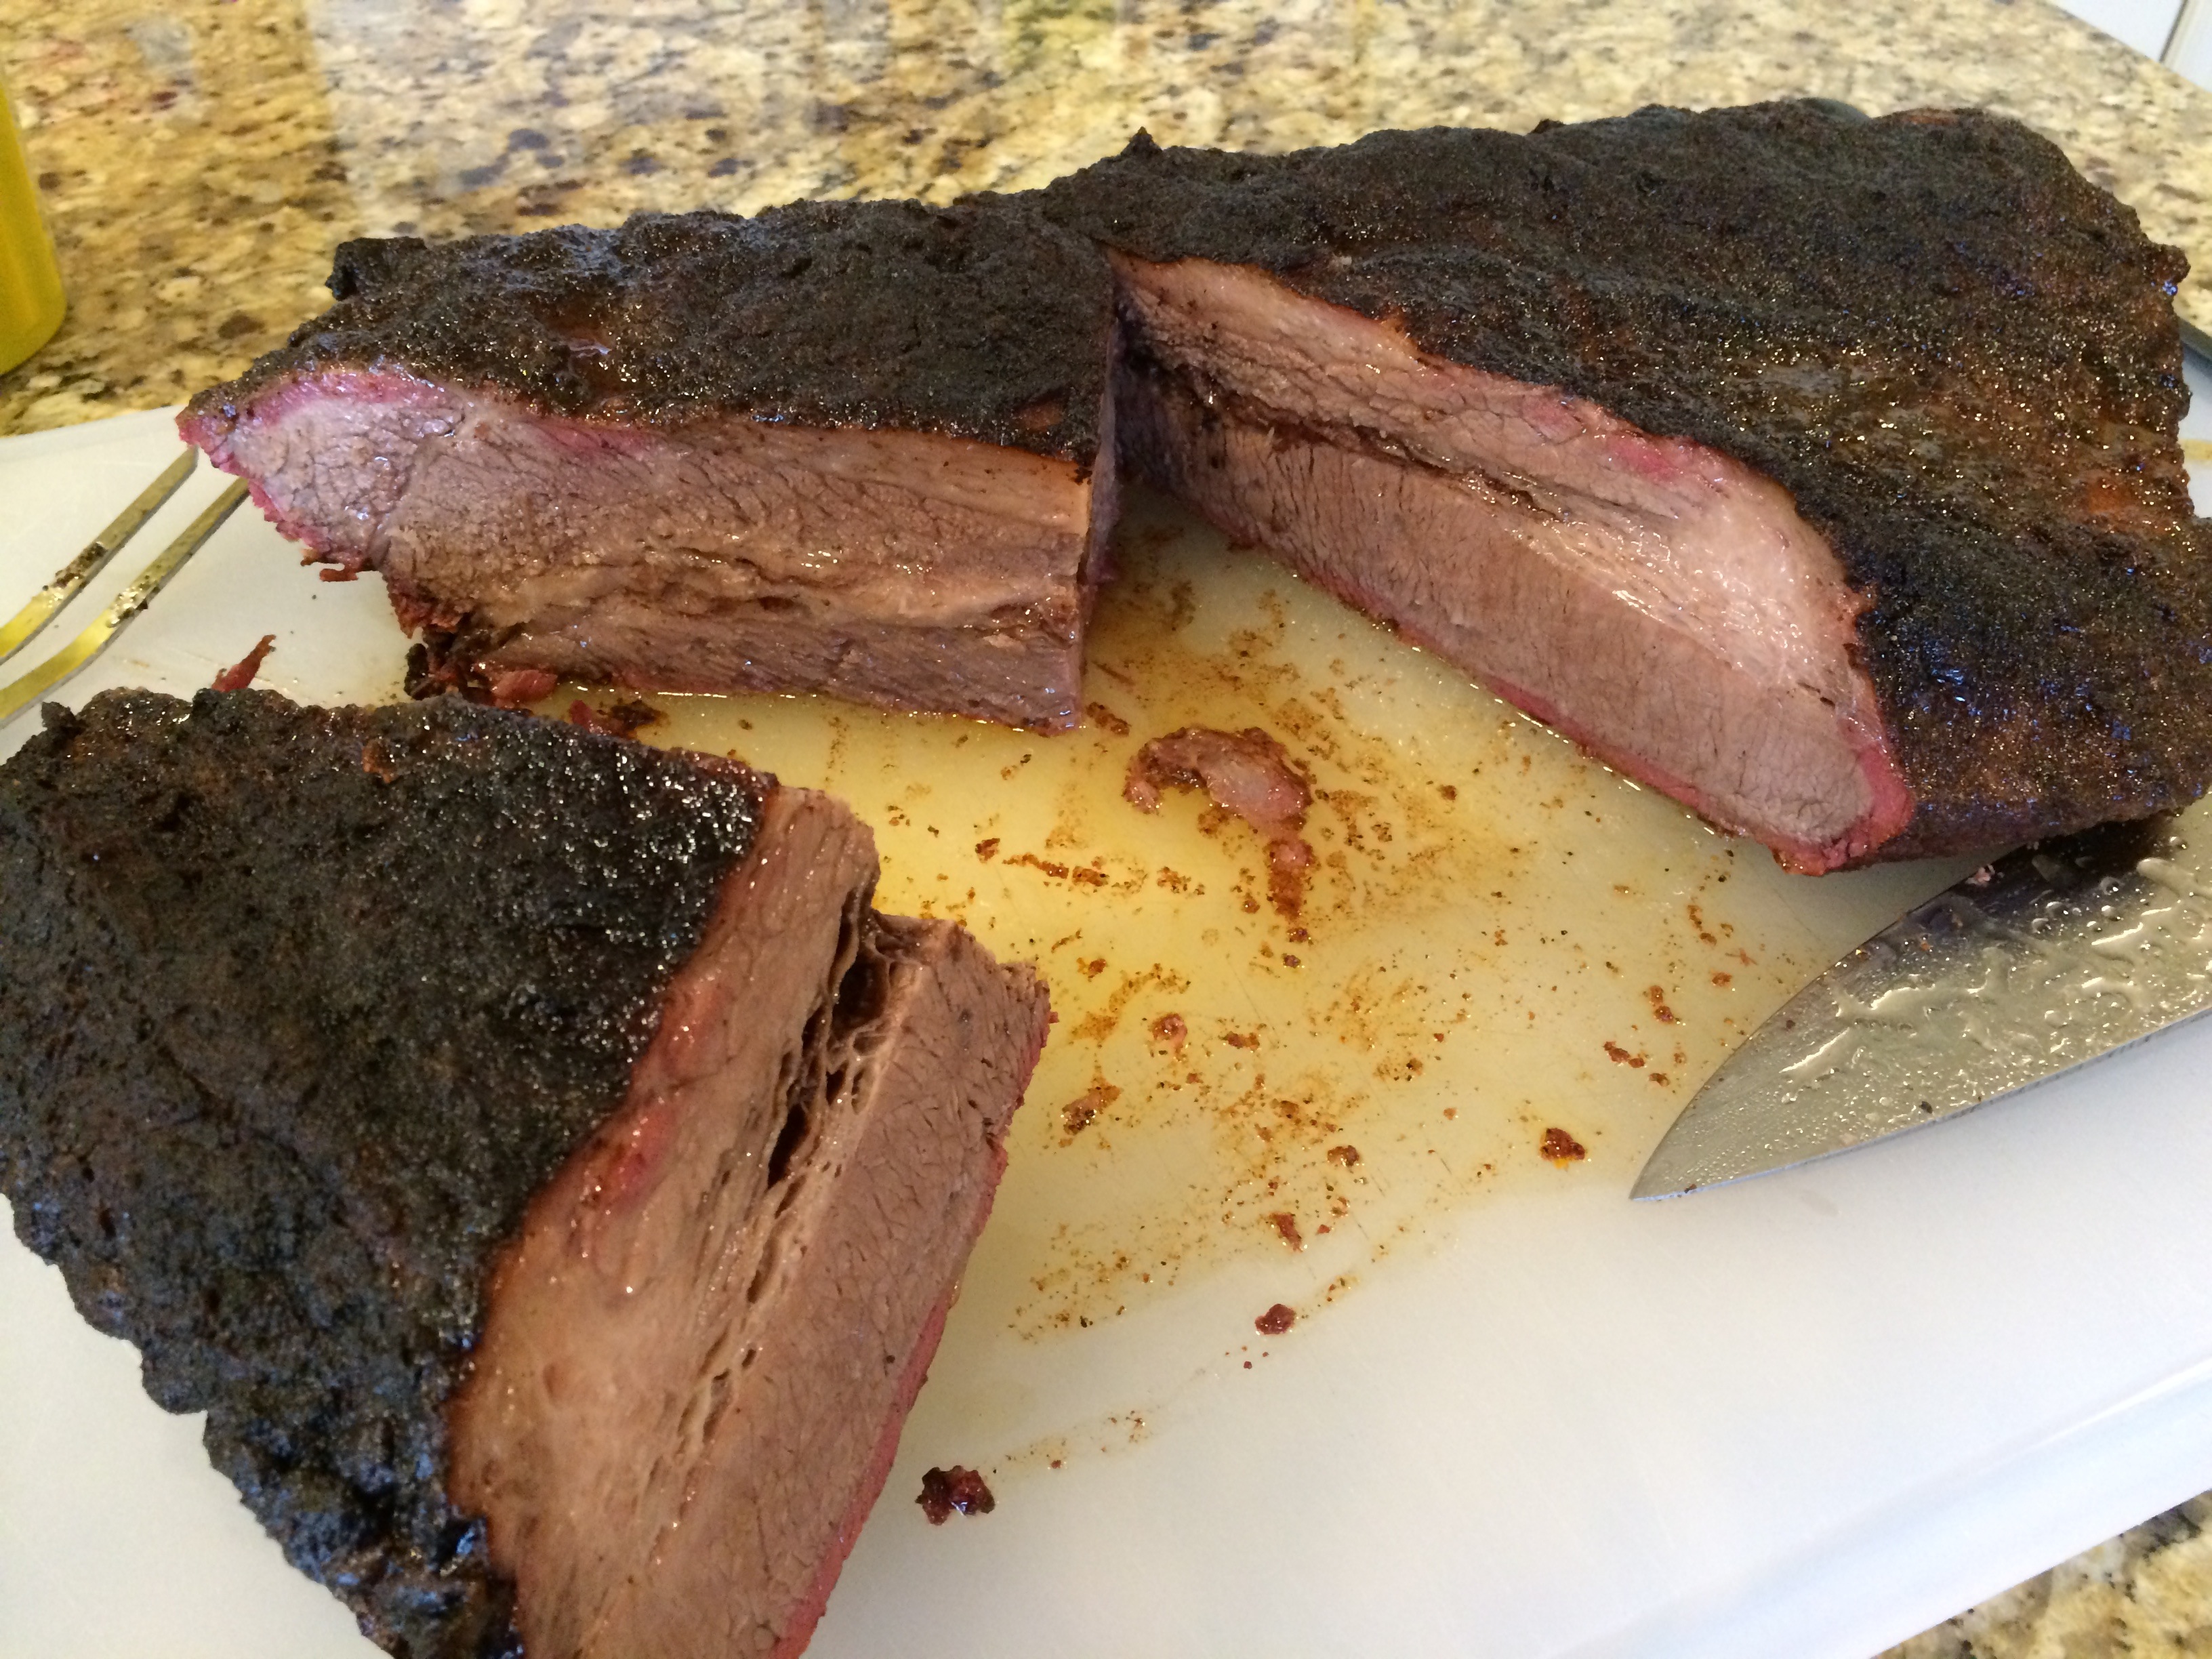
 Cut the brisket parallel to the cut you made at the first, or perpendicular to the grain of the meat. If you are cooking a full packer with the flat and point, then you will want to stop cutting just before the rise in the meat just before the point. Cut the remaining meat in half, perpendicular to the original cuts. Cut the thicker piece (the point) in the same direction as the new cut that halves the meat, and the thinner piece in the same direction as the first cuts. This is because the point has it’s grain perpendicular to the flat, and you want to cut it opposite it’s grain when it is the main piece.
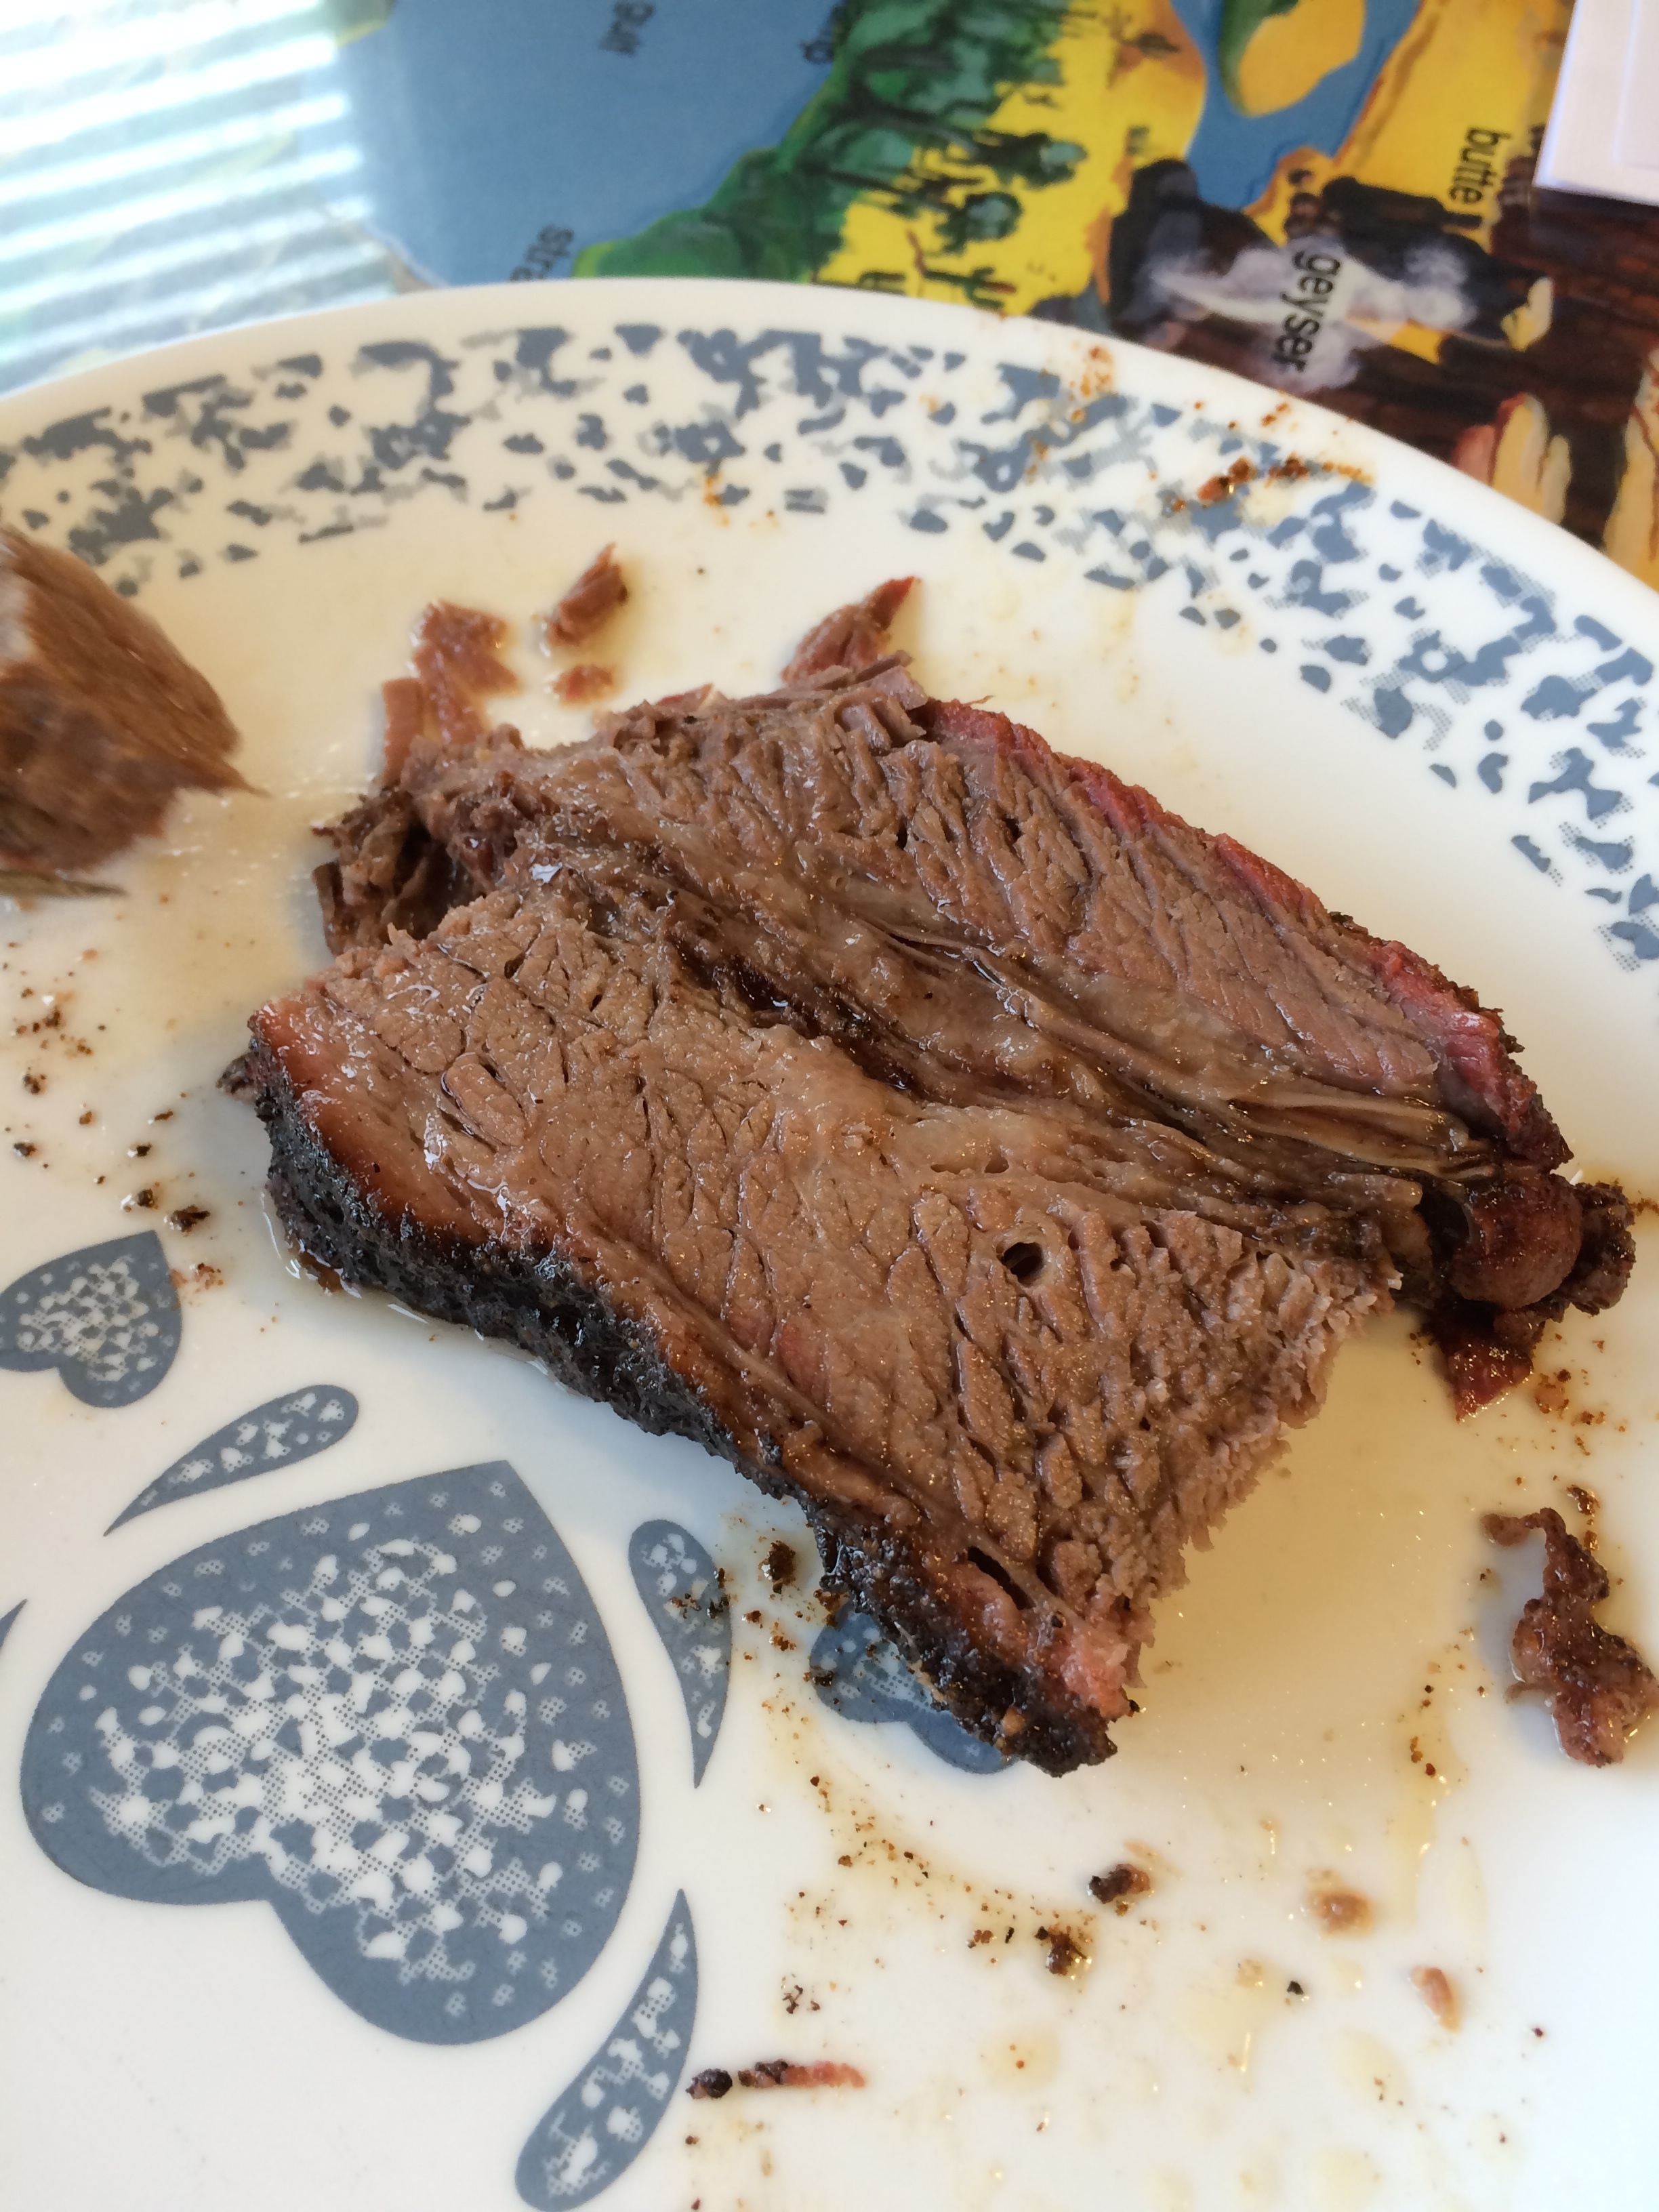
Serve to your crowd, and take all the credit. Best of all, enjoy!
edit: if you want to understand brisket better, there is a LOT of good info at AmazingRibs.com